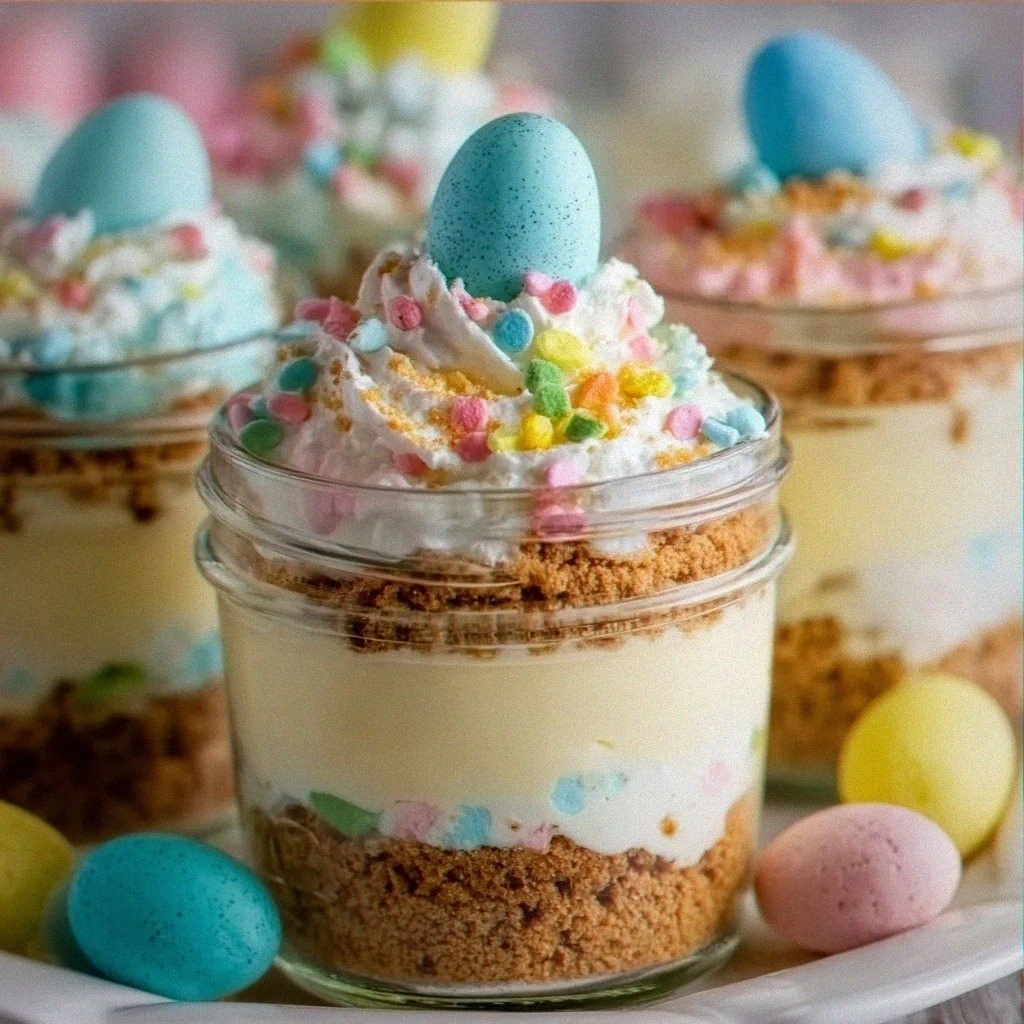
Easter Egg Cheesecake Jars: Irresistibly Cute & Delicious Treats!
 Save
Save
The first time I made these Easter Egg Cheesecake Jars, I was scrambling to find a dessert that could capture the bright, hopeful spirit of spring while still feeling indulgent enough for a family gathering. I remember the kitchen humming with the soft clatter of glass jars being set on the counter, the scent of vanilla and fresh cream swirling together, and the anticipation building as my kids pressed tiny chocolate eggs into the batter like little artists. When I finally lifted the lid of the first jar, a warm cloud of sweet, buttery aroma rose up, mingling with the faint perfume of pastel food coloring that reminded me of sunrise over a blooming garden. The first bite was a perfect harmony of silky cheesecake, a crumbly buttery base, and a surprise pop of chocolatey Easter egg that melted in the mouth, sending a ripple of delight through everyone at the table.
What makes these jars truly special is the way they marry the classic comfort of a cheesecake with the playful, eye‑catching charm of a mini Easter egg. Each jar is a portable, single‑serve masterpiece that looks as good as it tastes, making it ideal for brunches, potlucks, or even a quiet moment of self‑care after a busy holiday morning. The layers are thoughtfully constructed: a crunchy graham‑crust base, a velvety, tangy cream cheese filling tinted in soft spring hues, and a glossy chocolate egg topping that adds a satisfying snap. As you dig in, the textures dance—crunch, cream, melt—while the flavors balance sweet, tart, and a whisper of cocoa, creating a symphony that feels both nostalgic and fresh.
But here's the thing: the secret to that flawless texture and the vibrant colors isn't just in the ingredients—it's in a few subtle techniques that most home cooks overlook. Have you ever wondered why your cheesecake sometimes cracks or why the colors can turn muddy? The answer lies in temperature control, gentle folding, and a pinch of culinary science that I'll reveal later. Trust me, once you master these tricks, you'll never go back to a regular cheesecake again. And the best part? This recipe is forgiving enough for beginners yet sophisticated enough to impress even the most discerning palate.
Now, you're probably itching to know exactly how to bring these adorable jars to life. Here's exactly how to make it — and trust me, your family will be asking for seconds, thirds, and maybe even a whole jar for themselves. Grab your favorite mason jars, a splash of pastel food coloring, and get ready to embark on a culinary adventure that will become a beloved tradition in your home.
🌟 Why This Recipe Works
- Flavor Depth: The combination of tangy cream cheese, sweet sugar, and a buttery crust creates layers of flavor that linger on the palate, ensuring each bite feels rich and satisfying.
- Texture Contrast: A crisp graham‑cracker base meets a silky, airy filling and a glossy chocolate egg topping, delivering a delightful crunch‑to‑cream experience that keeps you reaching for more.
- Ease of Assembly: By using mason jars, you eliminate the need for a large springform pan, making the process less intimidating and the cleanup a breeze.
- Time Efficiency: With a total hands‑on time of just 15 minutes and a bake of 30 minutes, you can have a show‑stopping dessert ready while the kids finish their Easter egg hunt.
- Versatility: The base recipe can be customized with different colors, flavors, or toppings, allowing you to tailor it to any holiday or personal preference.
- Nutrition Balance: While indulgent, the recipe incorporates protein‑rich cream cheese and a modest amount of sugar, offering a more balanced treat compared to typical store‑bought desserts.
- Ingredient Quality: Using high‑quality cream cheese, real butter, and premium chocolate ensures a superior taste that cheap shortcuts simply can't match.
- Crowd‑Pleasing Factor: The visual appeal of pastel‑colored layers inside clear jars makes it a conversation starter, perfect for both kids and adults.
🥗 Ingredients Breakdown
The Foundation: Crust & Base
The crust is built from finely crushed graham crackers, a dash of cinnamon, and melted butter. Graham crackers bring a subtle honeyed sweetness that pairs beautifully with the tang of the cheesecake, while the butter binds everything together, creating a buttery, crumbly foundation that holds up under the weight of the filling. If you’re looking for a gluten‑free option, try using crushed gluten‑free pretzels or almond flour; the texture remains satisfying, and the flavor stays familiar. Selecting a butter with a higher fat content (like European‑style) will give you a richer, more aromatic crust that melts in your mouth.
The Heart: Cream Cheese Filling
At the core of every jar lies a luscious blend of cream cheese, sour cream, and a touch of heavy cream. Cream cheese provides the signature tang and dense body, while sour cream adds a subtle acidity that brightens the overall flavor. Heavy cream introduces silkiness, ensuring the filling stays light enough to spoon effortlessly. A pinch of kosher salt amplifies the sweetness and balances the richness. For a dairy‑free twist, substitute the cream cheese with a well‑drained vegan cream cheese and use coconut cream in place of heavy cream; the texture remains velvety, and the flavor shifts to a gentle tropical note.
The Secret Weapons: Color & Crunch
Pastel food coloring is the secret that transforms a plain cheesecake into an Easter masterpiece. A few drops of pink, yellow, or mint green give the filling a springtime glow without overpowering the taste. The real surprise comes from the chocolate Easter egg pieces—smooth milk chocolate with a delicate snap that melts into the filling as it bakes, creating pockets of molten chocolate. If you want an added crunch, sprinkle in some toasted almond slivers or crushed pistachios before serving; they introduce a nutty contrast that elevates the whole experience.
Finishing Touches: Garnish & Serve
A dollop of lightly sweetened whipped cream crowns each jar, adding an airy lift that balances the dense cheesecake. Sprinkle a dusting of edible glitter or pastel-colored sprinkles for an extra festive sparkle, especially if you’re serving to kids. A final drizzle of melted white chocolate creates a glossy sheen, making each jar look like a tiny work of art. Remember, the garnish is not just for looks—it adds a buttery, sweet note that ties the entire flavor profile together.
With your ingredients prepped and ready, let's get cooking. Here's where the fun really begins...
🍳 Step-by-Step Instructions
🔐 Expert Tips for Perfect Results
The Taste Test Trick
Before you pour the batter into the jars, take a tiny spoonful and taste it. This quick check lets you adjust sweetness, add a pinch more salt, or intensify the vanilla. I once forgot to add the extra dash of vanilla and the flavor felt flat—adding a few drops at the last minute revived the entire profile.
Why Resting Time Matters More Than You Think
Allowing the cheesecake to rest overnight in the fridge isn’t just about firming up; it’s when the flavors truly marry. The cream cheese, sour cream, and chocolate each release subtle notes that blend into a harmonious whole. Skipping this step can result in a dessert that feels disjointed, with the chocolate overpowering the delicate cream cheese.
The Seasoning Secret Pros Won’t Tell You
A pinch of sea salt sprinkled over the top just before serving can elevate the entire jar, creating a contrast that makes the sweetness pop. Professional pastry chefs often finish desserts with flaky sea salt for that exact reason, and it works wonders here, too.
The Perfect Crust Ratio
For a crust that stays crisp, keep the butter‑to‑cracker ratio at roughly 1:3 by weight. Too much butter makes the base soggy; too little leaves it crumbly. I once used a whole stick of butter for a single jar and the crust turned into a mushy mess—learning the right proportion saved my next batch.
How to Achieve a Flawless Color
When adding food coloring, use gel colors rather than liquid—they’re more concentrated and won’t thin out the batter. If you accidentally add too much, a tiny splash of cream cheese can balance the consistency without diluting the hue. Trust me, a vibrant pastel shade makes the jars look as inviting as they taste.
🌈 Delicious Variations to Try
One of my favorite things about this recipe is how versatile it is. Here are some twists I've tried and loved:
Berry Bliss
Swap the pastel pink coloring for a swirl of fresh raspberry puree and fold in a handful of freeze‑dried strawberries. The tartness of the berries cuts through the richness, delivering a bright, summer‑like flavor that pairs beautifully with the chocolate egg garnish.
Matcha Magic
Add 2 teaspoons of high‑quality matcha powder to the filling for an earthy, green hue. Top with white chocolate shards and a dusting of powdered sugar. The subtle bitterness of matcha balances the sweetness, creating a sophisticated dessert that feels both traditional and modern.
Caramel Crunch
Drizzle a caramel sauce over the whipped cream and sprinkle toasted pecans on top. The buttery caramel adds depth, while the nuts provide a satisfying crunch that contrasts the smooth cheesecake.
Lemon Zest
Incorporate the zest of one large lemon and a tablespoon of fresh lemon juice into the filling, then finish with a thin lemon glaze. This bright, citrusy version feels refreshing and light, perfect for a spring brunch.
Chocolate Hazelnut Dream
Replace the milk chocolate eggs with chopped Nutella‑filled hazelnut chocolates and fold in a tablespoon of hazelnut spread into the batter. The result is a decadent, nutty version that feels like a mini tiramisu in a jar.
📦 Storage & Reheating Tips
Refrigerator Storage
Seal each jar with its lid and store them in the refrigerator for up to 4 days. The airtight seal keeps the crust from drying out and preserves the creamy texture of the filling. If you notice condensation, gently pat the outside of the jar with a paper towel before serving.
Freezing Instructions
For longer keep‑sake, wrap each jar tightly in plastic wrap and place them in a freezer‑safe bag. They’ll hold up for up to 2 months. To thaw, move the jars to the fridge overnight; avoid microwaving, as rapid heat can cause the filling to separate.
Reheating Methods
If you prefer a warm dessert, gently warm the jar in a water bath set to 300°F for 5‑7 minutes, just until the chocolate topping softens. The trick to reheating without drying it out? Add a splash of milk or cream to the water bath, which creates a gentle steam that keeps the cheesecake moist.
❓ Frequently Asked Questions
Can I use a different type of crust?
Do I need to use a water bath for baking?
Can I make these jars dairy‑free?
How do I prevent the chocolate eggs from melting too much?
Can I add fresh fruit to the topping?
What’s the best way to transport these jars?
Can I use a different type of chocolate for the topping?
How long can I keep the jars after they’re fully assembled?
Similar Recipes
 Desserts
Japanese Cotton Candy Cake Roll: A Pastel Dream to Bake
Learn how to make delicious Japanese Cotton Candy Cake Roll: A Pastel Dream to Bake. Easy…
 Desserts
Decadent No-Bake Millionaire’s Shortbread: A Luxurious Dessert Experience
Delicious Decadent No-Bake Millionaire’s Shortbread: A Luxurious Dessert Experience
 Desserts
Peanut Butter Banana Sushi Rolls: A Delicious and Nutritious Snack
Delicious Peanut Butter Banana Sushi Rolls: A Delicious and Nutritious Snack
 Desserts
Strawberry Cream Icebox Cups: A Refreshing Delight for Warm Days
Delicious Strawberry Cream Icebox Cups: A Refreshing Delight for Warm Days
 Desserts
Cinnamon Sugar Banana Donuts: A Delicious Twist on a Classic Favorite
Delicious Cinnamon Sugar Banana Donuts: A Delicious Twist on a Classic Favorite
 Desserts
Cannoli Cheesecake Bars: A Delicious Fusion of Flavors
Delicious Cannoli Cheesecake Bars: A Delicious Fusion of Flavors
 Desserts
Cinnamon Roll Bread Pudding Delight
Delicious Cinnamon Roll Bread Pudding Delight
 Desserts
cupcakes decoration valentines day: 5 Magical Ideas to Impress
Learn how to make delicious cupcakes decoration valentines day: 5 Magical Ideas to Impress. Easy recipe…

Victoria
I cook these recipes at home before they ever land here — simple ingredients, clear steps.
Other Reader Favorites
 Appetizers
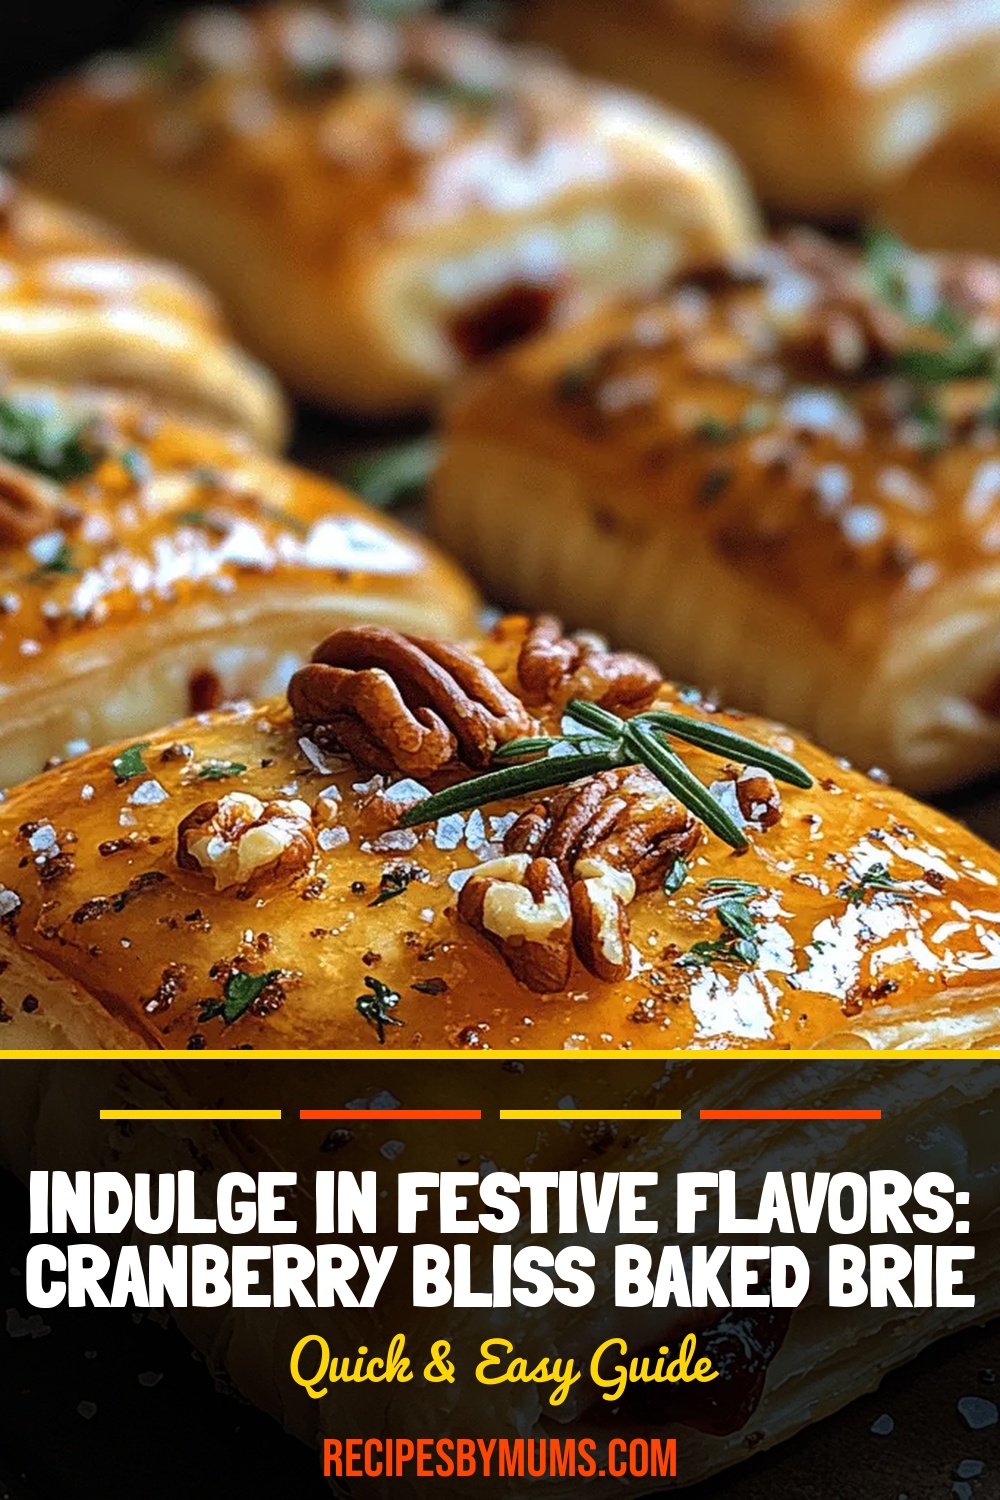
Indulge in Festive Flavors: Cranberry Bliss Baked Brie Bites Recipe
Delicious Indulge in Festive Flavors: Cranberry Bliss Baked Brie Bites Recipe
 Drinks
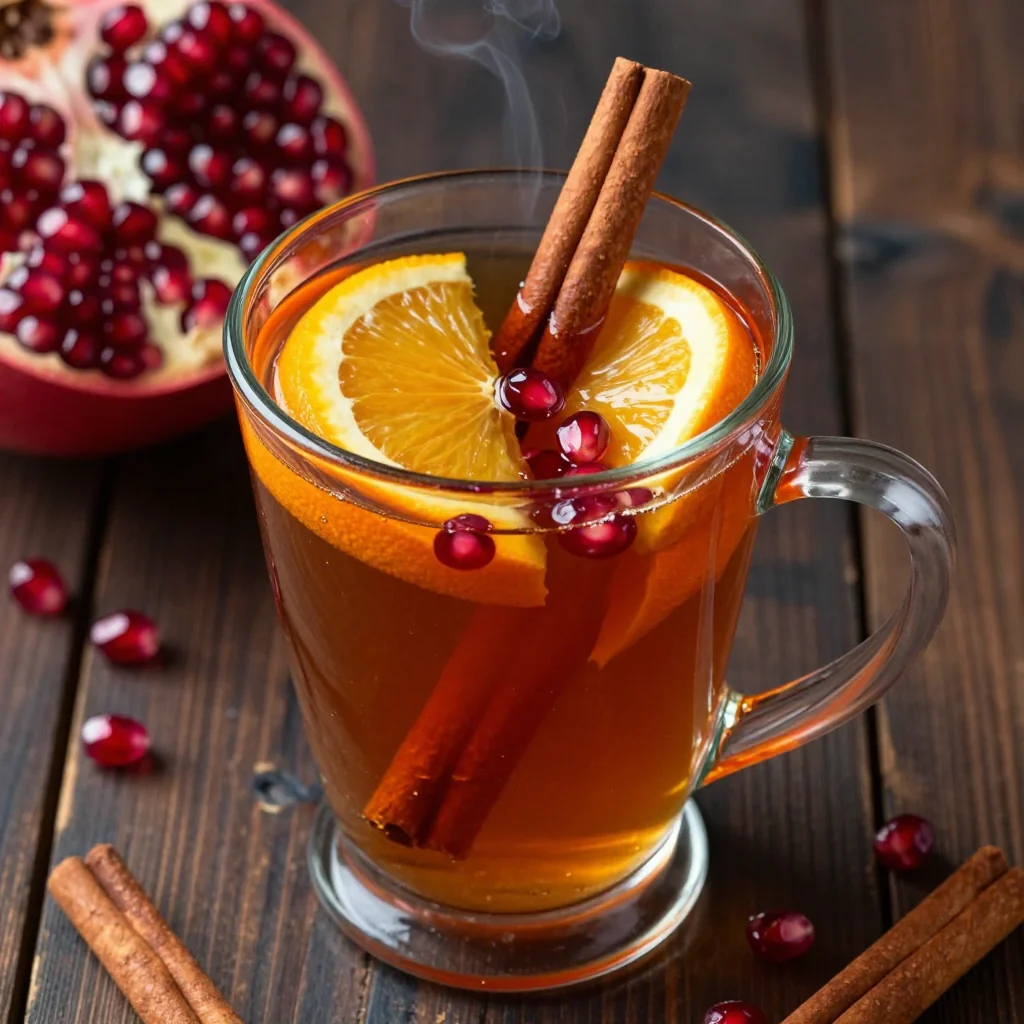
warm spiced mulled cider with fresh citrus and cinnamon sticks
Learn how to make delicious warm spiced mulled cider with fresh citrus and cinnamon sticks. Easy…
 Dinner
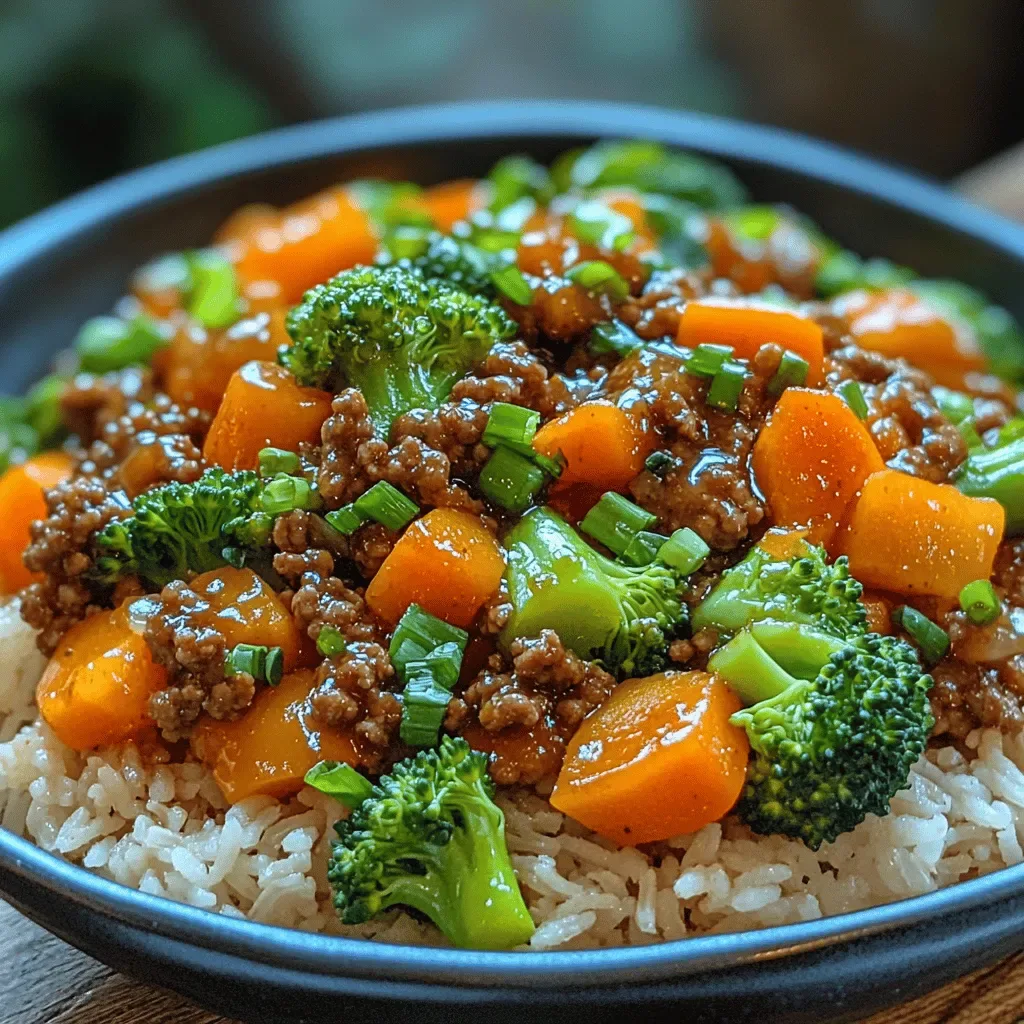
Wholesome Chinese Ground Beef Stir Fry: A Flavorful Delight
Delicious Wholesome Chinese Ground Beef Stir Fry: A Flavorful Delight
 Dinner
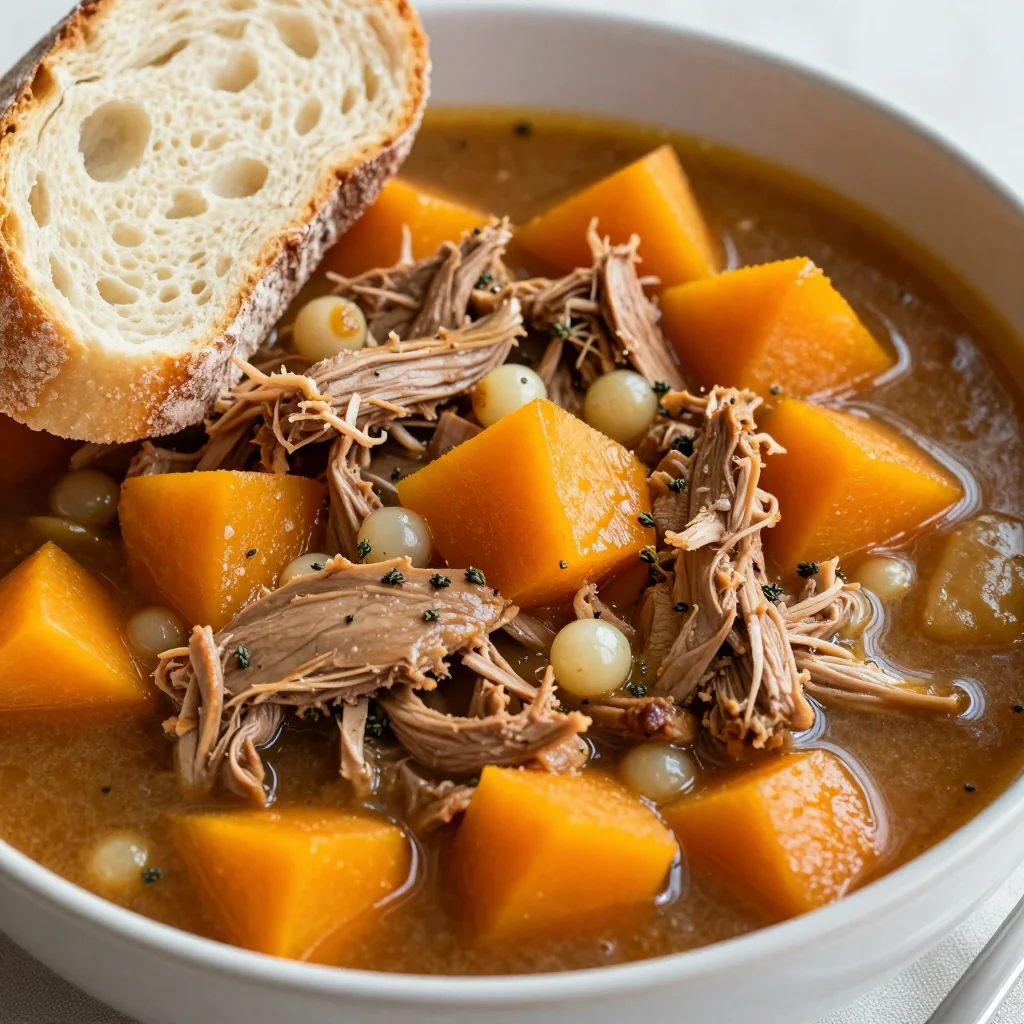
slow cooker turkey and winter squash stew for cold january days
Learn how to make delicious slow cooker turkey and winter squash stew for cold january days.…