Crunchy School Lunch Tacos: A Complete Guide to Flavorful Fun
 Save
Save
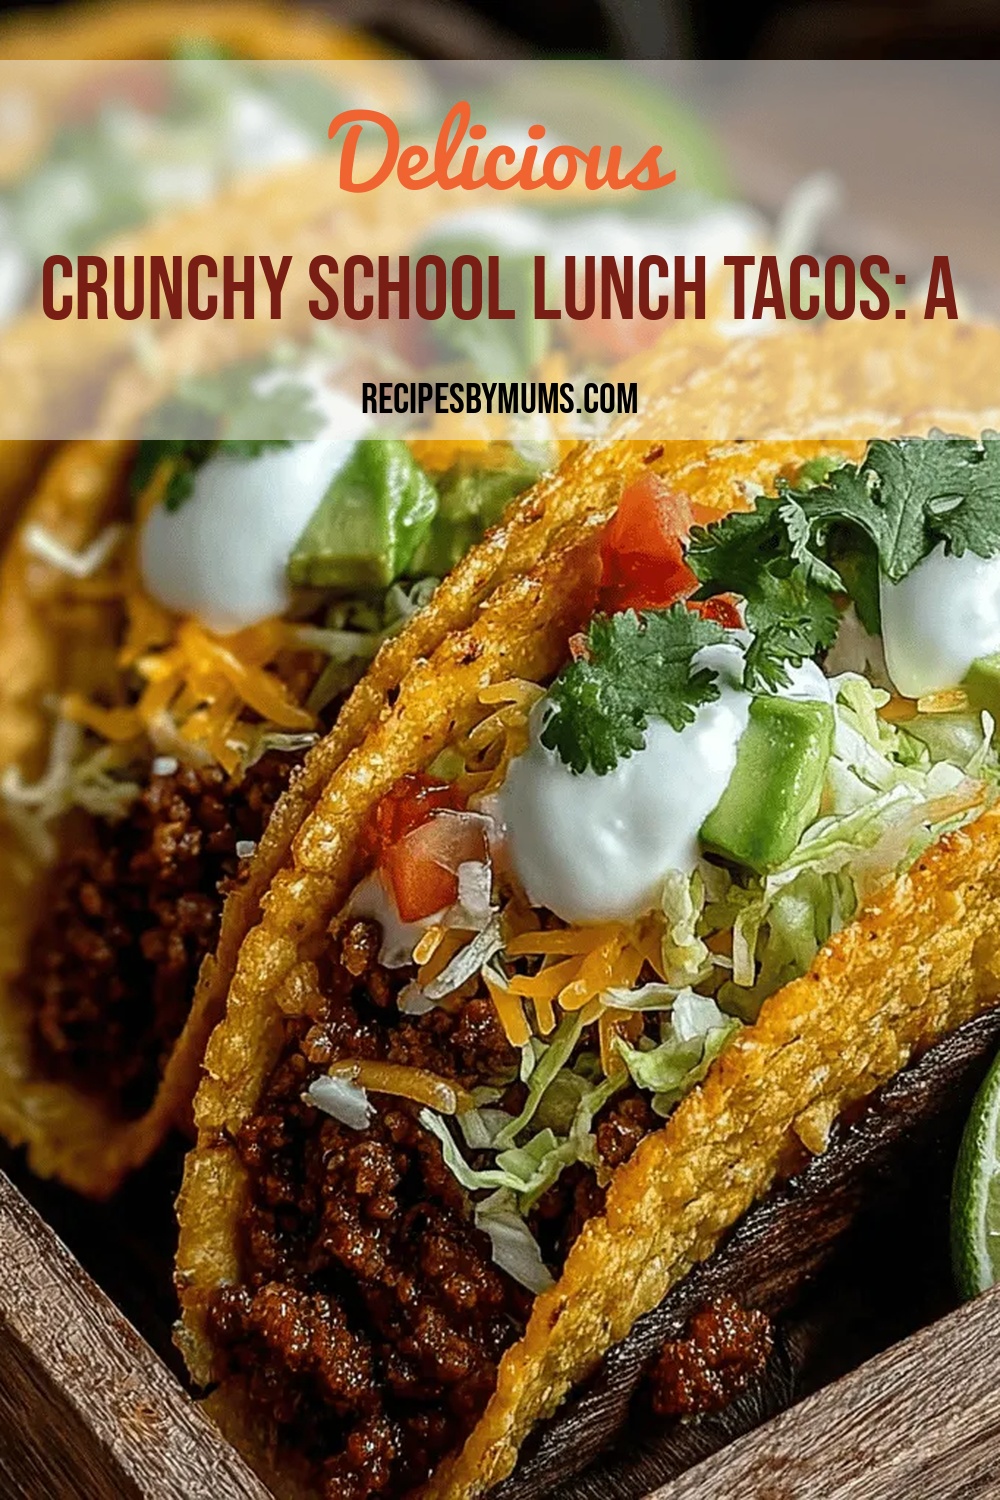
Imagine the excitement of a school cafeteria, the crunch of a perfectly toasted taco shell, and the burst of flavors that make every bite feel like a celebration. Crunchy School Lunch Tacos capture that energy and bring it straight to your kitchen, turning an ordinary weekday lunch into a fiesta of taste and texture.
What sets this recipe apart is the balance of crispy shells, a savory‑sweet protein glaze, and a rainbow of fresh vegetables—all assembled in a way that’s quick enough for a busy school schedule yet impressive enough to earn “A+” from even the pickiest eaters.
This dish is perfect for kids, teachers, or anyone craving a handheld snack that’s both wholesome and fun. Serve it at lunch, after‑school gatherings, or as a lively appetizer at a family movie night.
The process is straightforward: season and pan‑sear the protein, toss it in a tangy sauce, load the tacos with crisp veggies, and finish with a drizzle of creamy dressing. In under half an hour you’ll have a plateful of crunchy, colorful goodness.
Why You'll Love This Recipe
Kid‑Approved Crunch: The double‑baked corn shells stay crisp even after being loaded, giving children the satisfying snap they love while keeping fillings in place.
One‑Pan Protein: The chicken (or alternative) is cooked and glazed in a single skillet, cutting down on cleanup and ensuring every bite is infused with flavor.
Colorful Veggie Boost: Bright peppers, sweet corn, and crisp lettuce add vitamins, texture, and visual appeal that make the plate look as good as it tastes.
Customizable & Fast: Swap proteins, adjust spice levels, or prep components ahead of time—this recipe adapts to any schedule or dietary need.
Tips & Tricks
Perfecting the Recipe
Pat the chicken dry. Moisture prevents browning; a quick paper‑towel pat ensures a crisp caramelized exterior.
Don’t overcrowd the pan. Cook in batches if necessary so each piece sears rather than steams.
Use a meat thermometer. This guarantees safe doneness without overcooking, keeping the chicken tender.
Rest before slicing. Let the chicken rest 5 minutes; juices redistribute, giving a moist bite.
Flavor Enhancements
Add a splash of orange juice to the glaze for a citrusy depth, or stir in a teaspoon of chipotle in adobo for smoky heat. Finish each taco with a sprinkle of crumbled cotija cheese for salty richness.
Common Mistakes to Avoid
Avoid letting the sauce boil too vigorously; it can turn bitter. Also, don’t over‑bake the tortillas—watch them closely, as they can go from golden to burnt in seconds.
Pro Tips
Season the oil. Toss a pinch of smoked paprika into the oil before brushing tortillas for an extra flavor layer.
Prep veggies ahead. Store the diced peppers and corn in a sealed container in the fridge; they stay crisp for days.
Use a cast‑iron skillet. It retains heat better, giving a superior sear on the chicken.
Serve with lime wedges. A quick squeeze right before eating brightens every bite.
Variations
Ingredient Swaps
Replace chicken with lean ground turkey, diced shrimp, or firm tofu for a vegetarian twist. Swap corn tortillas for whole‑wheat or gluten‑free alternatives. For a sweeter crunch, incorporate diced pineapple or mango into the veggie mix.
Dietary Adjustments
To keep the dish gluten‑free, ensure soy sauce is tamari and use certified gluten‑free tortillas. For dairy‑free, substitute the Greek yogurt with a plant‑based yogurt and use vegan mayo. Keto eaters can omit the honey and replace it with a low‑carb sweetener, then serve the tacos in lettuce “shells.”
Serving Suggestions
Pair the tacos with a side of cilantro‑lime quinoa, black‑bean salad, or a simple cucumber‑tomato salsa. A small cup of fresh fruit salad balances the savory richness, while a chilled glass of lime‑infused water keeps the meal refreshing.
Storage Info
Leftover Storage
Allow the chicken and sauce to cool completely, then transfer to an airtight container. Store the taco shells separately in a paper bag to retain crispness. Refrigerate for up to 3 days. For longer keeping, freeze the cooked chicken and sauce in a zip‑top bag for up to 2 months; keep shells in a freezer‑safe bag.
Reheating Instructions
Reheat chicken in a skillet over medium heat, adding a splash of water or broth to revive moisture. Warm the tortillas in a 350°F oven for 5 minutes or directly on a dry skillet for 30 seconds per side. Assemble fresh veggies and sauce just before serving for optimal texture.
Frequently Asked Questions
Can I make the taco filling ahead of time?
What if I don’t have corn tortillas?
How can I make these tacos less spicy for younger kids?
This guide gives you everything needed to create crunchy, colorful school‑lunch tacos that are as fun to eat as they are nutritious. From the crisped tortilla shell to the sweet‑tangy glaze, each step is designed for maximum flavor and minimal fuss. Feel free to swap proteins, adjust spices, or add your own toppings—cooking is an adventure, not a rulebook. Gather the ingredients, follow the steps, and enjoy a fiesta‑worthy bite that will have everyone asking for seconds!
Crunchy School Lunch Tacos: A Complete Guide to Flavorful Fun
Delicious Crunchy School Lunch Tacos: A Complete Guide to Flavorful Fun
Ingredients
Taco Shells & Crunch
- 6 small corn tortillas
- 1 tablespoon olive oil
- 1/2 teaspoon sea salt
Vegetable Mix
- 1/2 cup red bell pepper, diced
- 1/2 cup yellow bell pepper, diced
- 1/3 cup frozen corn, thawed
- 1/4 cup shredded red cabbage
Sauce & Glaze
- 2 tablespoons honey
- 1 tablespoon lime juice (fresh)
- 1 teaspoon soy sauce (or tamari for gluten‑free)
- 1/2 teaspoon smoked paprika
Seasonings & Garnish
- 1/2 teaspoon ground cumin
- 1/4 teaspoon chili powder (optional for heat)
- Salt and freshly cracked black pepper, to taste
- 1/4 cup plain Greek yogurt
- 1 tablespoon mayonnaise
- 1 teaspoon lime zest
- Fresh cilantro leaves, chopped (for garnish)
Instructions
Marinating & Cooking the Chicken
- Combine the glaze. In a small bowl whisk together honey, lime juice, soy sauce, smoked paprika, cumin, and a pinch of salt. The acidity of lime brightens the chicken while the honey encourages caramelization.
- Season the chicken. Toss the chicken pieces with a light dusting of black pepper and chili powder if you like a subtle heat. Let sit for 5 minutes so the spices adhere.
- Sear the chicken. Heat a large skillet over medium‑high heat, add a splash of olive oil, and once shimmering, add the chicken. Cook without moving for 3‑4 minutes until a deep golden crust forms.
- Add the glaze. Pour the honey‑lime mixture over the seared chicken, stirring to coat. Reduce heat to medium and let the sauce simmer for 2‑3 minutes, allowing it to thicken and cling to each piece.
- Finish cooking. Transfer the skillet to the preheated oven for an additional 8‑10 minutes, or until the chicken reaches an internal temperature of 165°F (74°C). This gentle finish keeps the meat juicy while the glaze sets.
Similar Recipes
 Appetizers
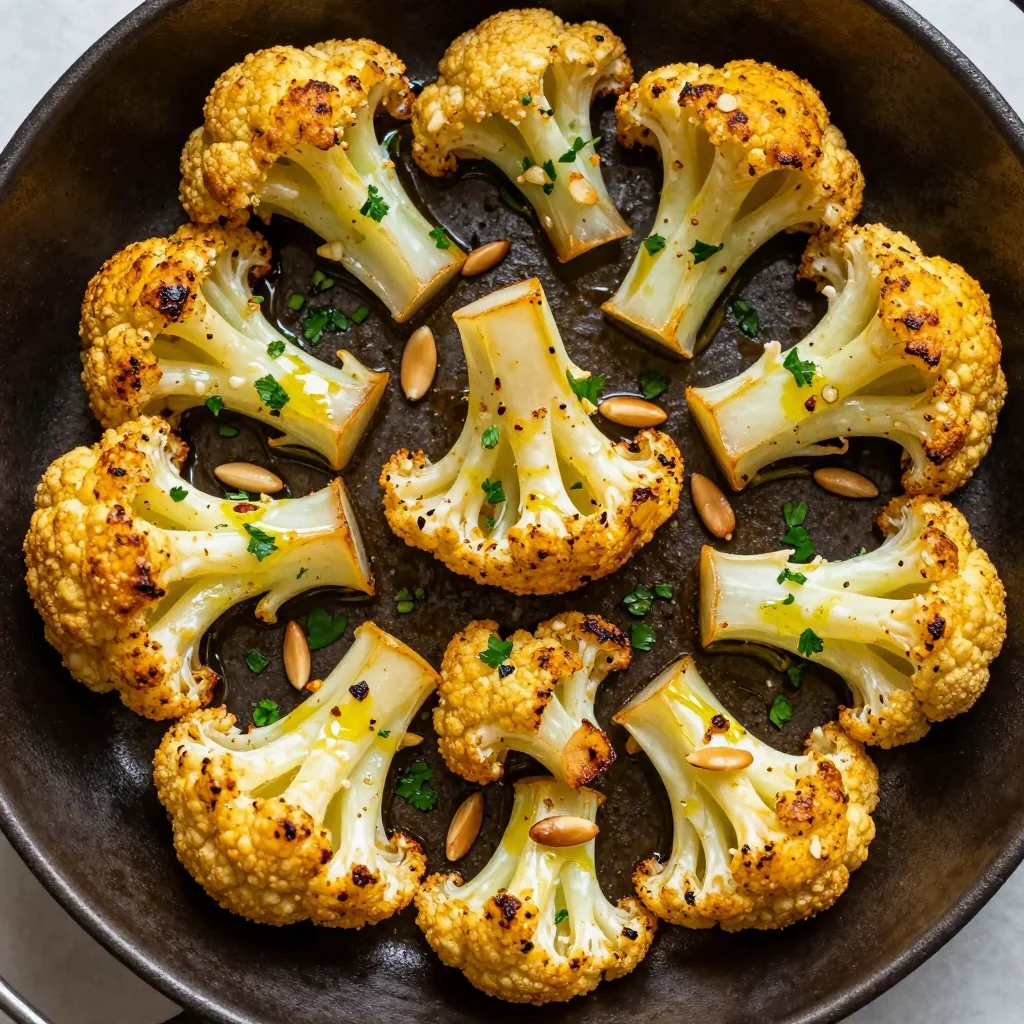
Healthy Garlic Roasted Cauliflower With Turmeric
Learn how to make delicious Healthy Garlic Roasted Cauliflower With Turmeric. Easy recipe with step-by-step instructions,…
 Appetizers
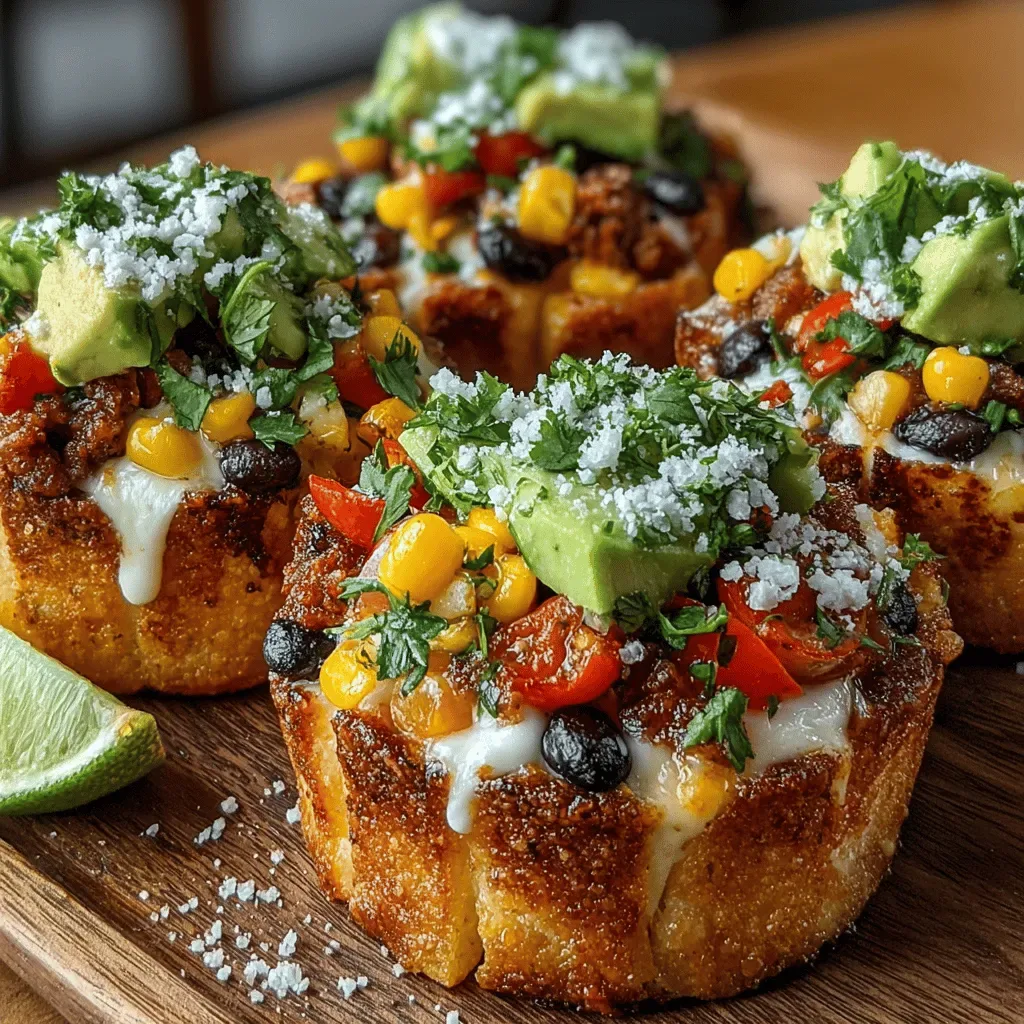
Colorful Mini Veggie Queso Taco Boats
Delicious Colorful Mini Veggie Queso Taco Boats
 Appetizers
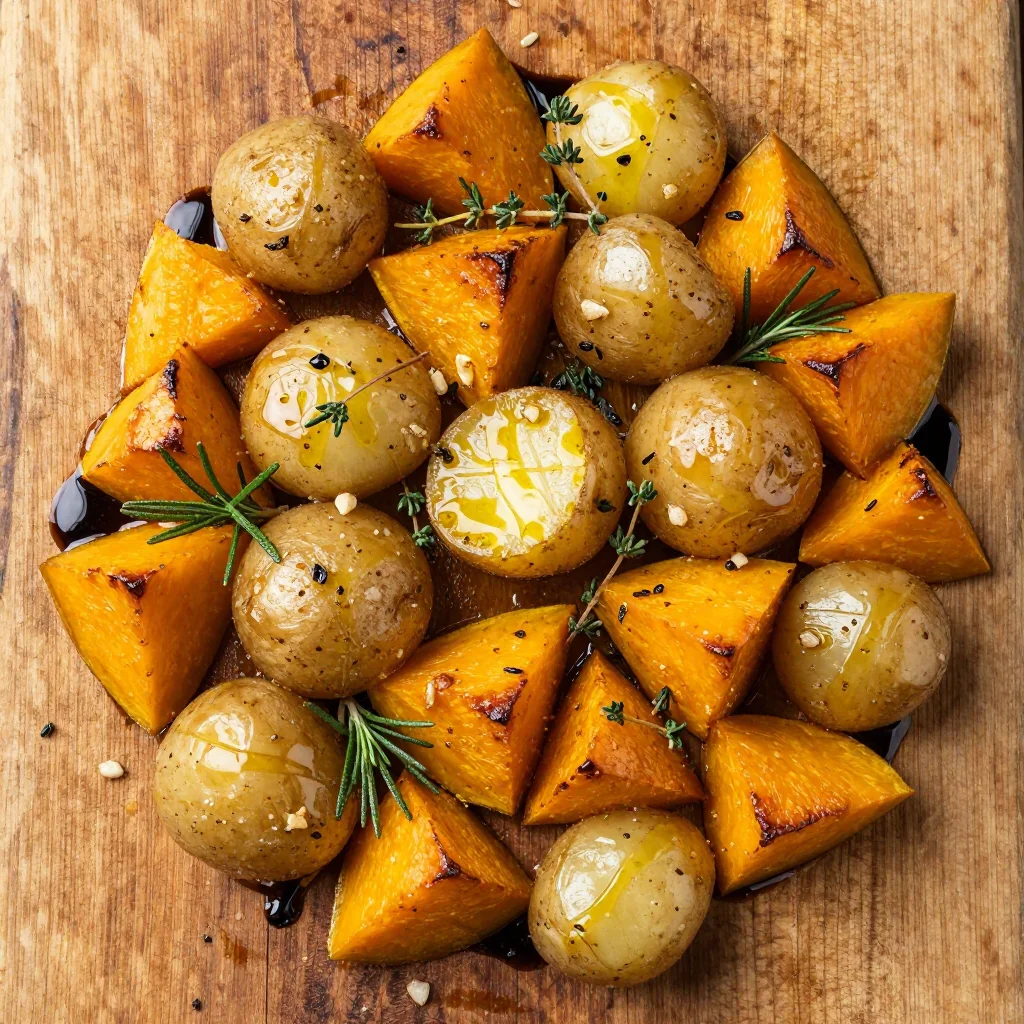
lowcalorie garlic roasted winter squash and potatoes for clean eating
Learn how to make delicious lowcalorie garlic roasted winter squash and potatoes for clean eating. Easy…
 Appetizers
Chili Roasted Sweet Potato Wedges: A Flavorful Delight
Delicious Chili Roasted Sweet Potato Wedges: A Flavorful Delight
 Appetizers
Garlic Butter Chickpea & Spinach Toasts: A Flavorful Delight
Delicious Garlic Butter Chickpea & Spinach Toasts: A Flavorful Delight
 Appetizers
Gourmet Air Fryer Stuffed Mushrooms: A Delicious Appetizer
Delicious Gourmet Air Fryer Stuffed Mushrooms: A Delicious Appetizer
 Appetizers
Creamy Tropical Fruit Salad
Learn how to make delicious Creamy Tropical Fruit Salad. Easy recipe with step-by-step instructions.
 Appetizers
Peachy Keen Sweet and Spicy Wraps: Your Guide to Preparation and Serving
Delicious Peachy Keen Sweet and Spicy Wraps: Your Guide to Preparation and Serving

Victoria
I cook these recipes at home before they ever land here — simple ingredients, clear steps.