Creamy Garlic Chickpea Skillet: The Ultimate Comfort Dish
 Save
Save
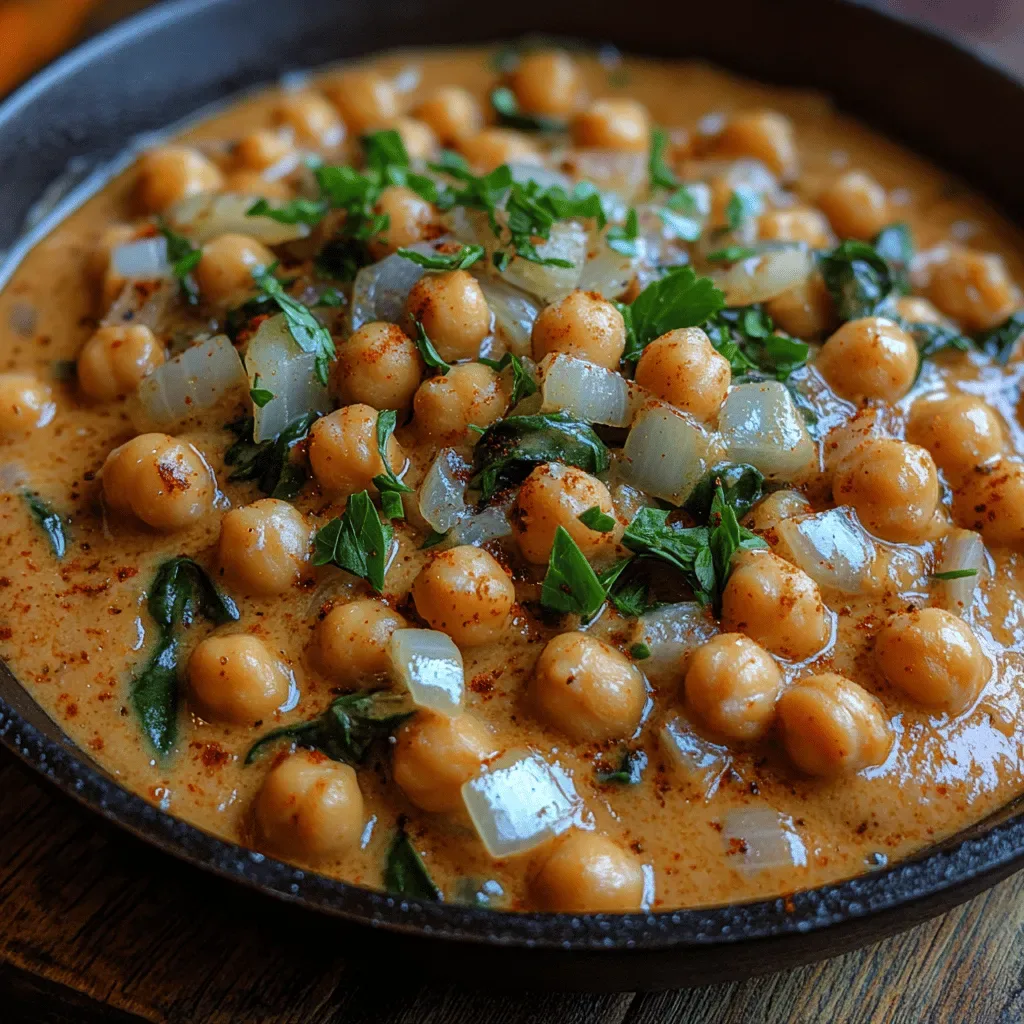
Imagine a skillet that wraps every bite in velvety cream, fragrant garlic, and a gentle heat that makes you feel instantly cozy. That’s exactly what the Creamy Garlic Chickpea Skillet delivers—comfort food that’s both hearty and wholesome.
What makes this dish truly special is the way silky coconut‑milk‑based sauce clings to tender chickpeas, while a splash of lemon brightens the flavor profile. The garlic is roasted just enough to stay sweet, never bitter.
This recipe is perfect for busy families, vegans, or anyone craving a plant‑based dinner that feels indulgent. Serve it on weeknight evenings, at a casual brunch, or whenever you need a quick, satisfying meal.
The cooking process is straightforward: sauté aromatics, simmer chickpeas in a creamy sauce, finish with a quick bake, and garnish with fresh herbs. In under 45 minutes you’ll have a dish that looks as good as it tastes.
Why You’ll Love This Recipe
One‑Pan Wonder: Everything cooks in the same skillet, so cleanup is minimal and flavors meld together for a cohesive, restaurant‑quality dish.
Plant‑Powered Protein: Chickpeas provide a satisfying bite, fiber, and protein, making the meal filling without any animal products.
Rich Yet Light: Coconut milk adds creaminess without heaviness, while lemon juice lifts the sauce so it never feels greasy.
Customizable Flavor: Add a pinch of red pepper flakes, swap herbs, or toss in extra veggies to make the dish truly yours.
Tips & Tricks
Perfecting the Recipe
Use Full‑Fat Coconut Milk. The higher fat content creates a silkier sauce that clings to the chickpeas without separating.
Dry Chickpeas Thoroughly. Pat them with a clean towel after rinsing; excess water prevents the sauce from thickening properly.
Don’t Over‑Cook Spinach. Add it at the very end so it stays bright and retains its nutrients.
Flavor Enhancements
Stir in a tablespoon of nutritional yeast for a subtle cheesy note, or finish with a drizzle of toasted sesame oil for an extra layer of richness. A splash of white wine before adding the coconut milk lifts the sauce with a gentle acidity.
Common Mistakes to Avoid
Avoid simmering the sauce on high heat; it can cause the coconut milk to separate and become grainy. Also, resist the urge to over‑mix once the spinach is added—over‑stirring can break down the creamy texture.
Pro Tips
Toast the Paprika. Lightly toast smoked paprika in a dry pan for 30 seconds before adding it; this intensifies its smoky aroma.
Finish with a Squeeze of Lemon. A fresh lemon wedge at the table adds brightness that cuts through the richness.
Use a Heavy‑Bottom Skillet. Even heat distribution prevents hot spots that can scorch the garlic or coconut milk.
Variations
Ingredient Swaps
Replace chickpeas with white beans or canned lentils for a different texture. Swap spinach for kale, arugula, or Swiss chard; each brings its own flavor nuance. For a sweeter profile, stir in a tablespoon of maple syrup alongside the lemon juice.
Dietary Adjustments
The dish is naturally gluten‑free and vegan. If you need a lower‑fat version, use light coconut milk or a blend of coconut milk and unsweetened almond milk. For a keto twist, serve over cauliflower rice and omit any added sweeteners.
Serving Suggestions
Pair the skillet with jasmine rice, quinoa, or a simple couscous salad to soak up the sauce. A side of roasted sweet potatoes adds a caramelized contrast, while a crisp cucumber‑mint salad offers a refreshing finish.
Storage Info
Leftover Storage
Allow the skillet to cool to room temperature, then transfer the contents to an airtight container. Refrigerate for up to four days. For longer keeping, portion into freezer‑safe bags, remove excess air, and freeze for up to three months. The sauce may thicken when chilled; simply stir in a splash of water or broth before reheating.
Reheating Instructions
Reheat gently on the stovetop over low heat, adding a tablespoon of coconut milk or broth to restore creaminess. Stir frequently until the mixture is hot throughout, about 5‑7 minutes. Alternatively, microwave in a covered bowl on medium power for 2‑3 minutes, stirring halfway.
Frequently Asked Questions
Can I make this recipe ahead of time?
Can I use frozen chickpeas?
What side dishes pair best with this skillet?
How can I make this spicier without changing the flavor profile?
This Creamy Garlic Chickpea Skillet brings together simple pantry staples and bold flavors for a truly comforting dinner. You’ve learned the essential steps, storage tricks, and ways to personalize the dish, ensuring success every time you make it. Feel free to experiment with herbs, veggies, or spice levels—cooking is your canvas. Serve it hot, share it with loved ones, and enjoy every creamy, garlicky bite!
Creamy Garlic Chickpea Skillet: The Ultimate Comfort Dish
Delicious Creamy Garlic Chickpea Skillet: The Ultimate Comfort Dish
Ingredients
Main Ingredients
- 2 (15‑oz) cans chickpeas, drained and rinsed
- 1 cup coconut milk (full‑fat)
- 2 cups fresh spinach, roughly chopped
Sauce & Aromatics
- 4 cloves garlic, minced
- 1 tablespoon olive oil
- 2 teaspoons lemon zest
- 2 tablespoons fresh lemon juice
Seasonings & Garnish
- ½ teaspoon smoked paprika
- ¼ teaspoon red pepper flakes (optional)
- Salt and freshly ground black pepper, to taste
- 2 tablespoons fresh parsley, chopped
Instructions
Building the Base
- Sauté Garlic. Add the minced garlic to the hot oil, stirring constantly for about 30 seconds until fragrant and lightly golden. This short cook time releases garlic’s natural sugars, giving the sauce a sweet, mellow flavor.
- Deglaze & Add Liquids. Pour in the coconut milk, lemon zest, and lemon juice, scraping up any browned bits from the pan. Bring the mixture to a gentle simmer; those browned bits, called fond, are flavor powerhouses that deepen the sauce.
- Season. Stir in smoked paprika, red pepper flakes (if using), and a pinch of salt and pepper. Let the sauce simmer for 3‑4 minutes, allowing it to thicken slightly and the spices to meld.
- Add Chickpeas. Toss the drained chickpeas into the simmering sauce, stirring to coat each piece evenly. Cook for another 5 minutes, letting the chickpeas absorb the creamy, citrusy broth.
- Finish with Spinach. Reduce the heat to low and fold in the chopped spinach. It wilts quickly—about 1 minute—leaving a vibrant green speckle throughout the dish. Taste and adjust seasoning if needed.
Similar Recipes
 Dinner
Cozy Meatball Casserole Recipe: Cheesy & Delicious Layers
Learn how to make delicious Cozy Meatball Casserole Recipe: Cheesy & Delicious Layers. Easy recipe with…
 Dinner
slow cooker turkey and winter squash stew for cold january days
Learn how to make delicious slow cooker turkey and winter squash stew for cold january days.…
 Dinner
Chicken Recipes Crockpot Healthy for Effortless Dinners
Learn how to make delicious Chicken Recipes Crockpot Healthy for Effortless Dinners. Easy recipe with step-by-step…
 Dinner
Cozy Slow Cooker Chicken & Wild Rice Soup
Delicious Cozy Slow Cooker Chicken & Wild Rice Soup
 Dinner
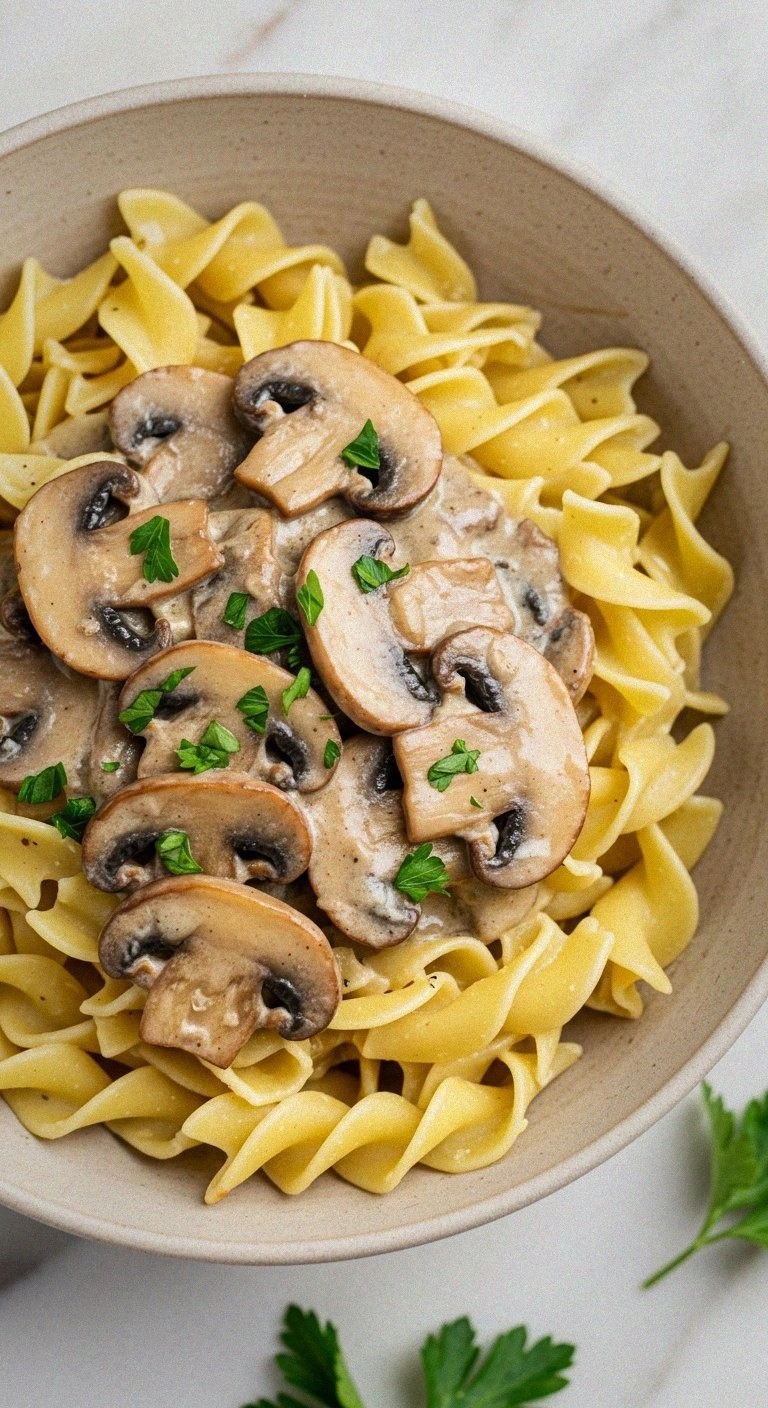
Rich & Creamy Mushroom Stroganoff
Learn how to make delicious Rich & Creamy Mushroom Stroganoff. Easy recipe with step-by-step instructions.
 Dinner
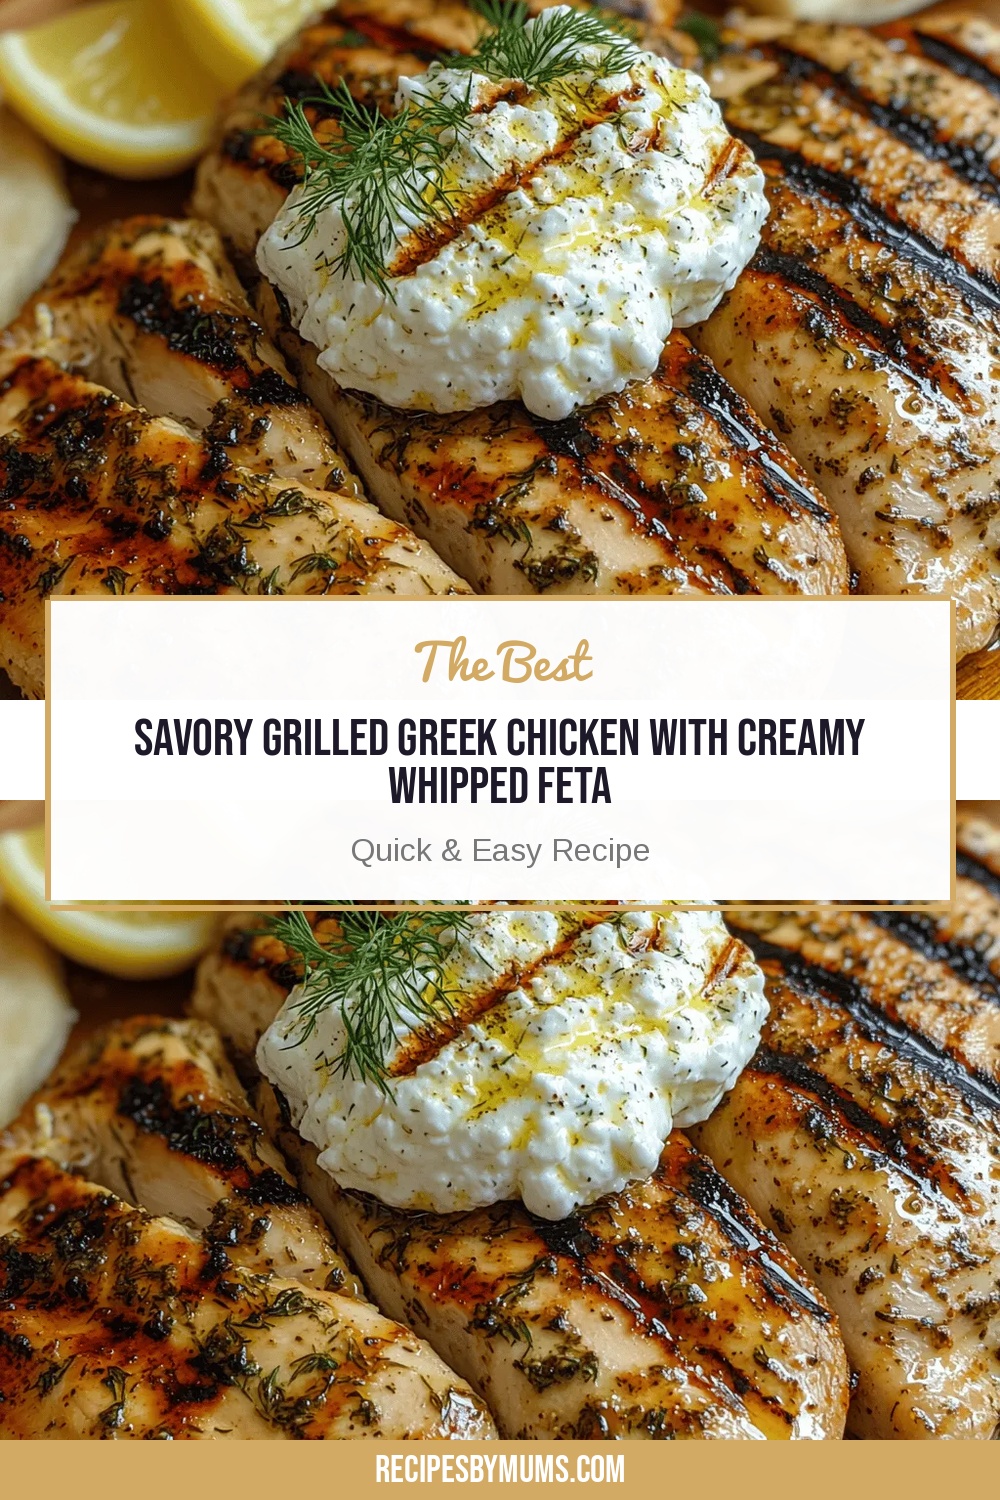
Savory Grilled Greek Chicken with Creamy Whipped Feta
Delicious Savory Grilled Greek Chicken with Creamy Whipped Feta
 Dinner
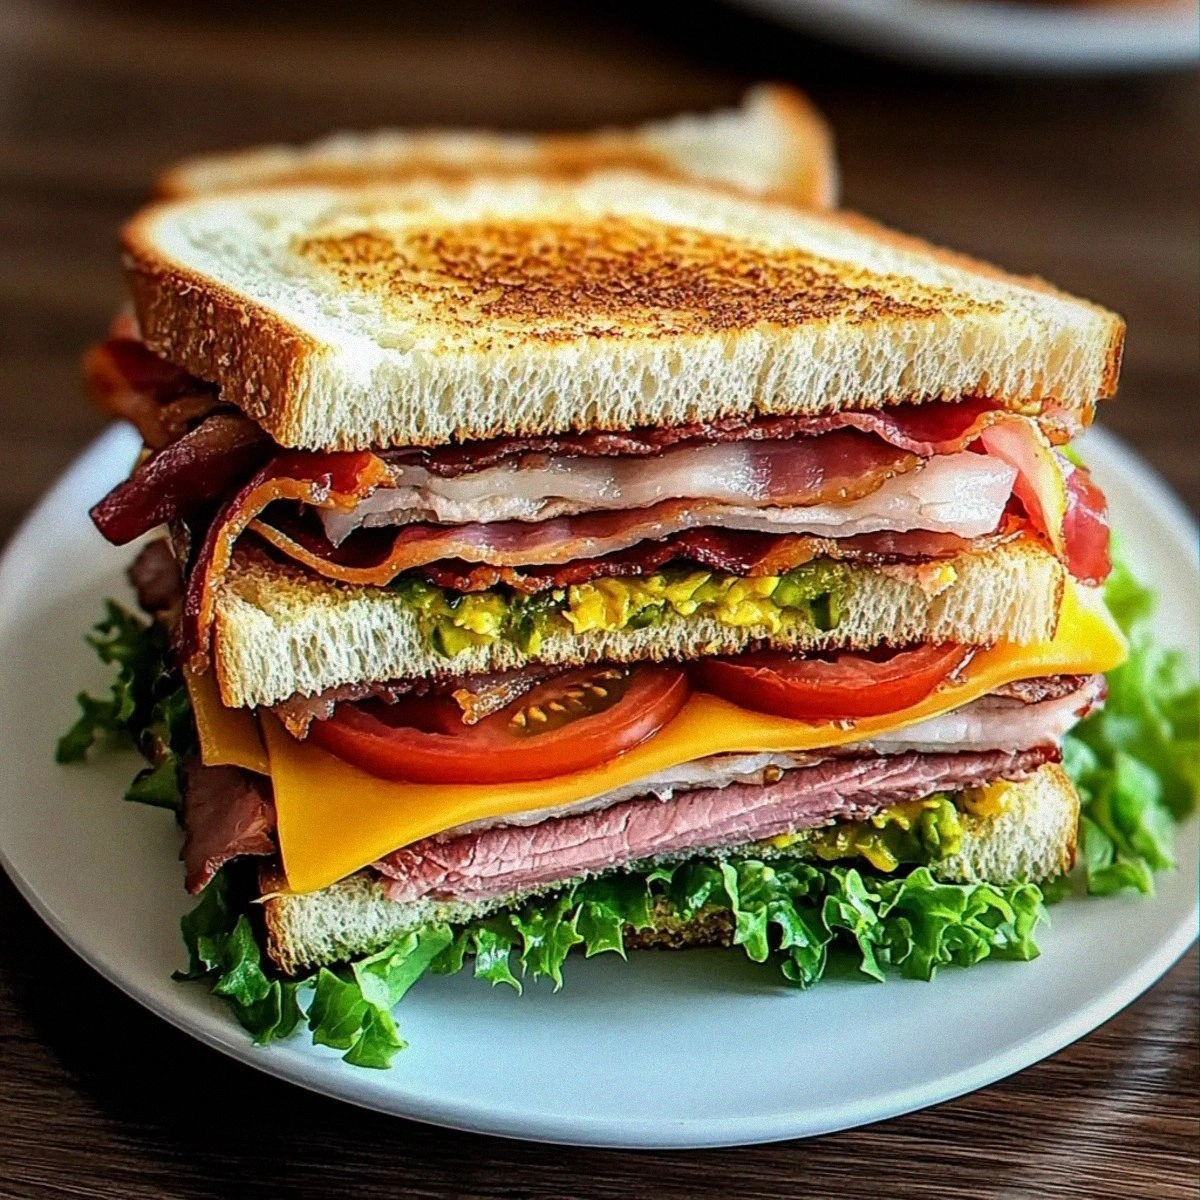
Ultimate Cowboy Club Sandwich: Hearty Layers of Flavor!
Learn how to make delicious Ultimate Cowboy Club Sandwich: Hearty Layers of Flavor!. Easy recipe with…
 Dinner
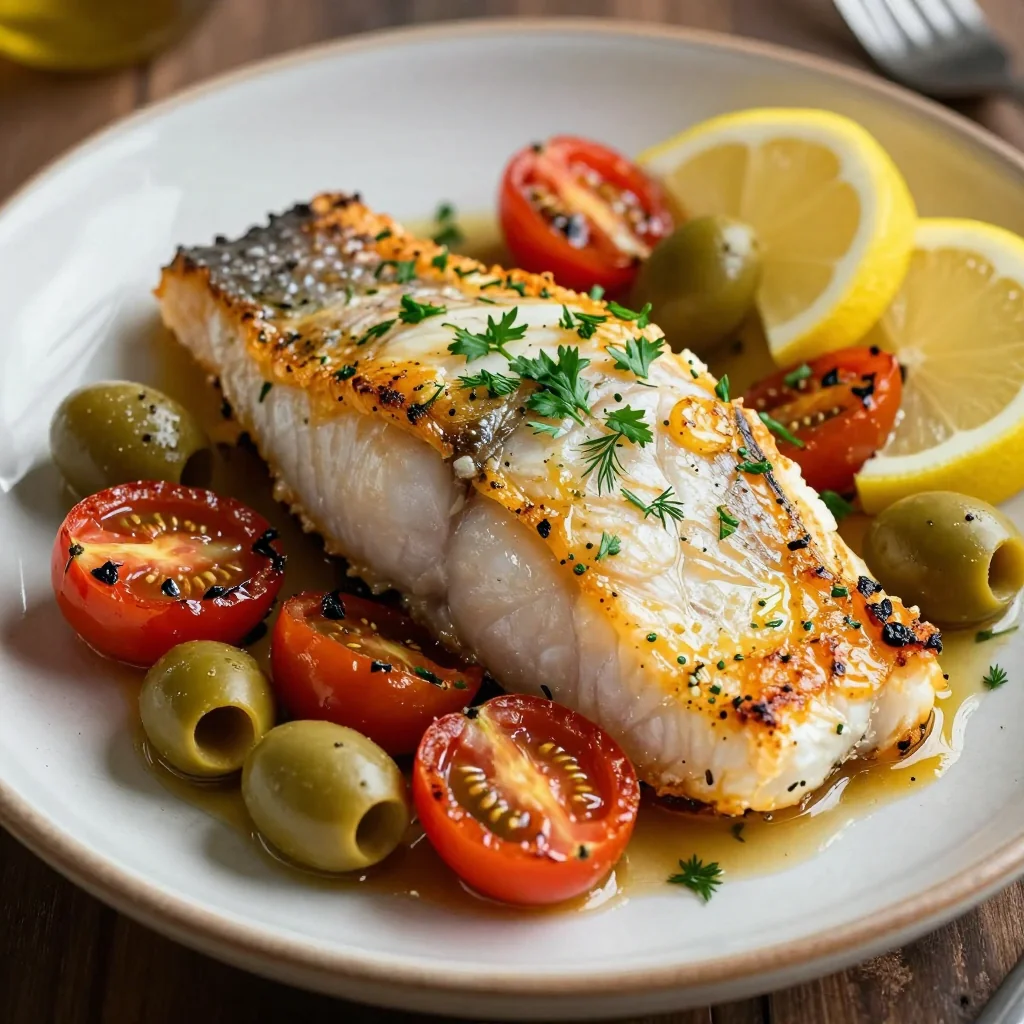
Baked Lemon Herb Cod with Tomatoes and Olives
Learn how to make delicious Baked Lemon Herb Cod with Tomatoes and Olives. Easy recipe with…

Victoria
I cook these recipes at home before they ever land here — simple ingredients, clear steps.