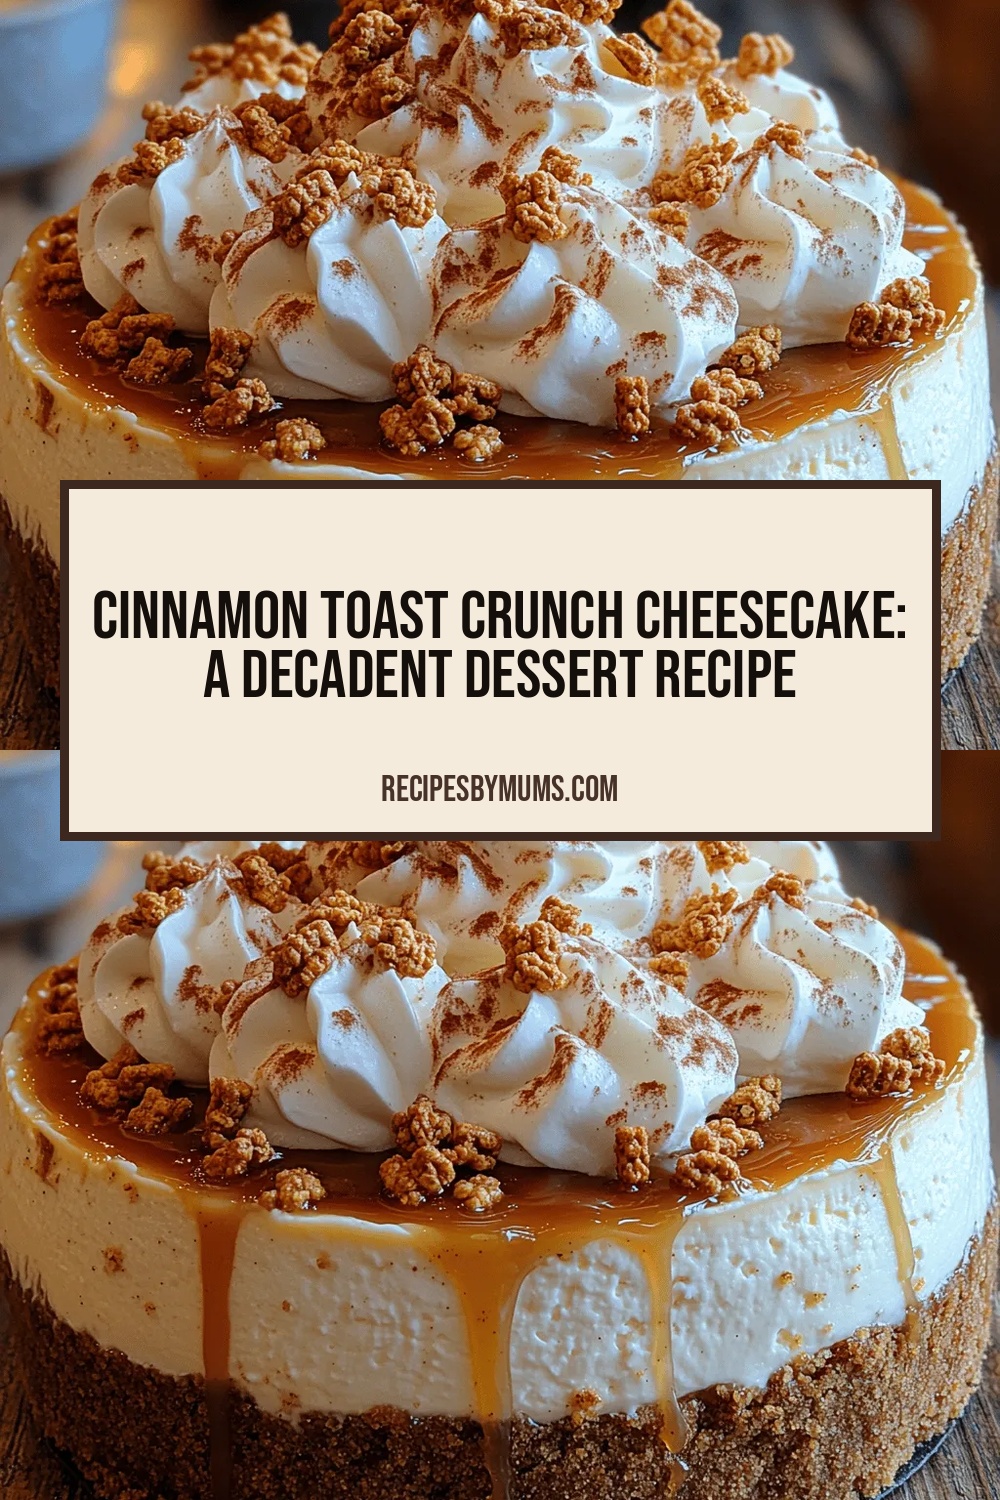
Chill Out Mint Oreo Icebox Cake: Step-by-Step Instructions and Serving Suggestions
 Save
Save
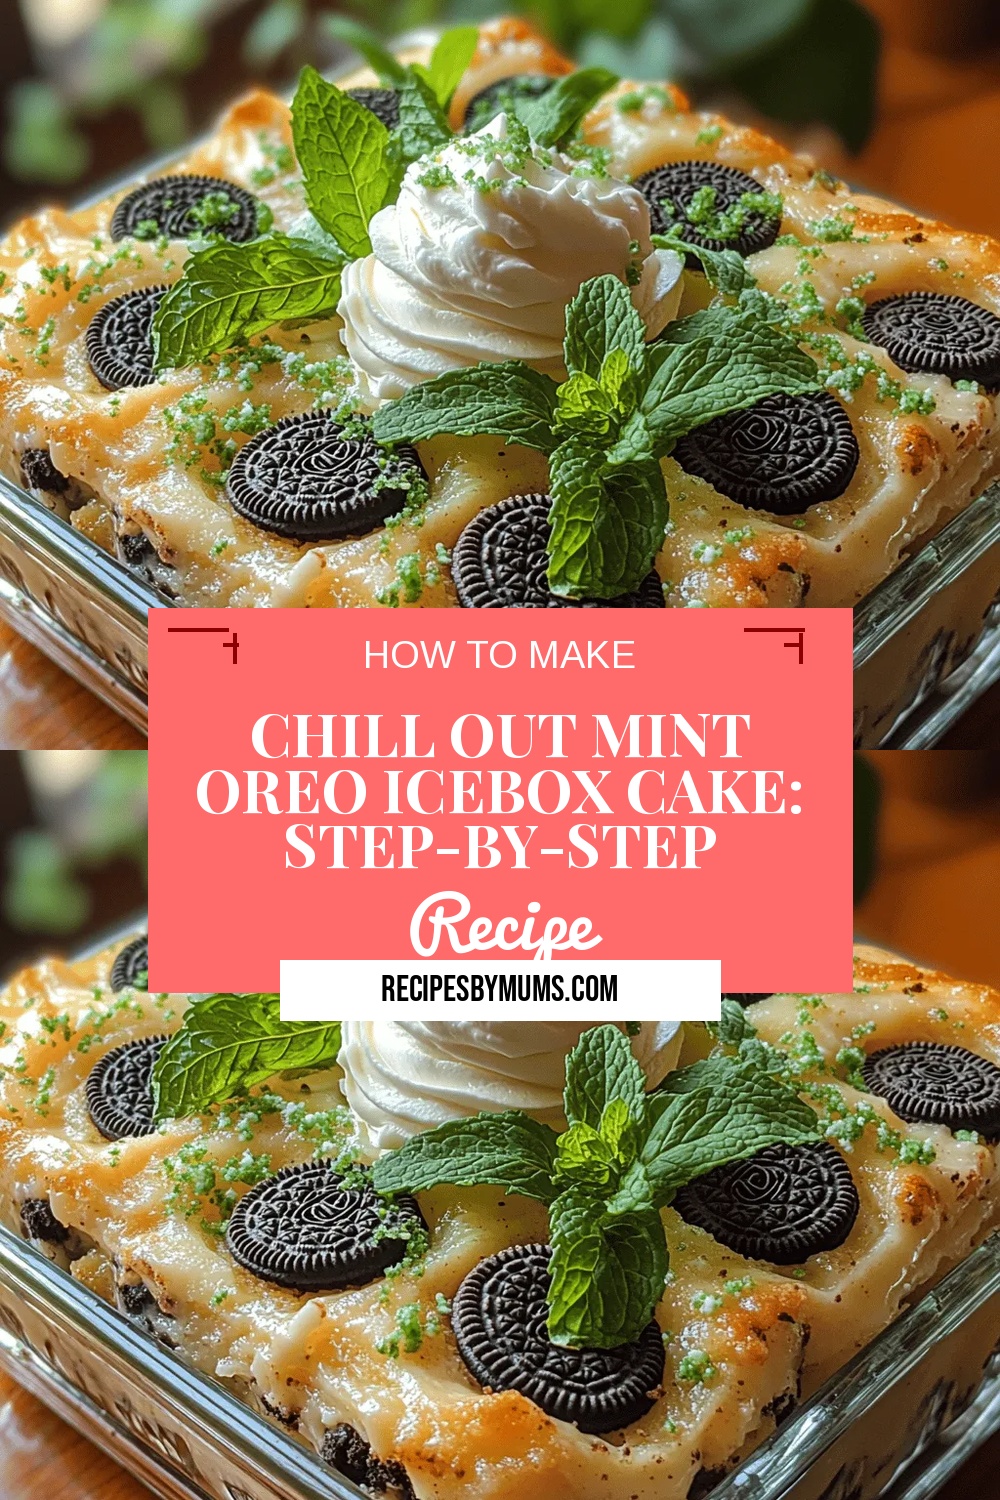
Imagine a dessert that feels like a cool breeze on a hot summer day—soft, creamy, and punctuated by the unmistakable crunch of chocolate‑covered cookies. The Chill Out Mint Oreo Icebox Cake delivers exactly that, layering mint‑infused whipped cream between crunchy Oreo “cookies” for a refreshing twist on a classic no‑bake favorite.
What sets this cake apart is the subtle mint flavor that brightens the rich chocolate and vanilla notes, creating a balanced palate that’s both indulgent and surprisingly light. A quick chill in the refrigerator lets the layers meld, turning a simple assembly into a sophisticated treat.
This dessert is perfect for anyone who loves mint chocolate, from kids craving a fun snack to adults seeking a breezy finish to dinner parties. Serve it at picnics, potlucks, or as a festive holiday finale.
Preparing the cake is straightforward: crush the Oreos, whip a mint‑kissed cream, layer, and let the fridge do the heavy lifting. The result is a stunning, slice‑ready cake that looks as good as it tastes.
Why You'll Love This Recipe
Mint‑Fresh Twist: The cool mint essence lifts the classic Oreo flavor, giving the cake a refreshing palate that feels light yet indulgent.
No Oven Required: Assemble, chill, and serve—perfect for hot weather or when you simply want a hassle‑free dessert.
Make‑Ahead Friendly: The cake improves after a few hours in the fridge, so you can prepare it ahead of time without losing texture.
Eye‑Catching Presentation: Layered slices reveal dark Oreo crumbs and vibrant green mint cream, making it a centerpiece on any dessert table.
Tips & Tricks
Perfecting the Recipe
Use a chilled bowl. Keeping the mixing bowl and beaters cold helps the cream whip faster and hold its shape longer.
Don’t over‑whip. Stop as soon as stiff peaks form; over‑whipping turns the cream grainy and can cause it to separate.
Even crumb layers. Press crumbs gently but firmly to avoid gaps that could cause the cake to crumble when sliced.
Flavor Enhancements
For a richer chocolate note, melt the ganache and swirl it in a marble pattern before chilling. A dash of vanilla extract in the mint cream adds depth, while a sprinkle of sea salt on the garnish balances the sweetness beautifully.
Common Mistakes to Avoid
Skipping the chilling step results in a crumbly cake that falls apart when cut. Also, using low‑fat cream will not whip properly, leading to a runny filling. Finally, avoid adding too much peppermint extract—over‑mint can become harsh.
Pro Tips
Layer thickness matters. Keep each crumb and cream layer about ¼‑inch thick for consistent texture throughout.
Warm your knife. Run the knife under hot water, dry, and slice. This yields cleaner cuts without dragging the cream.
Adjust sweetness. Taste the mint cream before folding; add an extra tablespoon of powdered sugar if you prefer a sweeter profile.
Variations
Ingredient Swaps
Replace Oreo cookies with chocolate wafer cookies for a slightly lighter crunch. Swap peppermint extract for a splash of lime zest and a drizzle of white chocolate ganache to create a tropical “key lime” version. For a nutty twist, fold toasted chopped pistachios into the mint cream.
Dietary Adjustments
Use gluten‑free chocolate sandwich cookies for a celiac‑friendly cake. For a dairy‑free version, substitute heavy cream with chilled coconut cream and use dairy‑free chocolate chips in the ganache. Sweeten with powdered erythritol instead of sugar for a low‑carb adaptation.
Serving Suggestions
Pair each slice with a dollop of fresh berries and a drizzle of raspberry coulis for a tangy contrast. Serve alongside a chilled glass of sparkling lemonade for a party‑ready combo, or top with a scoop of vanilla ice cream for an ultra‑indulgent dessert bar.
Storage Info
Leftover Storage
Keep any leftovers covered tightly with plastic wrap or transferred to an airtight container. Store in the refrigerator for up to 3 days; the crumb layer will continue to soften, creating an even creamier texture. For longer keeping, freeze individual slices wrapped in parchment and then foil for up to 2 months.
Reheating Instructions
This cake is best enjoyed cold, but if you prefer a warm dessert, gently microwave a slice for 10‑15 seconds or place it in a 300°F oven for 5 minutes. Warm the ganache separately and drizzle over the slice to revive the chocolate richness without melting the mint cream.
Frequently Asked Questions
Can I make this cake a day ahead?
What if I don’t have peppermint extract?
Can I use a different type of cookie for the base?
This Chill Out Mint Oreo Icebox Cake delivers a cool, mint‑kissed twist on a beloved classic, all without turning on the oven. By following the detailed steps, using fresh ingredients, and applying the pro tips, you’ll create a dessert that looks as impressive as it tastes. Feel free to experiment with the suggested swaps and make the cake truly yours. Slice, serve, and enjoy every refreshing bite!
Chill Out Mint Oreo Icebox Cake: Step-by-Step Instructions and Serving Suggestions
Delicious Chill Out Mint Oreo Icebox Cake: Step-by-Step Instructions and Serving Suggestions
Ingredients
Main Ingredients
- 24 Oreo cookies (plus 6 extra for garnish)
- 2 cups heavy whipping cream
Mint Cream Filling
- 1/4 cup powdered sugar
- 1 teaspoon pure peppermint extract
- 1 tablespoon fresh mint leaves, finely chopped (optional)
Chocolate Ganache (Optional)
- 1/2 cup semi‑sweet chocolate chips
- 2 tablespoons heavy cream
Instructions
Assembling the Cake
- First Crumb Layer. Press a thin, even layer of Oreo crumbs into the bottom of a 9‑inch springform pan, smoothing with the back of a spoon. This creates a sturdy foundation for the cream.
- First Cream Layer. Spread half of the mint‑whipped cream over the crumb base, using a spatula to reach the edges. The mint flavor will begin to infuse the crumbs as they sit.
- Second Crumb Layer. Sprinkle another generous handful of Oreo crumbs over the cream, gently pressing to embed them without crushing the cream beneath.
- Second Cream Layer. Top with the remaining mint cream, smoothing the surface. For an extra visual pop, drizzle the optional chocolate ganache (see below) over the top at this stage.
- Final Garnish. Crumble the reserved 6 Oreo cookies and scatter them across the surface. Add a few fresh mint leaves for color and aroma.
Similar Recipes
 Desserts
mothers day cake balls: 5 Sweet Ways to Celebrate Mom
Learn how to make delicious mothers day cake balls: 5 Sweet Ways to Celebrate Mom. Easy…
 Desserts
Strawberry Shortcake Icebox Dream: A Refreshing Summer Delight
Delicious Strawberry Shortcake Icebox Dream: A Refreshing Summer Delight
 Desserts
Sweet & Spiced Delight: Pan Fried Cinnamon Bananas
Delicious Sweet & Spiced Delight: Pan Fried Cinnamon Bananas
 Desserts
5-Minute Peach Cobbler Delight
Delicious 5-Minute Peach Cobbler Delight
 Desserts
Air Fryer Cherry Cream Cheese Croissants Recipe
Delicious Air Fryer Cherry Cream Cheese Croissants Recipe
 Desserts
Delicious Pistachio Butter Stuffed Dates for Sweet Cravings
Learn how to make delicious Delicious Pistachio Butter Stuffed Dates for Sweet Cravings. Easy recipe with…
 Desserts
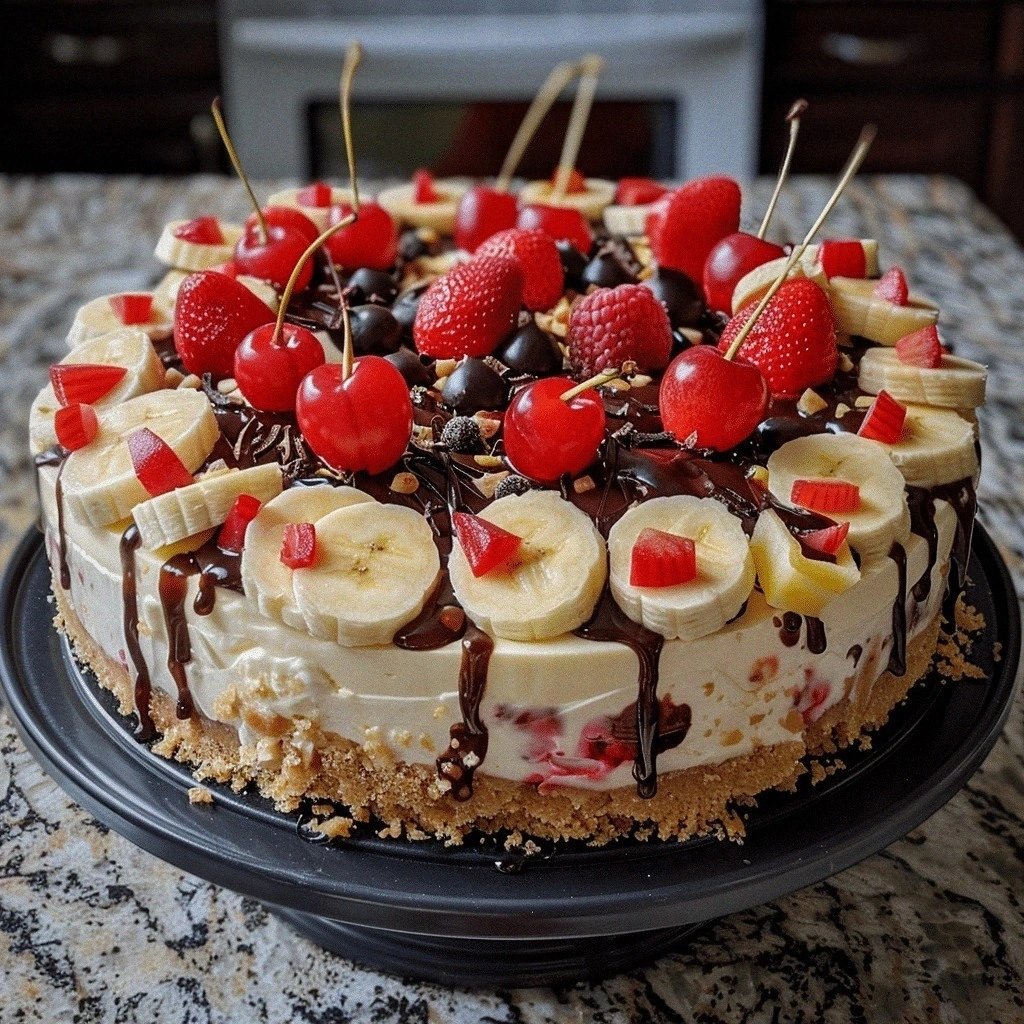
Banana Split Cheesecake Recipe
Learn how to make delicious Banana Split Cheesecake Recipe. Easy recipe with step-by-step instructions.
 Desserts
Decadent Chocolate Hazelnut Mousse Cups
Delicious Decadent Chocolate Hazelnut Mousse Cups

Victoria
I cook these recipes at home before they ever land here — simple ingredients, clear steps.