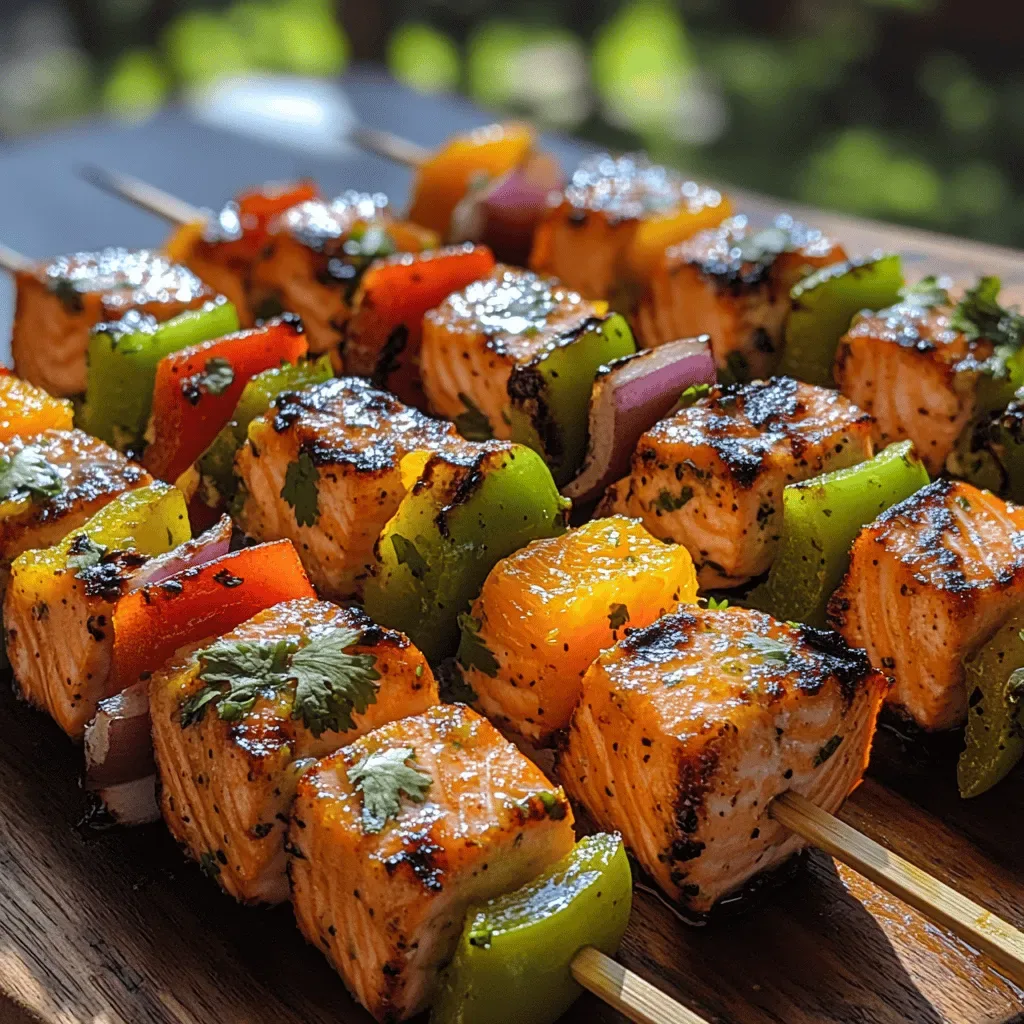
Imagine the zing of fresh orange zest mingling with the warm spice of ginger, all hugging tender pieces of salmon on a sizzling skewer. This bright, aromatic dish turns an ordinary weeknight dinner into a mini‑celebration of flavor.
What makes it truly special is the balance of sweet, tangy, and savory notes, amplified by a quick char that adds a smoky depth without overwhelming the delicate fish.
Busy professionals, health‑conscious families, and anyone craving a vibrant seafood experience will love this recipe, especially when served at dinner parties or casual Friday evenings.
The process is straightforward: marinate the salmon, thread it onto skewers, grill or broil for a caramelized finish, and finish with a glossy orange‑ginger glaze that clings to every bite.
Why You'll Love This Recipe
Bright Citrus‑Ginger Fusion: The fresh orange juice and zest lift the salmon, while ginger adds a gentle heat that awakens the palate without overpowering the fish.
Quick & Easy Prep: With a short marinating time and a single grilling step, you can have a restaurant‑quality dish on the table in under 45 minutes.
Visually Stunning: The vivid orange glaze and char marks create a picture‑perfect plate that impresses guests before the first bite.
Nutritious & Satisfying: Salmon delivers heart‑healthy omega‑3s, while the citrus‑ginger sauce adds antioxidants, making this dish both tasty and good for you.
Ingredients
For these skewers I rely on fresh, high‑quality salmon and a handful of pantry staples that create a glossy, zingy glaze. The orange provides natural sweetness and acidity, while ginger brings a warm, peppery bite. A splash of soy sauce deepens the umami, and a touch of honey balances the tang. Finishing with scallions and toasted sesame seeds adds texture and a burst of freshness.
Main Ingredients
- 1 lb (450 g) salmon fillet, skinless, cut into 1‑inch cubes
- 2 Tbsp olive oil
- 8 metal or soaked wooden skewers
Marinade & Glaze
- ½ cup fresh orange juice
- 2 tsp orange zest
- 1 Tbsp grated fresh ginger
- 2 Tbsp low‑sodium soy sauce
- 1 Tbsp honey
- 1 tsp toasted sesame oil
Seasonings & Garnish
- ½ tsp sea salt
- ¼ tsp freshly ground black pepper
- 2 green onions, thinly sliced
- 1 Tbsp toasted sesame seeds
Each component plays a role: the citrus brightens, the ginger adds depth, soy sauce contributes savory richness, and honey balances acidity. Olive oil helps the salmon stay moist while it grills, and the final garnish supplies a crunchy, aromatic finish that elevates every bite.
Step-by-Step Instructions
Preparing the Marinade
In a medium bowl combine ½ cup fresh orange juice, 2 tsp orange zest, 1 Tbsp grated fresh ginger, 2 Tbsp low‑sodium soy sauce, 1 Tbsp honey, and 1 tsp toasted sesame oil. Whisk until the honey dissolves completely; this creates a smooth, glossy glaze that will coat the salmon evenly.
Marinating the Salmon
Place the salmon cubes in the bowl, drizzle with 2 Tbsp olive oil, and sprinkle with ½ tsp sea salt and ¼ tsp black pepper. Toss gently to coat every piece, then let the mixture rest for 10‑15 minutes at room temperature. This short marination allows the orange‑ginger flavors to penetrate without cooking the fish.
Assembling the Skewers
- Thread the salmon. Slide each salmon cube onto a skewer, leaving a small gap between pieces for even heat distribution. This spacing ensures each cube gets a crisp edge while staying juicy inside.
- Preheat the grill or broiler. Set a grill to medium‑high heat (about 400°F) or position an oven rack 6‑inches below the broiler and preheat to 500°F. A hot surface creates the signature caramelized char.
- Oil the grates. Lightly brush the grill grates or a broiler pan with a thin layer of olive oil to prevent sticking. This also helps achieve those appealing grill marks.
- Cook the skewers. Place the skewers on the hot surface and grill for 2‑3 minutes per side, turning once. Look for a deep golden‑brown glaze and a slight crisp on the edges; the interior should be opaque but still moist.
- Finish with glaze. In the last minute of cooking, brush any remaining orange‑ginger mixture over the skewers. This extra layer caramelizes, adding a shiny, flavorful finish.
Plating & Garnish
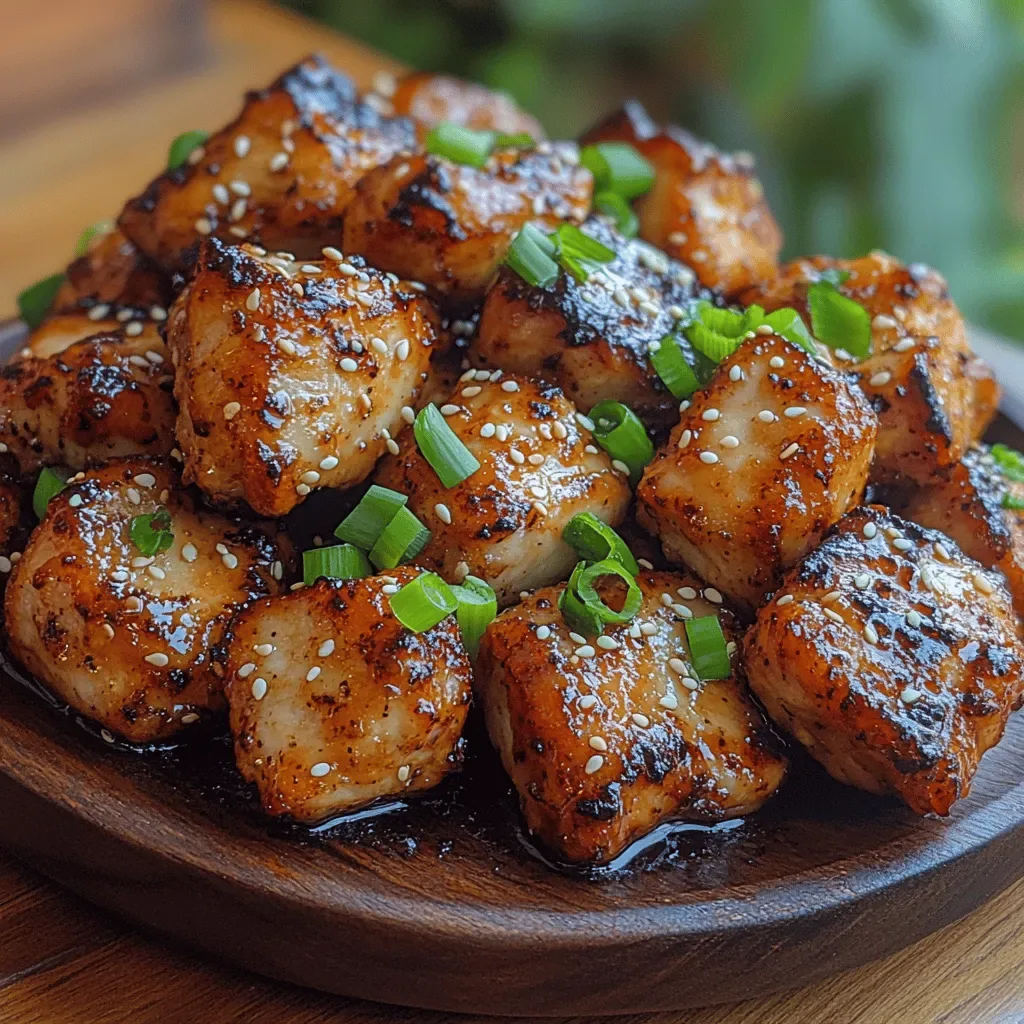
Remove the skewers from heat and let them rest for 2 minutes—this locks in juices. Sprinkle with 2 green onions and 1 Tbsp toasted sesame seeds for a pop of color and texture. Serve immediately with a wedge of orange or lime for an extra burst of citrus.
Tips & Tricks
Perfecting the Recipe
Dry the salmon. Pat the cubes dry with paper towels before marinating; excess moisture hinders browning and can cause steaming instead of searing.
Even cube size. Cut the salmon into uniform pieces so they cook at the same rate, preventing some cubes from overcooking while others stay raw.
Pre‑heat the grill. A properly heated grill creates instant sear, locking in moisture and producing the signature char marks.
Rest before serving. Letting the skewers rest for a couple of minutes redistributes juices, ensuring each bite stays moist.
Flavor Enhancements
Add a splash of rice‑vinegar to the glaze for extra brightness, or stir in a pinch of chili flakes for subtle heat. A drizzle of extra‑virgin olive oil right before serving adds a silky mouthfeel.
Common Mistakes to Avoid
Avoid over‑marinating; the acid in orange juice can start “cooking” the salmon and make it mushy. Also, don’t flip the skewers too frequently—let each side develop a crust before turning.
Pro Tips
Use a meat thermometer. Aim for an internal temperature of 125°F for medium‑rare; the fish will finish cooking during resting.
Toast the sesame seeds. Lightly toast them in a dry pan for 2 minutes to unlock a nutty aroma that elevates the final dish.
Skewer with foil. If using wooden skewers, soak them for at least 30 minutes to prevent burning and ensure even heat transfer.
Finish with fresh herbs. A quick sprinkle of cilantro or mint right before serving adds a fresh, aromatic lift.
Variations
Ingredient Swaps
Replace salmon with firm white fish such as cod or halibut for a milder taste. Swap orange juice for grapefruit or blood orange for a deeper citrus profile. For a sweeter glaze, use maple syrup instead of honey, or add a spoonful of miso paste for umami depth.
Dietary Adjustments
For a gluten‑free version, ensure the soy sauce is certified gluten‑free or substitute with tamari. To keep it dairy‑free, simply omit any butter finishes. Keto diners can replace honey with a low‑carb sweetener like erythritol and serve the skewers over cauliflower rice.
Serving Suggestions
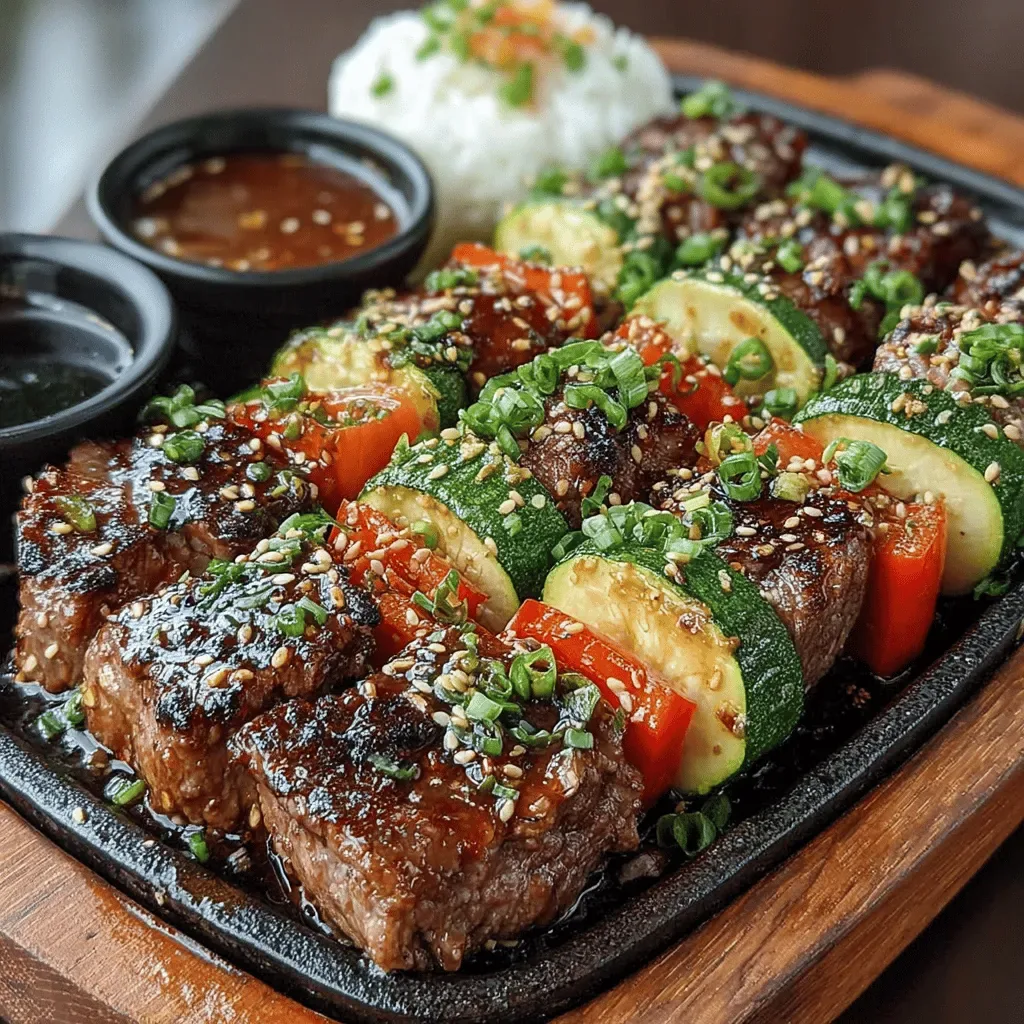
Pair the skewers with jasmine rice, quinoa, or a light cucumber‑mint salad. For a more indulgent spread, serve alongside buttery garlic naan or a crusty baguette to soak up the glaze. A side of grilled asparagus or snap peas adds a crisp, green contrast.
Storage Info
Leftover Storage
Cool the skewers to room temperature, then transfer them to an airtight container. Refrigerate for up to 3 days. For longer keeping, portion into freezer‑safe bags, removing as much air as possible, and freeze for up to 2 months. Label with date for easy reference.
Reheating Instructions
Reheat gently in a 350°F oven, covered with foil, for 12‑15 minutes to retain moisture. Alternatively, place on a hot grill pan for 2‑3 minutes per side, brushing with a little extra glaze to revive the shine.
Frequently Asked Questions
This Zingy Orange Ginger Salmon Skewers recipe blends bright citrus, warm ginger, and succulent salmon into a dish that’s both elegant and approachable. With clear steps, storage tips, and plenty of variations, you have everything needed to make it a staple in your dinner rotation. Feel free to experiment with the suggested swaps or add your own twist—cooking is your playground. Gather the skewers, fire up the grill, and enjoy a burst of flavor that will have everyone asking for seconds.