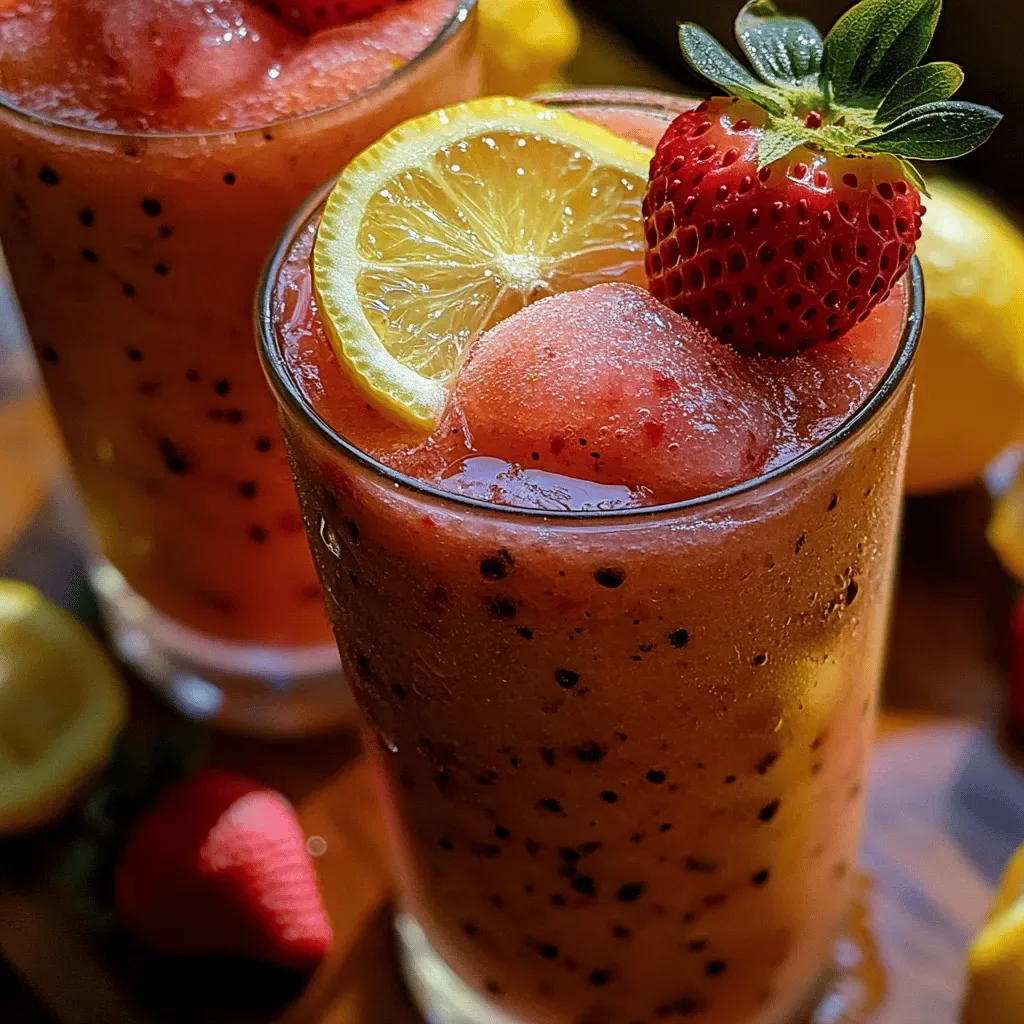
Zesty Strawberry Lemon Blondies: A Delightful Summer Treat
 Save
Save
Imagine biting into a soft, buttery square that bursts with the bright tang of lemon and the sweet juiciness of strawberries—welcome to Zesty Strawberry Lemon Blondies, the perfect summer treat that feels both indulgent and refreshing.
What makes these blondies stand out is the harmony between a classic vanilla‑butter base and a lively swirl of strawberry‑lemon compote, finished with a light citrus glaze that adds a glossy, zingy finish.
Kids, teens, and adults alike will adore the vibrant pink hue and the balance of sweet‑tart flavors, making them ideal for backyard picnics, brunches, or an after‑dinner surprise.
The process is straightforward: whisk a simple batter, fold in fresh strawberries, bake until golden, then drizzle a quick lemon glaze while the squares are still warm. In under an hour you’ll have a tray of eye‑catching blondies ready to share.
Why You'll Love This Recipe
Bright Summer Flavors: The combination of fresh strawberries and lemon zest creates a lively, palate‑cleansing taste that screams sunshine on every bite.
Simple Ingredient List: With pantry staples like butter, flour, and sugar plus a handful of fruit, the recipe is accessible for any home baker.
Visually Stunning: The pink‑orange swirl and glossy glaze make these blondies a show‑stopper for any dessert table or Instagram feed.
Kid‑Friendly Fun: Little hands love mixing the batter and spotting the strawberry pieces, turning baking into a delightful family activity.
Tips & Tricks
Perfecting the Recipe
Use room‑temperature eggs. They incorporate more easily into the butter‑sugar mixture, creating a smoother batter and preventing lumps.
Don’t over‑mix. Once the flour is added, mix just until combined. Over‑mixing develops gluten, which can make blondies tough instead of tender.
Evenly distribute strawberries. Toss the berries with a teaspoon of flour before folding; this prevents them from sinking to the bottom during baking.
Flavor Enhancements
Add a pinch of sea‑salt flakes on top of the glaze for a subtle contrast that heightens the lemon zing. For extra depth, stir a tablespoon of almond extract into the batter alongside vanilla. A light dusting of powdered sugar just before serving adds an elegant finish without altering flavor.
Common Mistakes to Avoid
Skipping the cooling period before glazing can cause the glaze to run off, leaving a sticky mess. Also, baking at too high a temperature creates a dry top while the interior stays undercooked; keep the oven at 350°F and watch the toothpick test closely.
Pro Tips
Line the pan with parchment. This guarantees clean removal of the blondies and prevents sticking, especially after adding the glaze.
Use a light hand with the glaze. Drizzle just enough to coat the surface; excess glaze can make the blondies soggy.
Store in a single layer. If you need to stack, place parchment sheets between layers to keep the glaze intact.
Variations
Ingredient Swaps
Swap strawberries for raspberries or blueberries for a different berry profile. Replace lemon zest with orange zest for a sweeter citrus twist, or add a handful of white chocolate chips for extra richness. Coconut flakes mixed into the batter give a tropical edge.
Dietary Adjustments
For a gluten‑free version, use a 1:1 gluten‑free flour blend. Substitute butter with coconut oil or a vegan margarine to make it dairy‑free, and replace the egg with a flax‑egg (1 Tbsp ground flaxseed + 3 Tbsp water). Use agave nectar instead of brown sugar for a lower‑glycemic option.
Serving Suggestions
Pair the blondies with a dollop of lightly sweetened whipped cream or a scoop of vanilla bean ice cream. A drizzle of raspberry coulis adds a complementary tartness. For a brunch spread, serve alongside fresh fruit salad and a glass of chilled rosé.
Storage Info
Leftover Storage
Allow the blondies to cool completely, then transfer them to an airtight container. Store in the refrigerator for up to 4 days. For longer keeping, wrap individual squares in plastic wrap and freeze for up to 2 months; this prevents freezer burn and preserves the glaze.
Reheating Instructions
Reheat refrigerated blondies in a 300°F (150°C) oven for 8‑10 minutes, or until warmed through. For frozen portions, let them thaw overnight, then follow the same oven method. A microwave on medium power for 20‑30 seconds works in a pinch, but the oven retains the best texture.
Frequently Asked Questions
Can I make these blondies ahead of time?
What if fresh strawberries aren’t in season?
How do I know when the blondies are done?
Can I use a different pan size?
Zesty Strawberry Lemon Blondies bring together buttery richness, fresh fruit, and a citrus sparkle in a single, easy‑to‑make dessert. With clear steps, handy tips, and plenty of variations, you can tailor them to any palate or dietary need. Feel free to experiment with different berries or a hint of spice—baking is all about making the recipe yours. Serve them warm, share them with friends, and enjoy every bright, summery bite!
Zesty Strawberry Lemon Blondies: A Delightful Summer Treat
Delicious Zesty Strawberry Lemon Blondies: A Delightful Summer Treat
Ingredients
Dry Components
- 1 ½ cups all‑purpose flour
- ½ teaspoon baking powder
- ¼ teaspoon fine sea salt
Wet Components
- ¾ cup unsalted butter, melted and cooled
- 1 cup light brown sugar, packed
- 2 large eggs, room temperature
- 1 teaspoon pure vanilla extract
Fruit & Citrus
- 1 cup fresh strawberries, hulled and quartered
- Zest of 1 large lemon (about 2 tablespoons)
- 2 tablespoons freshly squeezed lemon juice
Glaze
- ½ cup powdered sugar
- 1 tablespoon lemon juice (more if needed)
Instructions
Mixing the Batter
- Combine dry ingredients. In a separate bowl sift the flour, baking powder, and salt. Folding the dry mix into the wet batter gently prevents over‑mixing, which keeps the crumb tender.
- Stir in strawberries. Add the quartered strawberries and lemon juice, folding just until evenly distributed. The juice brightens the batter while the fruit pieces stay intact for a burst of flavor.
- Check consistency. The batter should be thick but spreadable; if it feels too stiff, drizzle a tablespoon of milk. This step ensures the blondies rise evenly during baking.
- Transfer to pan. Spread the batter evenly in the prepared pan, smoothing the top with a spatula. A uniform surface guarantees consistent baking and a golden‑brown crust.
Baking & Finishing
- Cool slightly. Allow the blondies to rest in the pan for 10 minutes; this helps the glaze adhere without sliding off.
- Prepare the glaze. Whisk powdered sugar with lemon juice until smooth. If the glaze is too thick, add a splash more juice; if too thin, add a pinch more sugar.
- Drizzle the glaze. Pour the glaze over the warm blondies, using a spatula to spread it evenly. The heat will set the glaze, giving it a glossy finish.
- Slice and serve. Once completely cool, cut into 12 squares. The blondies will retain their soft interior and firm edges, delivering a perfect bite of sweet‑tart summer flavor.
Similar Recipes
 Desserts
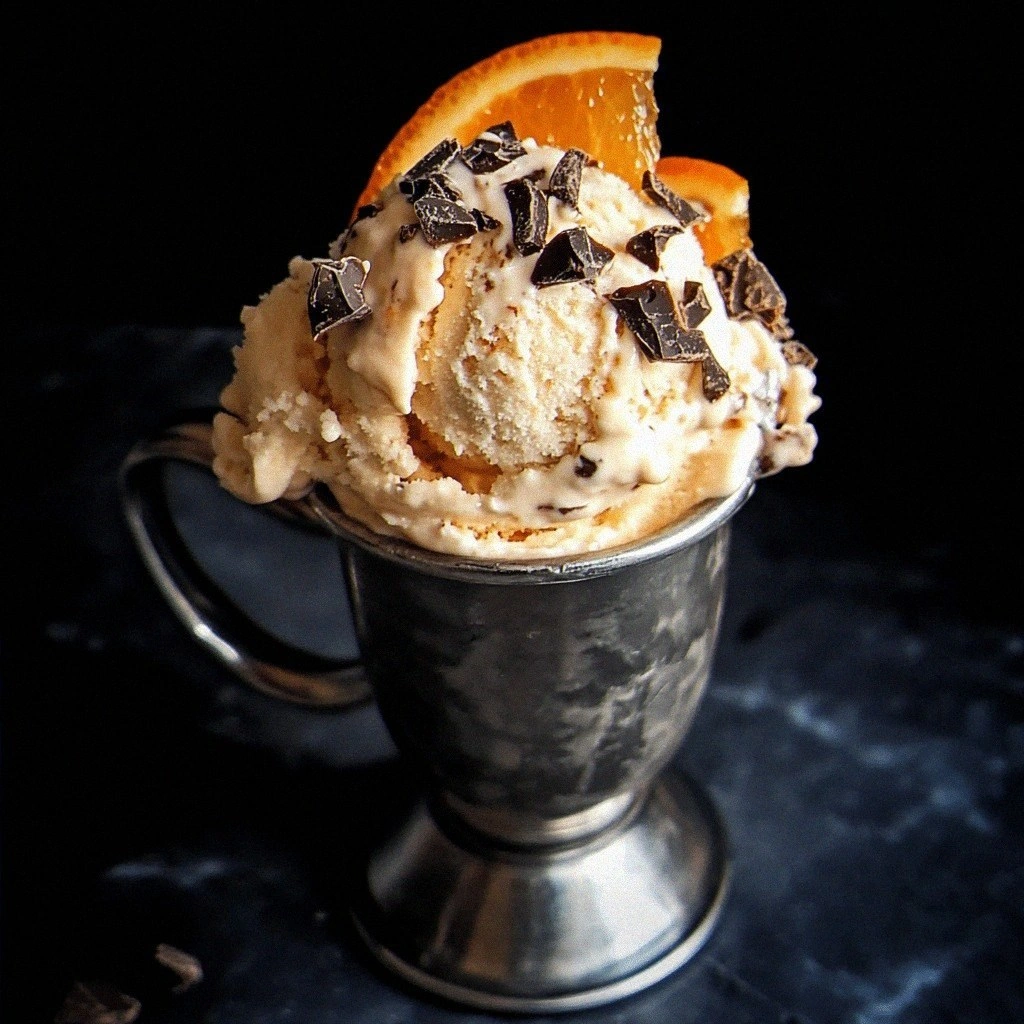
Chocolate and Orange Ricotta Ice Cream
Learn how to make delicious Chocolate and Orange Ricotta Ice Cream. Easy recipe with step-by-step instructions.
 Desserts
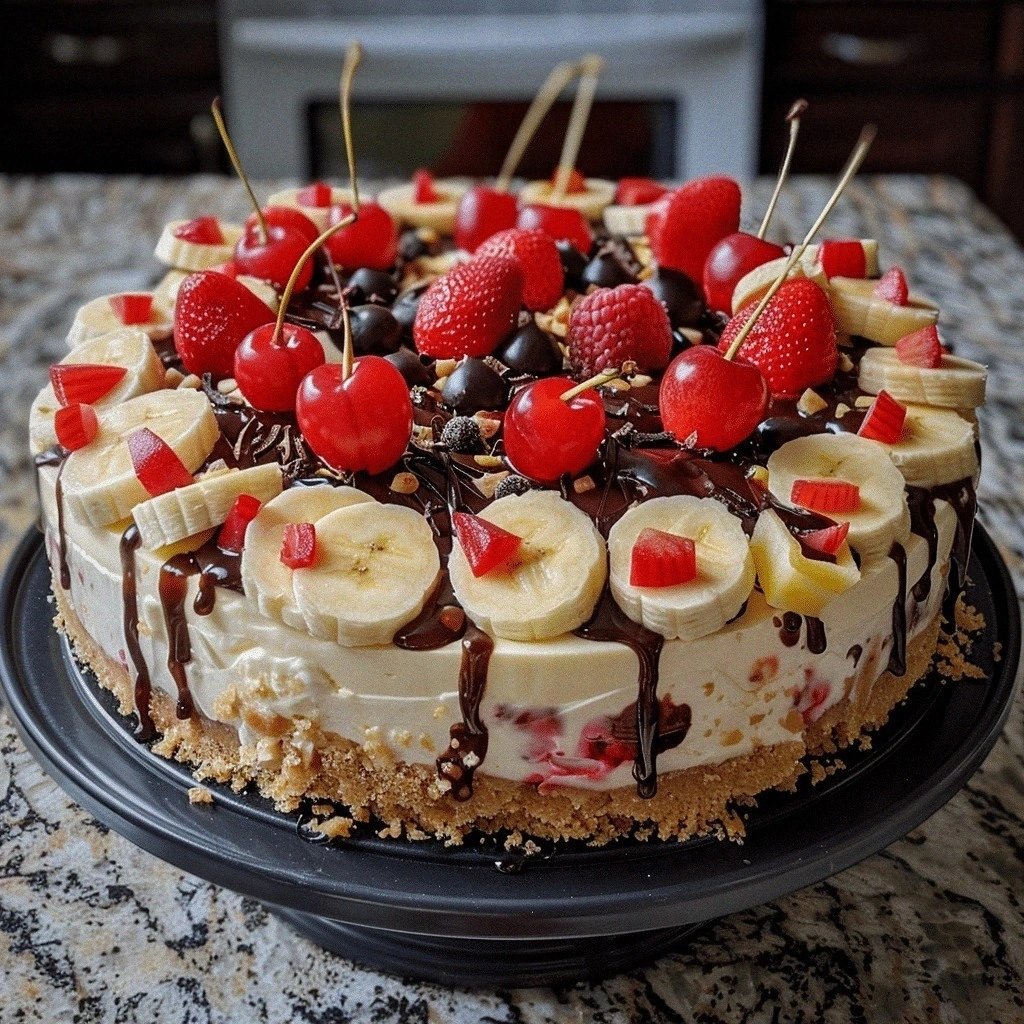
Banana Split Cheesecake Recipe
Learn how to make delicious Banana Split Cheesecake Recipe. Easy recipe with step-by-step instructions.
 Desserts
Heavenly No-Bake Chocolate Peanut Butter Bites
Delicious Heavenly No-Bake Chocolate Peanut Butter Bites
 Desserts
Oreo Cookies and Cream Cinnamon Rolls: A Sweet Twist on a Classic Treat
Delicious Oreo Cookies and Cream Cinnamon Rolls: A Sweet Twist on a Classic Treat
 Desserts
Verführerische Lace Cookies mit Schokolade – 5 Geheimnisse für Perfektion
Learn how to make delicious Verführerische Lace Cookies mit Schokolade – 5 Geheimnisse für Perfektion. Easy…
 Desserts
Decadent No-Bake Millionaire’s Shortbread: A Luxurious Dessert Experience
Delicious Decadent No-Bake Millionaire’s Shortbread: A Luxurious Dessert Experience
 Desserts
Rainbow Bliss Fruit Salad Bowl: A Refreshing Delight
Delicious Rainbow Bliss Fruit Salad Bowl: A Refreshing Delight
 Desserts
Chill Out Mint Oreo Icebox Cake: Step-by-Step Instructions and Serving Suggestions
Delicious Chill Out Mint Oreo Icebox Cake: Step-by-Step Instructions and Serving Suggestions

Victoria
I cook these recipes at home before they ever land here — simple ingredients, clear steps.