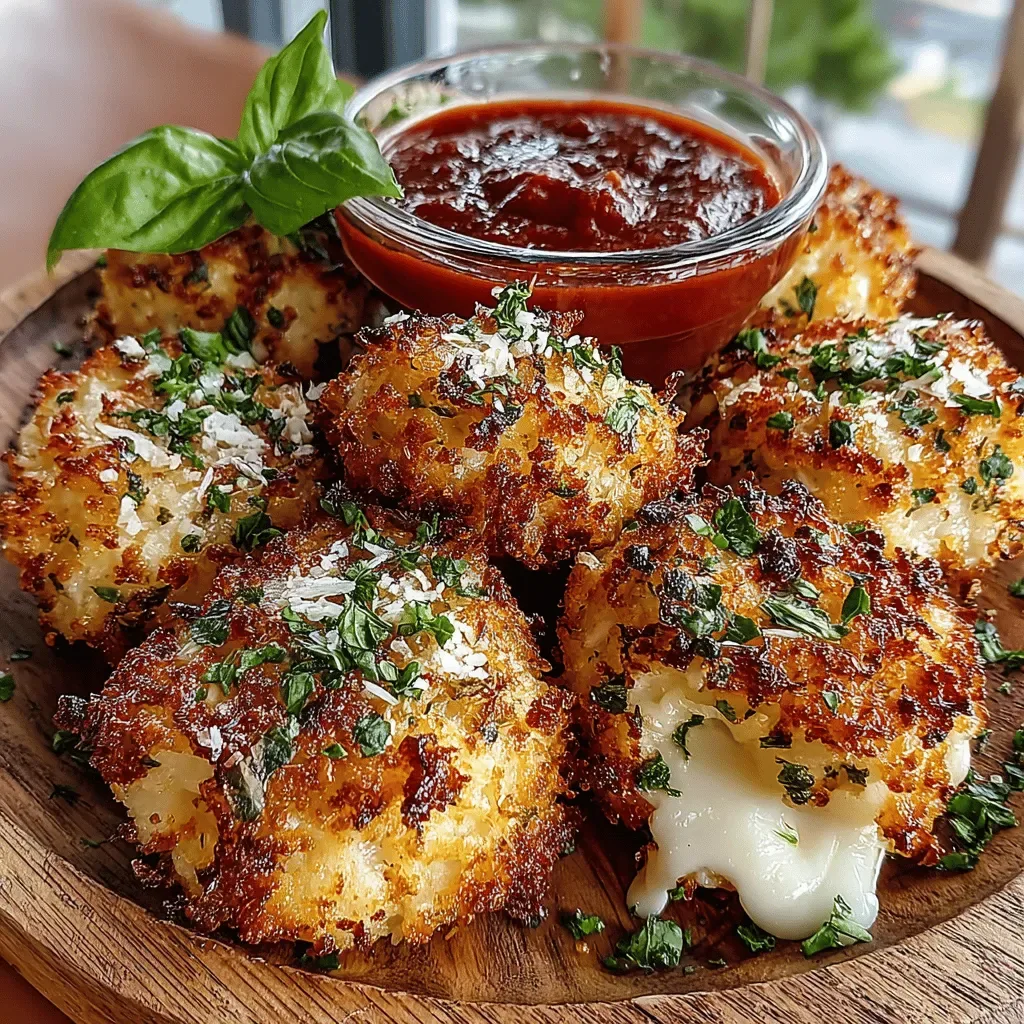
It was a crisp Saturday morning in early autumn, the kind where the air smells faintly of fallen leaves and the kitchen is already humming with the promise of something warm. I remember standing on a wobbling wooden stool, watching the steam rise from a pan of batter that seemed to dance like tiny clouds. The moment I lifted the lid, a fragrant wave of vanilla and butter swirled around the room, coaxing my sleepy family out of their blankets and straight to the table. That first bite—soft, slightly crisp at the edges, and just sweet enough to make the tongue sing—has been my go‑to comfort ever since, and now I’m sharing the secret with you.
Mini German pancakes, known in Germany as Pfannkuchen or Hupfdohlen, are those delightful bite‑size puffed wonders that puff up like tiny golden balloons when they hit a hot pan. They’re the perfect bridge between a breakfast treat and a dessert that feels indulgent without being over the top. What makes them truly magical is the way the batter rises and forms a crisp, caramelized crust while staying airy and buttery inside—an alchemy that many home cooks chase but few master. Have you ever wondered why the restaurant version looks so perfectly puffed while yours stays flat? The answer lies in a few tiny details that I’m about to reveal.
But wait—there’s a secret trick in step four that will change the way you think about batter entirely. I’ll walk you through every nuance, from choosing the right flour to the exact moment you should swirl the pan. You’ll discover why a pinch of salt can make the flavor pop like fireworks, and why a splash of vanilla extract is the hidden hero that ties everything together. By the end of this article, you’ll not only have a flawless batch of mini pancakes, but you’ll also have a toolbox of tips that will elevate any quick‑mix batter you ever attempt.
Here’s exactly how to make it — and trust me, your family will be asking for seconds, thirds, and maybe even a whole extra pan. Grab your whisk, preheat your oven, and let’s turn a simple breakfast into a celebration of flavor, texture, and pure joy. Ready? Let’s dive in.
🌟 Why This Recipe Works
- Flavor Depth: The combination of vanilla and a modest amount of sugar creates a sweet‑but‑not‑cloying base that lets the buttery notes shine. Each bite delivers a balanced sweetness that pairs beautifully with fresh fruit or a drizzle of maple syrup.
- Texture Harmony: The batter’s high liquid‑to‑flour ratio, paired with melted butter, yields a crisp edge while keeping the interior light and fluffy. This contrast is what makes each mini pancake feel luxurious on the palate.
- Ease of Execution: With just seven pantry staples, you won’t need any fancy equipment—just a non‑stick skillet or a mini muffin pan. The steps are straightforward, making it perfect for both beginners and seasoned cooks.
- Time Efficiency: From start to finish it takes under an hour, meaning you can whip up a batch even on a busy weekday morning. The batter rests briefly, which speeds up cooking while enhancing flavor.
- Versatility: These mini pancakes serve as a canvas for sweet or savory toppings—think powdered sugar, fresh berries, or even a dollop of smoked salmon and crème fraîche for an elegant brunch.
- Nutrition Balance: Using whole milk and eggs provides protein and calcium, while the modest sugar keeps the glycemic impact reasonable. You get a satisfying, nutrient‑dense bite without feeling guilty.
- Ingredient Quality: Each component—fresh eggs, real butter, and pure vanilla—contributes to a clean, authentic flavor that artificial extracts simply can’t mimic.
- Crowd‑Pleaser Factor: Their bite‑size nature makes them perfect for kids, brunch parties, or a cozy weekend breakfast. Everyone loves the visual appeal of a golden puff rising from the pan.
🥗 Ingredients Breakdown
The Foundation
The backbone of any good pancake is the egg‑milk‑flour trio. 3 large eggs act as both leavening agents and emulsifiers, trapping air and creating that signature puff. Using fresh, room‑temperature eggs ensures they blend smoothly without curdling. ⅔ cup whole milk adds moisture and a subtle richness; whole milk’s fat content contributes to a tender crumb, while the lactose subtly sweetens the batter. If you’re dairy‑free, a full‑fat coconut milk can stand in, but expect a faint coconut aroma that can be delightful.
Aromatics & Sweeteners
1 teaspoon vanilla extract is the aromatic heart of this recipe. Pure vanilla brings a warm, floral note that elevates the simple batter into something memorable. If you have a vanilla bean on hand, split it and scrape the seeds for an even richer flavor. 1 tablespoon granulated sugar provides just enough sweetness to balance the butter without overwhelming the palate. For a deeper caramel note, you could swap half the sugar for brown sugar, but be mindful that it will also add a slight molasses flavor.
The Secret Weapons
⅔ cup all‑purpose flour gives structure while still allowing the batter to spread thinly. Sifting the flour before mixing prevents lumps and ensures an even texture. ¼ teaspoon salt isn’t just for seasoning; it amplifies the other flavors and helps the batter set quickly, giving you that crisp edge. Finally, 2 tablespoon unsalted butter melted and cooled slightly adds richness and aids in browning. Using unsalted butter lets you control the salt level precisely, and the butter’s milk solids contribute to the golden crust.
Finishing Touches
While the core ingredients do the heavy lifting, a few optional add‑ins can personalize the experience. A pinch of cinnamon or nutmeg adds a cozy spice note, perfect for autumn mornings. A splash of orange zest can brighten the flavor profile, making it feel festive for a holiday brunch. The key is to add these extras sparingly so they complement rather than dominate the delicate balance.
With your ingredients prepped and ready, let's get cooking. Here’s where the fun really begins…
🍳 Step-by-Step Instructions
-
Start by cracking the three large eggs into a medium bowl. Using a whisk, beat them until the yolks and whites are fully combined and a light froth forms on the surface. This initial aeration is crucial because it introduces tiny air bubbles that will later expand in the hot pan, giving the pancakes their signature puff. Once the eggs are uniformly mixed, set the bowl aside for a moment while you measure the dry ingredients.
-
In a separate bowl, sift together the ⅔ cup of all‑purpose flour, ¼ teaspoon of salt, and the tablespoon of granulated sugar. Sifting not only eliminates lumps but also incorporates air, which contributes to a lighter batter. After the dry mix is ready, create a well in the center and pour in the ⅔ cup of whole milk and the melted butter, followed by the vanilla extract. The liquid should be at room temperature to avoid shocking the eggs.
💡 Pro Tip: Add the wet ingredients slowly while whisking, allowing the flour to hydrate gradually. This prevents a gritty texture and ensures a silky smooth batter. -
Combine the wet and dry mixtures by gently folding them together with the whisk. You’ll notice the batter turning a pale, slightly glossy consistency; it should be pourable but not runny. Avoid over‑mixing—once the flour disappears, stop whisking. Over‑mixing can develop gluten, leading to dense pancakes instead of airy puffs. Let the batter sit for about 10 minutes; this rest period lets the flour fully absorb the liquids and the air bubbles to stabilize.
-
While the batter rests, preheat a non‑stick skillet over medium‑high heat. The ideal temperature is when a few drops of water sizzle and evaporate within two seconds. Add a small knob of butter—just enough to coat the surface—and swirl it until it foams and turns a light golden brown. This is the moment where the magic begins: the butter’s milk solids will caramelize, giving the pancakes a nutty aroma that fills the kitchen.
⚠️ Common Mistake: If the pan is too hot, the butter will burn before the batter even touches the surface, resulting in a bitter taste and uneven puff. -
When the butter is ready, use a ladle to pour a generous swirl of batter into the center of the pan—about ¼ cup per pancake. As soon as the batter hits the hot surface, you’ll hear a gentle sizzle, and tiny bubbles will begin to form around the edges. Let the batter spread naturally; resist the urge to spread it with a spatula. The batter will puff up within 30 seconds, forming a dome that’s slightly higher than the pan’s rim.
-
Allow the pancake to cook until the edges turn a golden‑brown hue and the surface looks set, usually 2–3 minutes. You’ll notice the underside has a beautiful caramelized crust, and the top will have small bubbles that pop as they reach the surface. This is the perfect time to gently shake the pan—if the pancake slides easily, it’s ready to flip.
-
Using a thin, flexible spatula, flip the pancake with a swift motion. The second side cooks faster—about 1–2 minutes—because the interior is already set. Watch for a deep golden color and a faint aroma of toasted butter. Once both sides are beautifully browned, transfer the pancake to a warm plate and repeat the process with the remaining batter, adding a little more butter to the pan as needed.
-
When all the pancakes are cooked, serve them immediately while they’re still warm and puffed. Dust them with a light sprinkling of powdered sugar, drizzle with maple syrup, or top with fresh berries for a burst of acidity that cuts through the richness. For a savory twist, try a smear of ricotta and a pinch of sea salt. The key is to enjoy them while the texture is at its peak—soft inside, crisp outside, and perfectly airy.
And there you have it! But before you dig in, let me share some tips that will take this from great to absolutely unforgettable…
🔐 Expert Tips for Perfect Results
The Taste Test Trick
Before you commit to the whole batch, spoon a tiny bit of batter onto a hot pan and watch it puff. If it rises quickly and forms a golden crust within 30 seconds, you’ve hit the perfect temperature. If it spreads too thin or doesn’t puff, adjust the heat a notch lower or higher and try again. This quick test saves you from a whole batch of flat pancakes.
Why Resting Time Matters More Than You Think
Allowing the batter to rest for 10–15 minutes after whisking gives the flour time to fully hydrate and the gluten to relax. This rest period also lets any trapped air bubbles expand, which translates to a higher, fluffier puff in the pan. I once skipped this step in a rush and ended up with dense, pancake‑like discs—definitely not the airy clouds I was aiming for.
The Seasoning Secret Pros Won’t Tell You
A pinch of fine sea salt added at the end of mixing can amplify the sweet notes and balance the butteriness. It’s a tiny tweak that professional chefs use to make flavors pop without adding any extra ingredients. Trust me, you’ll notice the difference the first bite after you try it.
Butter vs. Oil: The Golden Dilemma
While butter gives the pancakes a richer flavor and a beautiful caramelized edge, a splash of high‑smoke‑point oil (like grapeseed) can help prevent burning if you’re cooking at a higher heat. I often combine a tablespoon of melted butter with a teaspoon of oil for the perfect blend of flavor and stability.
The Flip Timing Formula
If you’re unsure when to flip, look for the edges to turn a uniform golden brown and for the surface bubbles to start popping. This visual cue means the interior has set enough to hold its shape. Flipping too early can cause the pancake to collapse, while waiting too long may burn the bottom.
Serving Warm Is Key
Mini German pancakes lose their puff as they cool, so serve them straight from the pan or keep them in a low oven (around 200°F) for up to 10 minutes. I’ve learned that a quick re‑heat in a hot skillet for 30 seconds restores that delightful crispness without drying them out.
🌈 Delicious Variations to Try
One of my favorite things about this recipe is how versatile it is. Here are some twists I’ve tried and loved:
Berry‑Burst Delight
Fold a handful of fresh blueberries or raspberries into the batter right before cooking. The fruit releases juices as it cooks, creating little pockets of bursty sweetness that complement the buttery base. The result is a pancake that’s speckled with jewel‑like bursts of flavor.
Cinnamon‑Apple Swirl
Add a teaspoon of ground cinnamon to the dry ingredients and gently fold in small diced apples that have been lightly tossed in lemon juice. The apples soften quickly in the pan, and the cinnamon adds a warm, comforting spice—perfect for a cozy fall brunch.
Savory Herb & Cheese
Swap the sugar for a pinch of smoked paprika and fold in grated sharp cheddar and chopped chives. This savory version pairs wonderfully with a dollop of sour cream or a drizzle of honey for a sweet‑savory contrast. It’s a hit at brunches where guests love a little something different.
Chocolate‑Lover’s Dream
Stir in two tablespoons of cocoa powder and a tablespoon of mini chocolate chips into the batter. The chocolate melts into pockets of gooey richness, making each bite feel like a mini dessert. Top with a dusting of powdered sugar and a drizzle of chocolate syrup for extra decadence.
Citrus Zest Surprise
Add the zest of one orange or lemon to the batter for a bright, aromatic lift. The citrus zest cuts through the richness and adds a fresh, tangy note that pairs beautifully with a simple dusting of powdered sugar and a drizzle of honey.
📦 Storage & Reheating Tips
Refrigerator Storage
Allow the pancakes to cool completely on a wire rack, then transfer them to an airtight container. Stored in the fridge, they stay fresh for up to three days. To retain their crispness, place a paper towel at the bottom of the container to absorb any excess moisture.
Freezing Instructions
For longer storage, arrange the cooled pancakes on a baking sheet in a single layer and freeze them for about an hour. Once solid, transfer them to a zip‑top freezer bag. They’ll keep for up to two months. When you’re ready to enjoy them, reheat directly from frozen—no need to thaw.
Reheating Methods
The trick to reheating without drying them out? A splash of milk or a light brush of melted butter in a hot skillet for 30 seconds per side. This restores the golden crust and revives the airy interior. Alternatively, a quick 20‑second burst in a preheated oven (350°F) works well if you’re reheating a larger batch.