Hatch Chili Breakfast Biscuit Bombs: The Ultimate Recipe Guide
 Save
Save
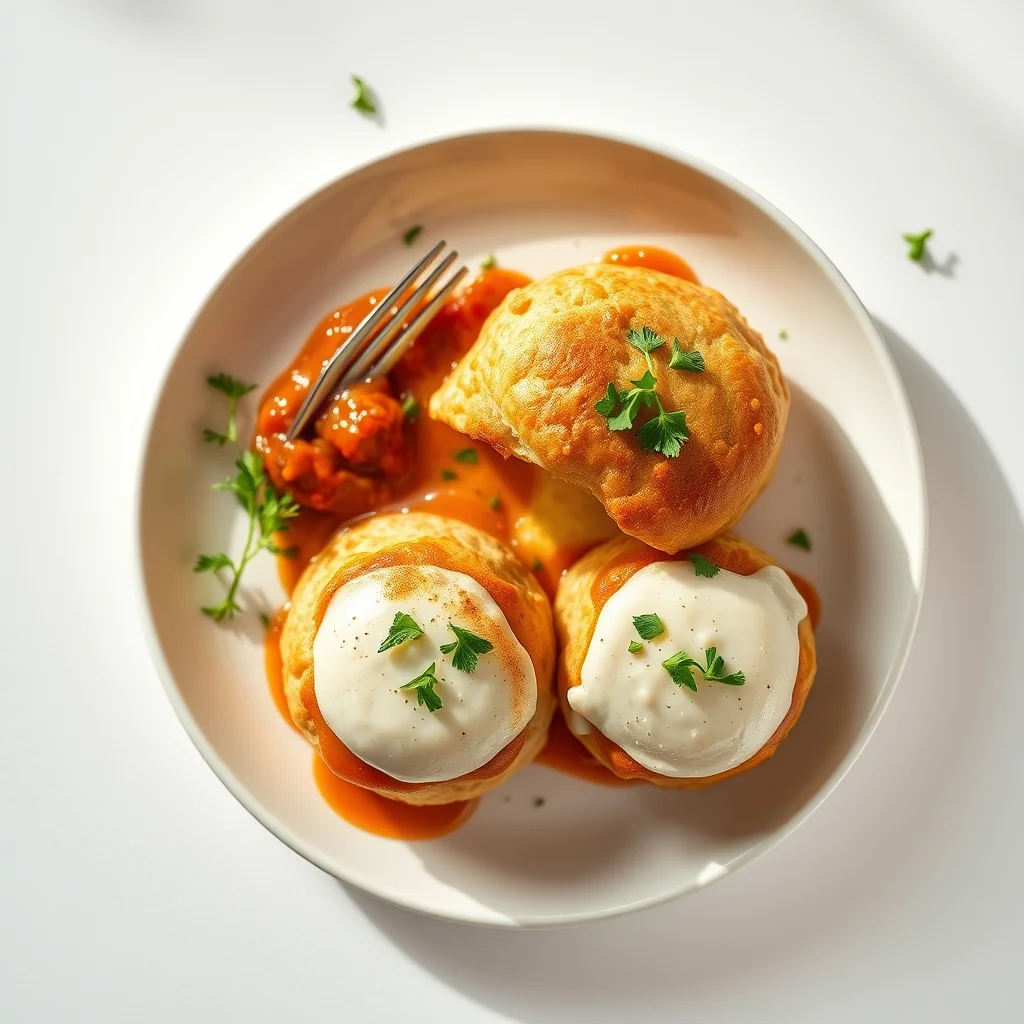
Imagine biting into a fluffy, buttery biscuit that bursts open to reveal a smoky, spicy Hatch chili filling, creamy scrambled egg, and melted cheese—all in one handheld masterpiece. These Hatch Chili Breakfast Biscuit Bombs turn an ordinary morning into a celebration of flavor and texture.
What makes this recipe truly special is the marriage of New Mexico’s famous Hatch green chilies with a classic Southern biscuit base. The chilies add a gentle heat and bright, earthy notes that elevate the humble breakfast sandwich to something unforgettable.
Busy parents, brunch lovers, and anyone craving a hearty start to the day will adore these bombs. They’re perfect for weekend brunches, holiday breakfasts, or a quick weekday treat when you need something both comforting and exciting.
The process is straightforward: prepare a soft biscuit dough, fold in a seasoned Hatch chili‑egg mixture, seal each bomb, then bake until golden. In just under an hour you’ll have a tray of piping‑hot, melt‑in‑your‑mouth biscuits ready to wow.
Why You'll Love This Recipe
Bold Southwestern Flavor: Hatch chilies bring a nuanced heat and fruity undertone that pairs perfectly with the richness of egg and cheese, creating a balanced bite.
Hand‑Held Convenience: Each bomb is a complete breakfast in one portable package, making them ideal for on‑the‑go mornings or casual brunch gatherings.
Easy to Customize: Swap cheeses, add extra veggies, or adjust the chili level to suit any palate, letting you tailor each batch to your taste.
Impressively Simple: With a few pantry staples and a short bake time, you can serve a dish that looks and tastes like it took hours to perfect.
Tips & Tricks
Perfecting the Recipe
Cold Ingredients Matter. Keep butter and buttermilk chilled until the last moment; this ensures steam pockets that create flaky layers.
Don’t Over‑mix. Stir the dough just until the flour is moistened. Over‑mixing develops gluten, resulting in dense biscuits.
Seal Tight. Pinch the dough edges firmly around the filling to prevent leaks during baking.
Flavor Enhancements
Add a splash of lime juice to the egg mixture for bright acidity, or fold in a tablespoon of cream cheese for extra creaminess. For heat lovers, sprinkle a pinch of crushed red‑pepper flakes into the chili sauté.
Common Mistakes to Avoid
Skipping the resting time after baking causes the interior steam to escape, making the bombs dry. Also, avoid using frozen Hatch chilies without thawing—they release excess water, preventing a proper crust.
Pro Tips
Use a Light Hand with Flour. Dust the work surface sparingly; too much flour can toughen the dough.
Invest in a Kitchen Scale. Precise measurements, especially for butter and buttermilk, guarantee consistent biscuit texture.
Brush with Melted Butter. Brushing the tops before baking adds a glossy, golden finish and a subtle buttery flavor.
Variations
Ingredient Swaps
Swap the sharp cheddar for pepper jack for extra spice, or use crumbled feta for a tangy twist. Replace Hatch chilies with roasted poblano or jalapeño if you prefer a different heat profile. For a richer dough, substitute half the flour with whole‑wheat flour.
Dietary Adjustments
Make a gluten‑free version by using a 1‑to‑1 gluten‑free flour blend and ensuring your baking powder is gluten‑free. For a dairy‑free bomb, replace butter with a plant‑based margarine and use dairy‑free cheddar. Vegans can use silken tofu scrambled with turmeric and nutritional yeast, and a vegan cheese shreds.
Serving Suggestions
Pair the bombs with a simple avocado‑lime salsa, a side of fresh mixed berries, or a light arugula salad dressed with lemon vinaigrette. For a brunch spread, add a pitcher of cold brew coffee or a mimosa cocktail.
Storage Info
Leftover Storage
Allow the bombs to cool completely, then place them in an airtight container. Store in the refrigerator for up to 3 days. For longer keeping, wrap each bomb in parchment and freeze in a zip‑top bag; they’ll stay fresh for up to 2 months.
Reheating Instructions
Reheat refrigerated bombs in a 350°F (175°C) oven for 10‑12 minutes, covered with foil to prevent drying. For frozen bombs, bake at 375°F (190°C) for 18‑20 minutes, uncovered, until the interior is hot and the exterior regains its crisp golden hue.
Frequently Asked Questions
Can I make the biscuit dough ahead of time?
How spicy are the Hatch chilies?
Can I freeze the uncooked bombs?
What side dishes complement these bombs?
Hatch Chili Breakfast Biscuit Bombs bring together bold Southwestern heat, fluffy biscuit comfort, and creamy egg goodness in a single, handheld bite. By following the step‑by‑step guide, mastering the tips, and experimenting with the suggested variations, you’ll create a brunch standout that’s both impressive and approachable. Feel free to tweak the cheese, spice level, or add your favorite herbs—cooking is an adventure, after all. Serve them hot, share them wide, and enjoy every flavorful explosion!
Hatch Chili Breakfast Biscuit Bombs: The Ultimate Recipe Guide
Delicious Hatch Chili Breakfast Biscuit Bombs: The Ultimate Recipe Guide
Ingredients
Biscuit Base
- 2 cups all‑purpose flour
- 1 tablespoon baking powder
- ½ teaspoon baking soda
- 1 teaspoon salt
- ⅔ cup unsalted butter, cold and cubed
- ¾ cup buttermilk, chilled
Hatch Chili & Egg Filling
- 4‑5 fresh Hatch green chilies, seeded & finely diced
- ½ cup diced red bell pepper
- ¼ cup diced onion
- 6 large eggs
- ¼ cup whole milk
- 1 tablespoon olive oil
Cheese & Garnish
- 1 cup sharp cheddar, grated
- 2 tablespoons fresh cilantro, chopped (optional)
Seasonings
- ½ teaspoon smoked paprika
- ¼ teaspoon ground cumin
- Salt and freshly cracked black pepper, to taste
Instructions
Assembling & Cooking the Bombs
- Combine Wet Ingredients. In a separate bowl whisk buttermilk with a pinch of salt. Make a well in the dry mixture, pour in the buttermilk, and stir gently until just combined—overmixing will develop gluten and make the biscuits tough.
- Shape the Dough. Turn the dough onto a lightly floured surface, pat it into a ½‑inch thick rectangle, and cut into 8 equal squares (about 3‑inch sides). Keep the pieces chilled while you prepare the filling.
- Cook the Chili‑Egg Filling. Heat olive oil in a skillet over medium heat. Sauté onion, red bell pepper, and Hatch chilies for 3‑4 minutes until softened. Whisk together eggs, milk, smoked paprika, cumin, salt, and pepper; pour into the skillet. Stir gently until just set, then remove from heat.
- Fill the Biscuits. Place a generous spoonful of the egg‑chili mixture onto the center of each dough square, sprinkle with grated cheddar, and fold the corners toward the center, pinching to seal. The sealed packet should look like a small parcel.
- Bake to Golden Perfection. Arrange the sealed bombs on a parchment‑lined baking sheet, brush the tops with a little melted butter, and bake in a preheated 375°F (190°C) oven for 18‑22 minutes, or until the tops are deep golden and the biscuits have risen.
Similar Recipes
 Breakfast
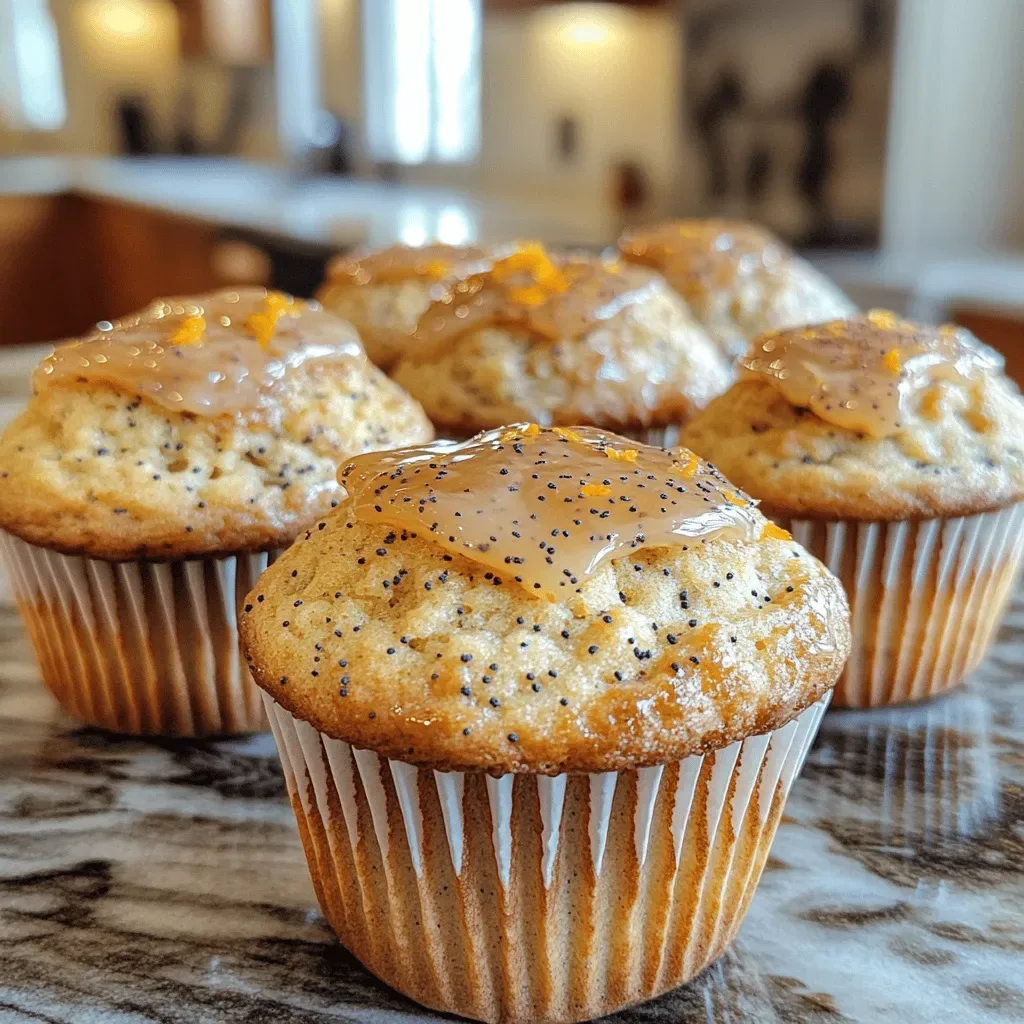
Zesty Orange Poppy Seed Muffins: A Flavorful Delight
Delicious Zesty Orange Poppy Seed Muffins: A Flavorful Delight
 Breakfast
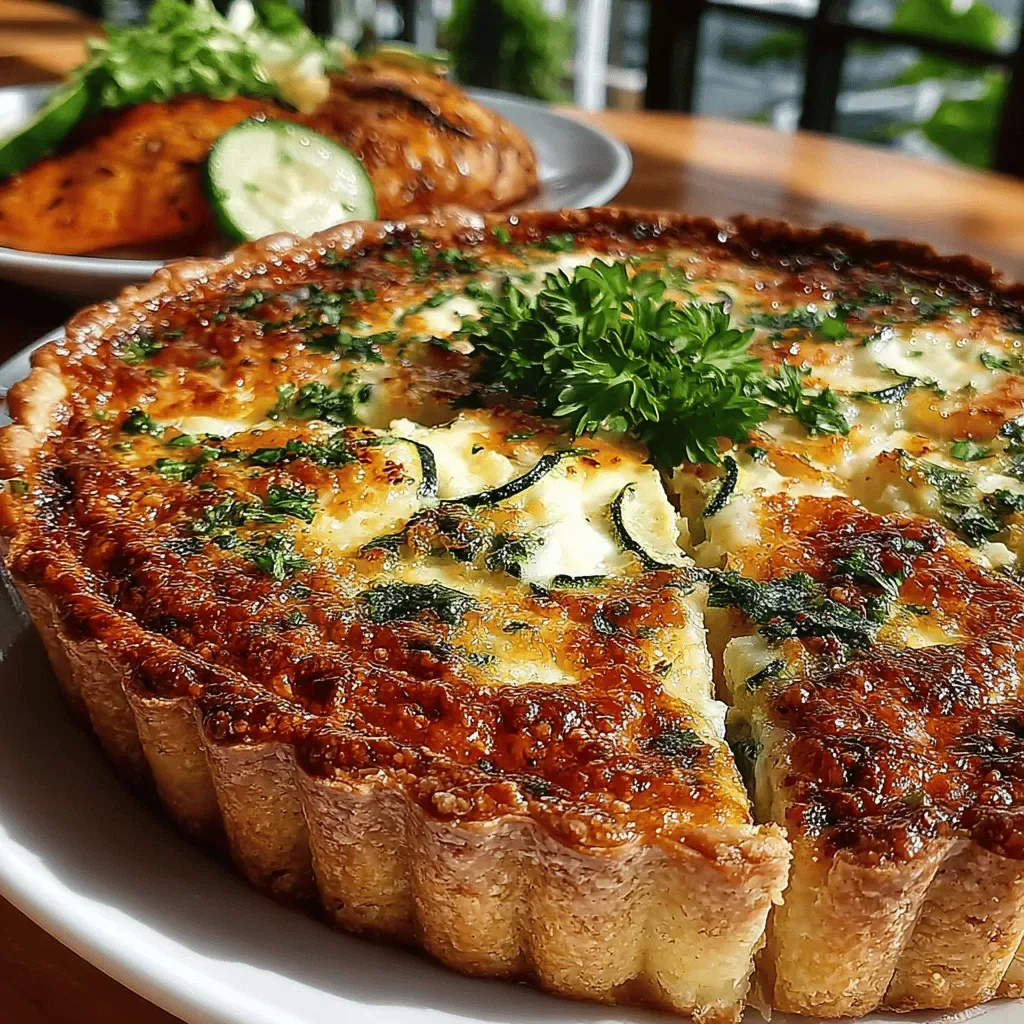
Zucchini Basil Bliss Quiche: A Culinary Delight
Delicious Zucchini Basil Bliss Quiche: A Culinary Delight
 Breakfast
warm breakfast casserole with sweet potatoes kale and poached eggs
Learn how to make delicious warm breakfast casserole with sweet potatoes kale and poached eggs. Easy…
 Breakfast
Blueberry Bliss Butter Swim Biscuits
Delicious Blueberry Bliss Butter Swim Biscuits
 Breakfast
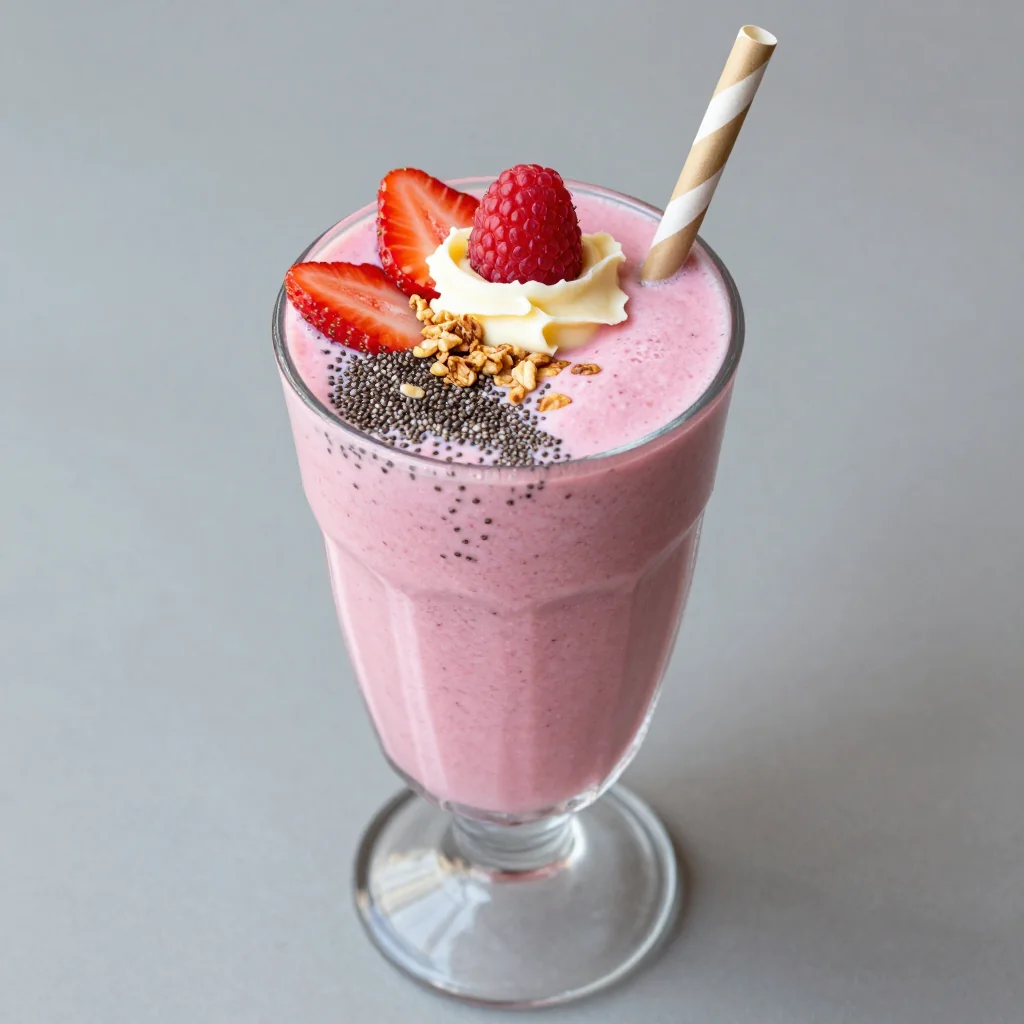
Protein-Packed Smoothie for a Healthy January Breakfast
Learn how to make delicious Protein-Packed Smoothie for a Healthy January Breakfast. Easy recipe with step-by-step…
 Breakfast
Avocado Toast Delight: A Savory Sensation Recipe
Delicious Avocado Toast Delight: A Savory Sensation Recipe
 Breakfast
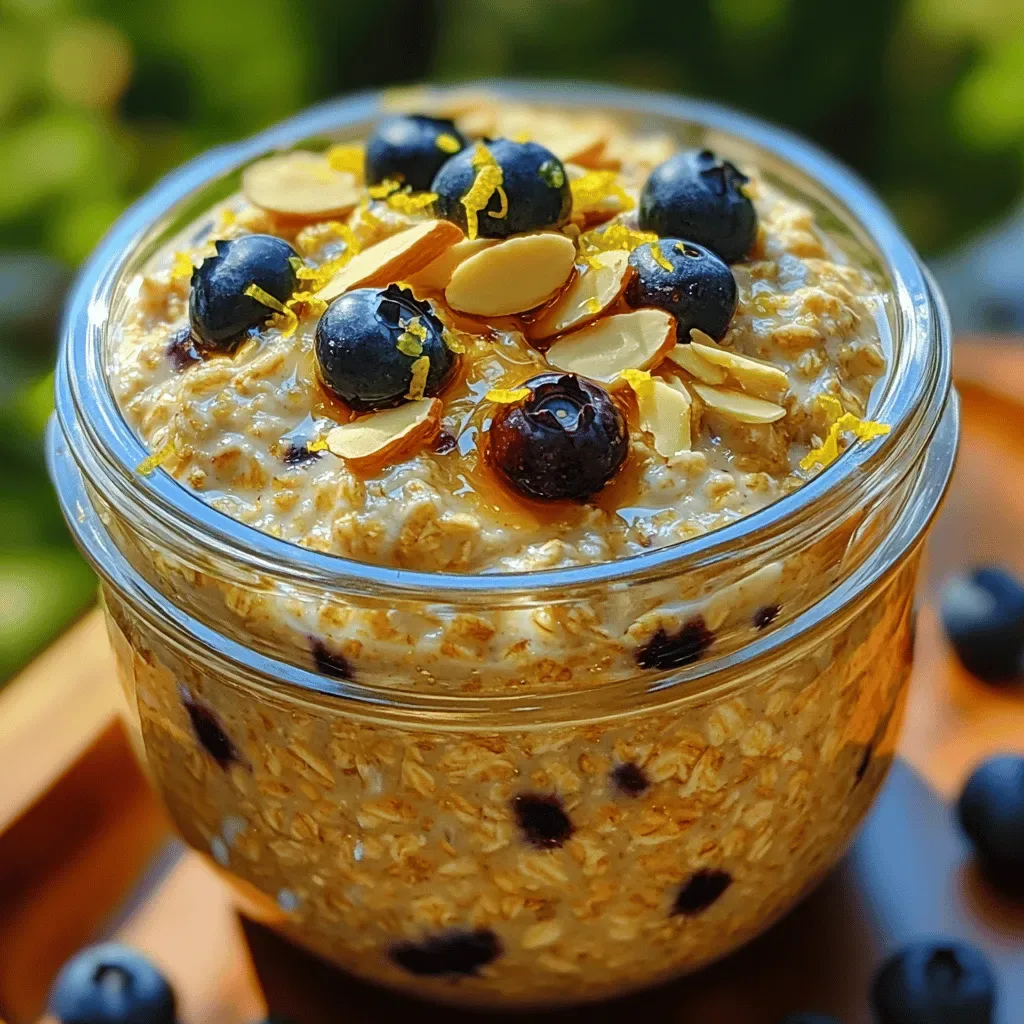
Zesty Lemon Blueberry Overnight Oats Recipe
Delicious Zesty Lemon Blueberry Overnight Oats Recipe
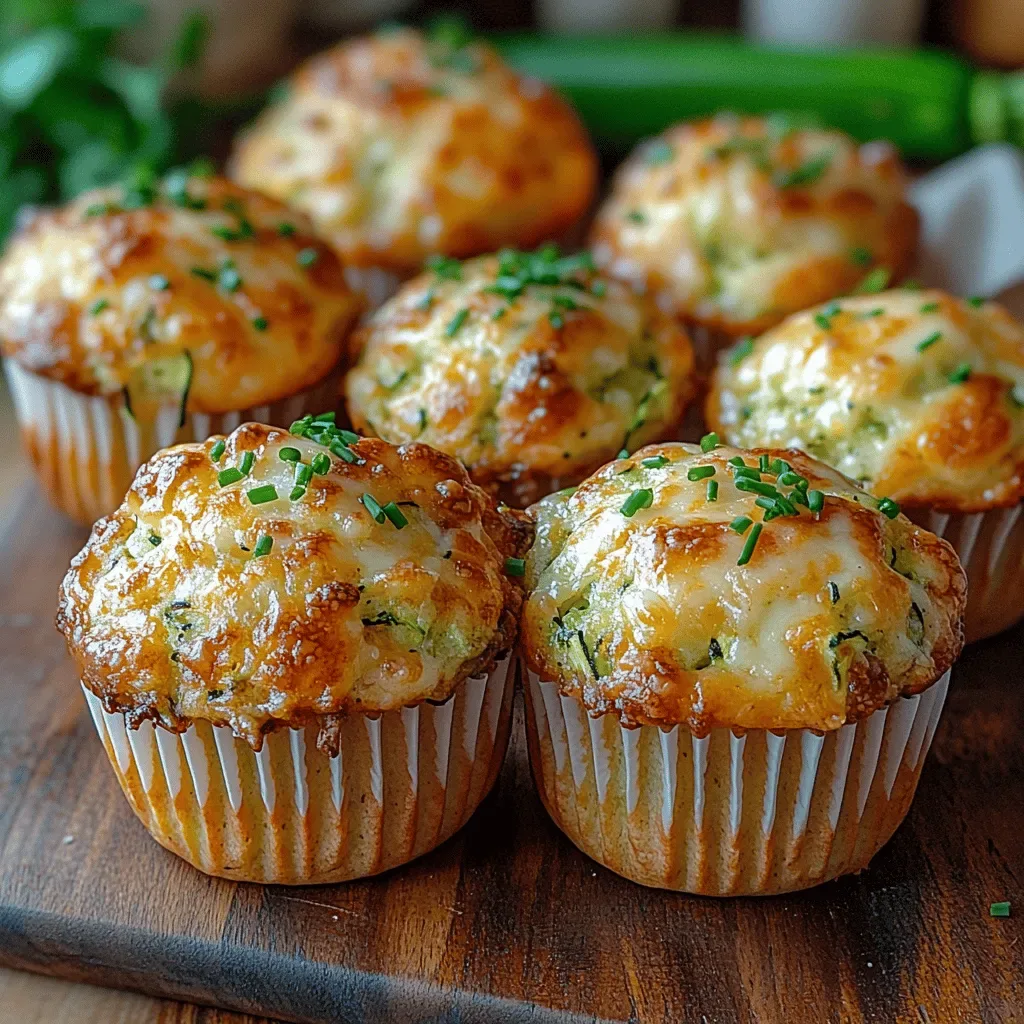 Breakfast
Savory Zucchini Cheese Muffins: A Delicious, Nutritious Treat
Delicious Savory Zucchini Cheese Muffins: A Delicious, Nutritious Treat

Victoria
I cook these recipes at home before they ever land here — simple ingredients, clear steps.