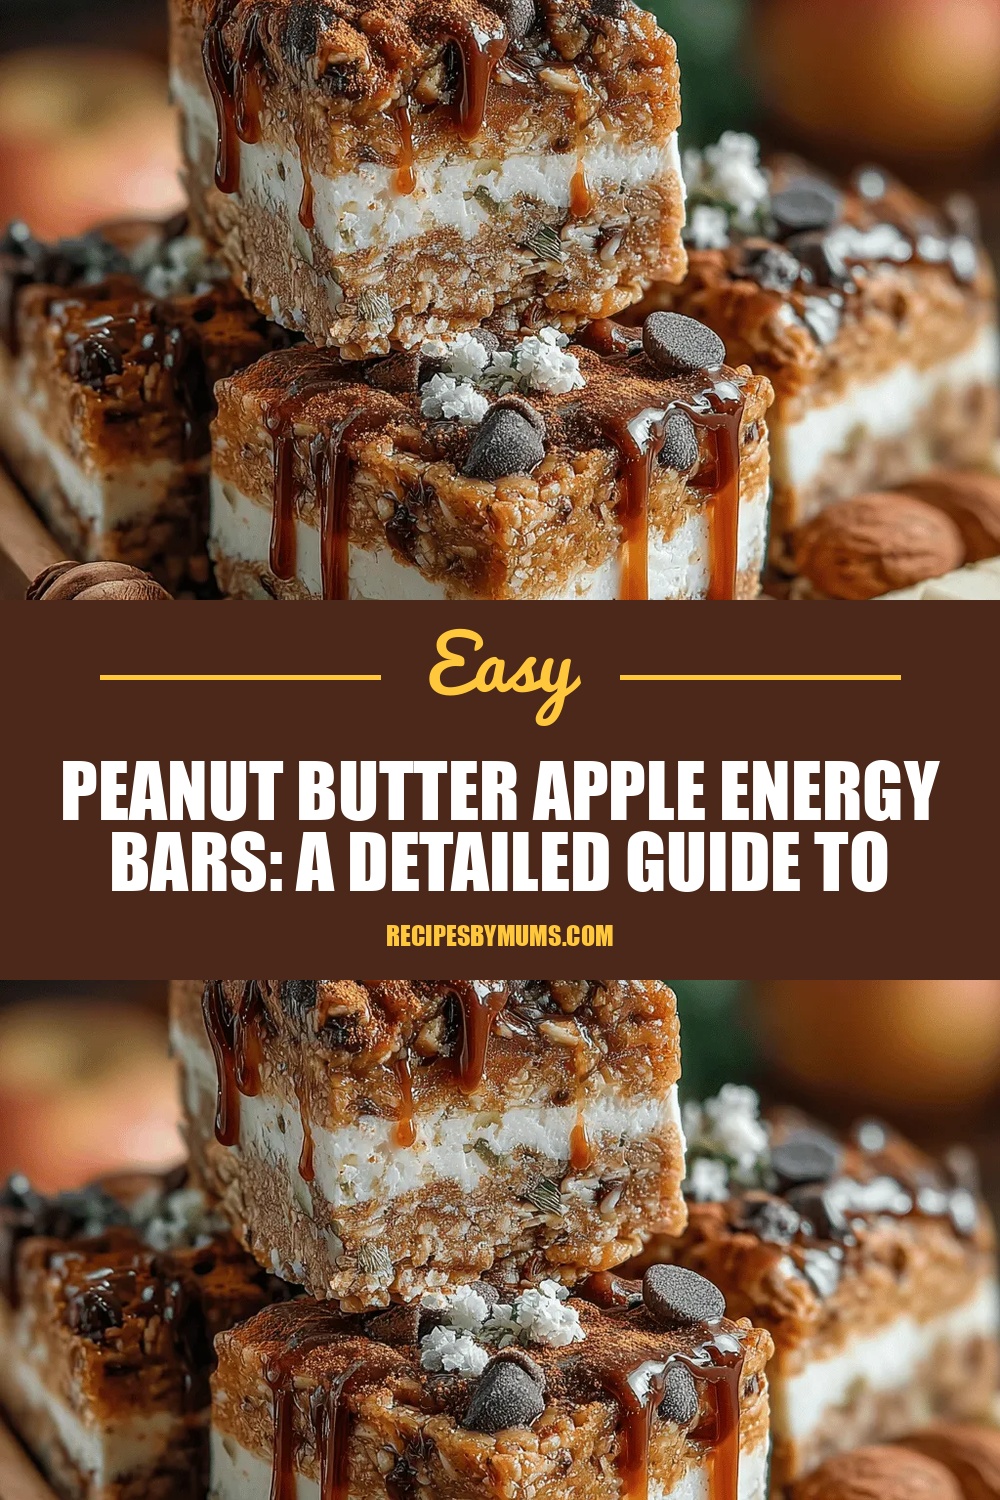
Peanut Butter Apple Energy Bars: A Detailed Guide to Making Your Own
 Save
Save
Imagine a snack that fuels your morning run, powers an afternoon slump, and satisfies a sweet craving—all without a single processed ingredient. Peanut Butter Apple Energy Bars deliver that perfect blend of creamy, nutty richness and crisp, juicy apple goodness in every bite.
What makes these bars stand out is the harmony between natural sweetness from fresh apples, the sustained energy of rolled oats, and the protein‑packed punch of peanut butter. A light drizzle of honey binds everything together, while a pinch of sea salt amplifies every flavor.
Busy professionals, athletes, and parents looking for a wholesome on‑the‑go snack will love these bars. They’re ideal for pre‑workout fuel, a post‑school snack, or a quick office treat that won’t crash your blood sugar.
The process is straightforward: combine dry ingredients, blend wet components, press the mixture into a pan, and bake until golden. In less than forty minutes you’ll have a batch of portable power bars ready to wrap and enjoy.
Why You'll Love This Recipe
All‑Natural Energy Boost: No refined sugars or artificial additives, just whole foods that release steady fuel, keeping you focused and satisfied for hours.
Simple Ingredient List: With pantry staples like oats, peanut butter, and apples, you won’t need a specialty store run to create a gourmet‑level snack.
Customizable Texture: Adjust the crunch by adding nuts or seeds, or keep it soft with extra apple puree—your bar, your way.
Make‑Ahead Friendly: These bars store beautifully, giving you a ready‑to‑grab snack for busy mornings, gym bags, or school lunches.
Tips & Tricks
Perfecting the Recipe
Grate Apples Finely. Smaller shreds distribute moisture evenly, preventing soggy spots and ensuring a consistent texture throughout the bars.
Press Firmly. A compact, even layer creates uniform bars that hold together after cooling; a light press can lead to crumbly results.
Use Fresh Oats. Stale or old oats lose their absorbency, making the dough too wet. Fresh oats give the perfect bite.
Cool Completely Before Cutting. Allowing the bars to set fully prevents them from falling apart when sliced.
Flavor Enhancements
Add a teaspoon of vanilla extract to the wet mix for a warm depth, or sprinkle a pinch of nutmeg alongside cinnamon for a seasonal twist. For a hint of crunch, fold in toasted coconut flakes or pumpkin seeds just before pressing the dough.
Common Mistakes to Avoid
Avoid over‑mixing the dough; excessive stirring can make the bars dense rather than tender. Also, don’t skip the parchment paper—without it, the bars can stick, making removal messy and breaking the shape.
Pro Tips
Toast the Oats. Lightly toast rolled oats in a dry skillet for 3‑4 minutes before mixing; this adds a subtle nuttiness that elevates the flavor profile.
Use a Kitchen Scale. Weighing ingredients gives consistent results, especially for the wet-to-dry ratio, which is crucial for bar texture.
Freeze for Quick Snacks. Slice the cooled bars, wrap individually, and freeze. They thaw in minutes for a ready‑to‑go energy boost.
Adjust Sweetness. If you prefer less sweetness, reduce honey to 2 tablespoons and add a splash of unsweetened applesauce for moisture.
Variations
Ingredient Swaps
Swap peanut butter for almond or cashew butter for a different nutty nuance. Replace apples with grated zucchini or carrots for a lower‑sugar version, and use maple syrup instead of honey for a richer, earthy sweetness.
Dietary Adjustments
For a vegan bar, substitute the eggs with ¼ cup unsweetened applesauce and use a plant‑based butter or coconut oil in place of honey. Gluten‑free eaters can use certified gluten‑free oats, and those on a low‑carb plan can replace oats with almond flour and reduce the fruit amount.
Serving Suggestions
Pair a bar with a glass of almond milk for a balanced snack, or crumble it over Greek yogurt and fresh berries for a quick breakfast parfait. For a post‑workout boost, drizzle a little extra honey on top and enjoy with a banana.
Storage Info
Leftover Storage
Allow the bars to cool completely, then place them in an airtight container. Store in the refrigerator for up to 5 days. For longer keeping, wrap each bar in plastic wrap and freeze in a zip‑top bag; they’ll stay fresh for up to 3 months.
Reheating Instructions
To enjoy a warm bar, preheat your oven to 300°F (150°C), place a bar on a foil‑lined tray, and heat for 5‑7 minutes until soft. In a microwave, heat for 15‑20 seconds on medium power; add a drizzle of honey afterward to revive the glaze.
Frequently Asked Questions
Can I make these bars ahead of time?
What if I don’t have fresh apples?
How can I make these bars gluten‑free?
This Peanut Butter Apple Energy Bar recipe delivers a balanced mix of protein, fiber, and natural sweetness, perfect for fueling busy days or post‑workout recovery. We’ve covered every step—from selecting the freshest apples to mastering the bake—plus storage tips, variations, and troubleshooting advice. Feel free to experiment with nuts, spices, or alternative sweeteners to make the bars truly yours. Grab a bar, take a bite, and enjoy the wholesome energy it provides!
Peanut Butter Apple Energy Bars: A Detailed Guide to Making Your Own
Delicious Peanut Butter Apple Energy Bars: A Detailed Guide to Making Your Own
Ingredients
Main Ingredients
- 2 cups rolled oats
- 1 cup natural peanut butter (smooth or crunchy)
- 2 medium apples, grated
Binding Mix
- 1/4 cup honey
- 2 large eggs, lightly beaten
Seasonings & Extras
- 1/2 teaspoon ground cinnamon
- 1/4 teaspoon sea salt
- 1/4 cup chopped walnuts or almonds (optional)
Instructions
Baking & Finishing
- Preheat the Oven. Set your oven to 350°F (175°C) and let it fully preheat for at least 10 minutes. A stable temperature guarantees even browning and prevents the bars from drying out.
- Line the Pan. Line an 8×8‑inch baking pan with parchment paper, leaving an overhang on two sides for easy removal. Lightly spray the paper with cooking spray to prevent sticking.
- Press the Dough. Transfer the dough to the prepared pan. Using the back of a spoon or a piece of parchment, press it down firmly and evenly, aiming for a thickness of about ½‑inch. A compact surface yields uniform bars after baking.
- Bake. Place the pan in the preheated oven and bake for 20‑25 minutes, or until the top turns golden brown and a toothpick inserted into the center comes out clean. The edges should feel set but the interior will remain soft.
- Cool & Slice. Remove the pan and let the bars cool in the pan for 10 minutes, then lift them out using the parchment overhang. Transfer to a wire rack and cool completely before slicing into 12 even bars. Cutting while warm can cause crumbling.
Similar Recipes
 Desserts
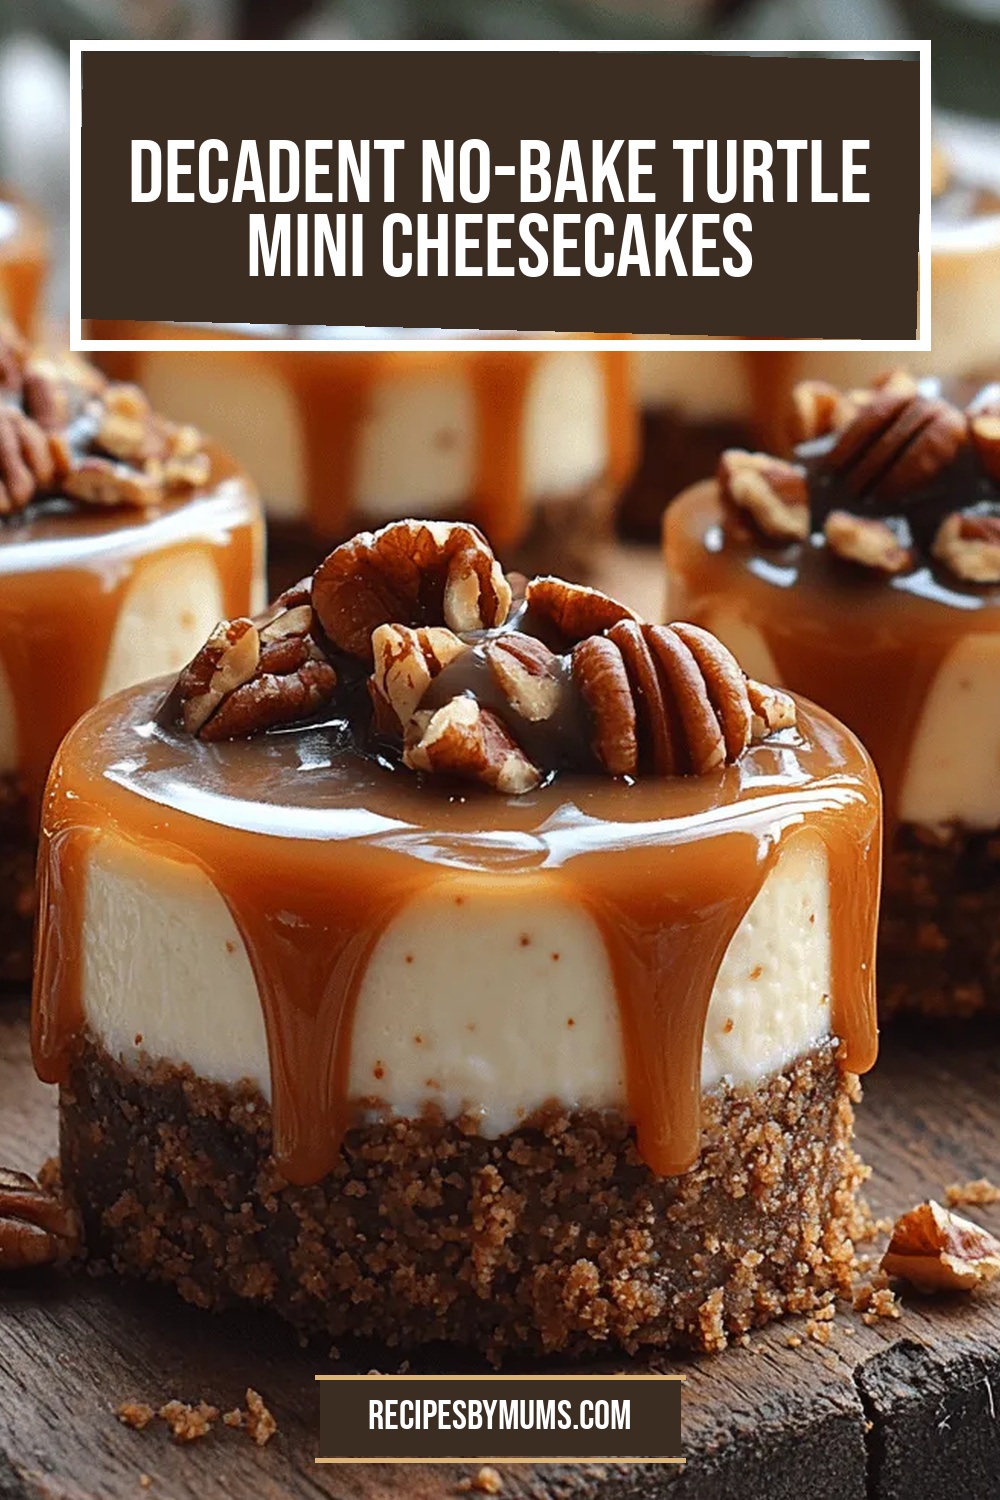
Decadent No-Bake Turtle Mini Cheesecakes
Delicious Decadent No-Bake Turtle Mini Cheesecakes
 Desserts
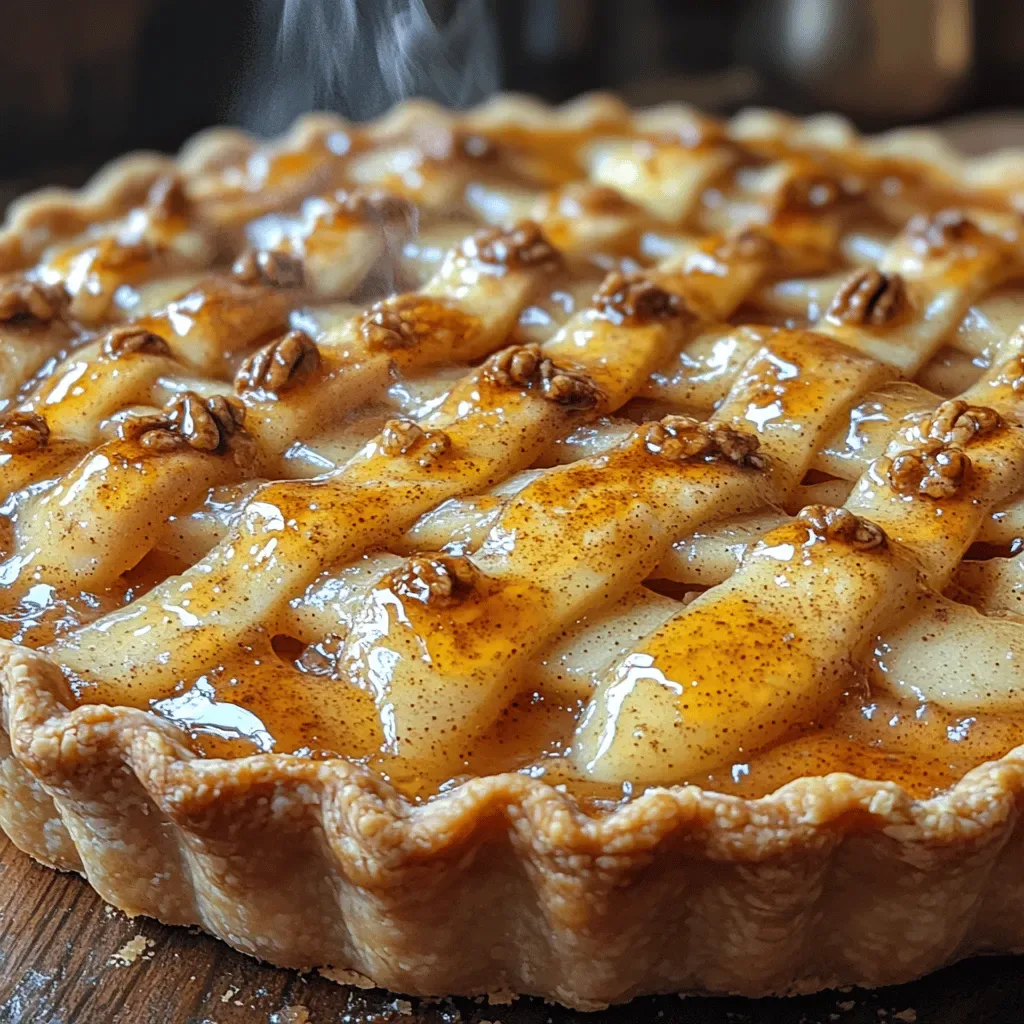
Maple Vanilla Walnut Pear Pie: A Delectable Autumn Delight
Delicious Maple Vanilla Walnut Pear Pie: A Delectable Autumn Delight
 Desserts
Irresistible Air Fryer Teriyaki Chicken: A Flavorful Journey
Delicious Irresistible Air Fryer Teriyaki Chicken: A Flavorful Journey
 Desserts
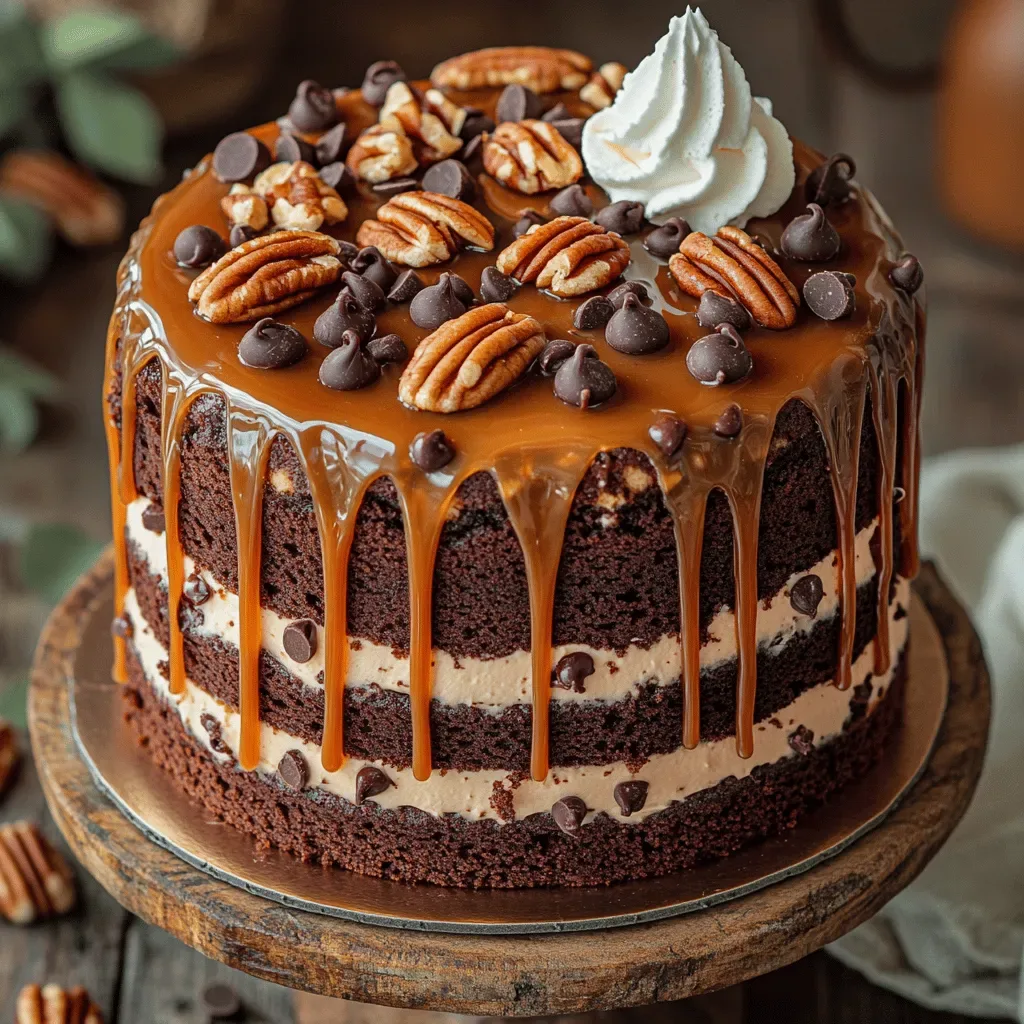
Turtle Caramel Cake: A Decadent Delight
Delicious Turtle Caramel Cake: A Decadent Delight
 Desserts
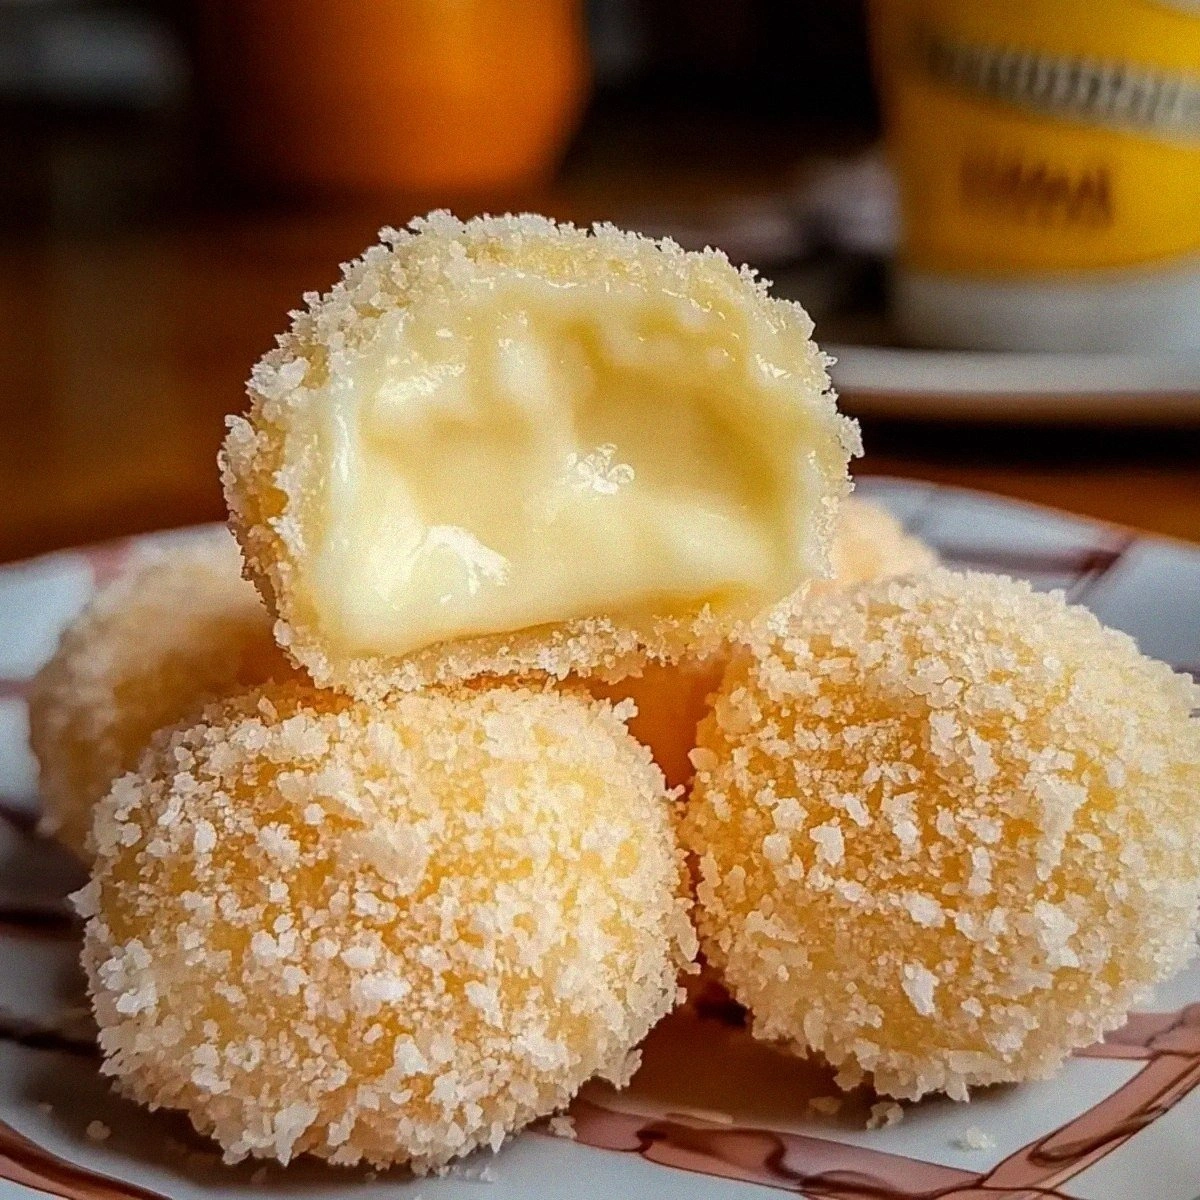
Creamy Custard Mochi Balls: Delightfully Chewy and Smooth
Learn how to make delicious Creamy Custard Mochi Balls: Delightfully Chewy and Smooth. Easy recipe with…
 Desserts
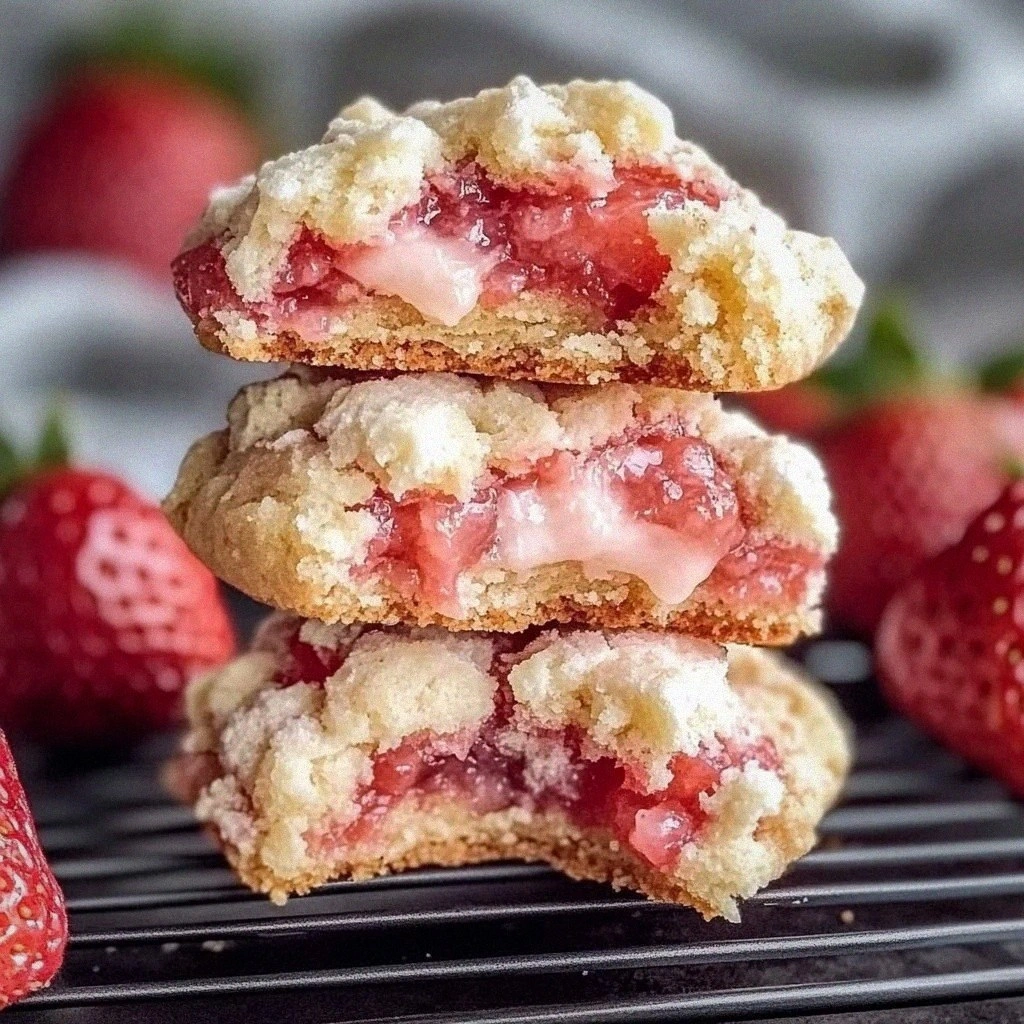
Irresistible Strawberry Cheesecake Cake Mix Cookies
Learn how to make delicious Irresistible Strawberry Cheesecake Cake Mix Cookies. Easy recipe with step-by-step instructions.
 Desserts
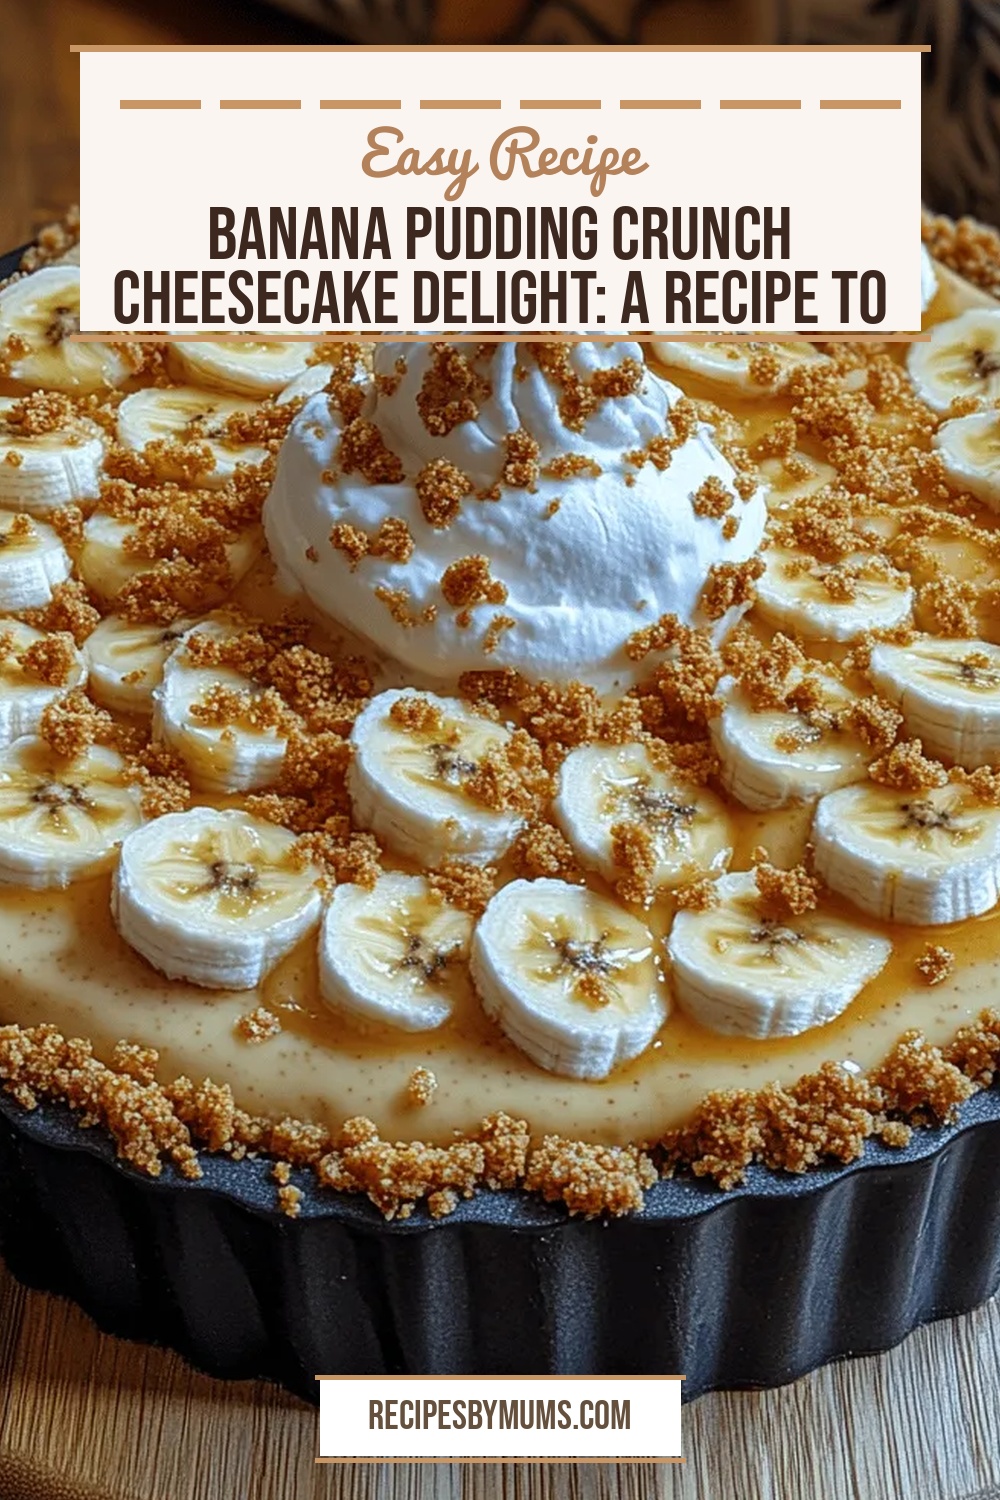
Banana Pudding Crunch Cheesecake Delight: A Recipe to Savor
Delicious Banana Pudding Crunch Cheesecake Delight: A Recipe to Savor
 Desserts
Choco-Kiwi Bliss Bites: A Unique Treat to Delight Your Taste Buds
Delicious Choco-Kiwi Bliss Bites: A Unique Treat to Delight Your Taste Buds

Victoria
I cook these recipes at home before they ever land here — simple ingredients, clear steps.