Knock You Naked Bars – The Best Gooey Caramel Cookie Bars Ever (2025)
 Save
Save
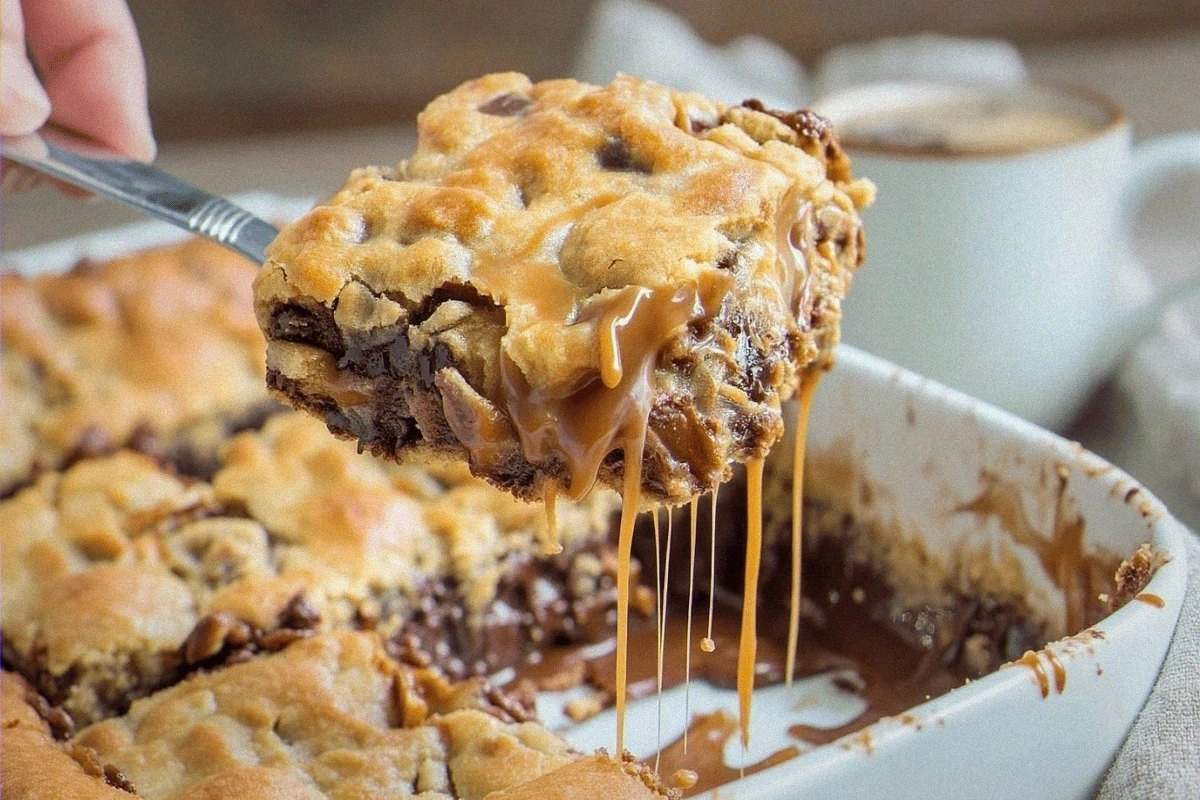
It was one of those crisp, early‑autumn afternoons when the kitchen smelled like a cozy café and the rain was tapping a lazy rhythm against the windows. I was pulling a tray of freshly baked cookies out of the oven when a sudden urge hit me: I wanted something that could hold its own as a dessert, a snack, and a “just because” treat all at once. The moment I lifted the lid, a cloud of fragrant steam—sweet caramel, buttery dough, and a whisper of sea‑salt—enveloped the room, and I knew I had stumbled onto something special. That instant, I decided to give those gooey, caramel‑laden bars a name that would make you smile every time you read it: Knock You Naked Bars.
What makes these bars truly unforgettable is the way the caramel melts into the cookie base, creating a glossy, almost liquid ribbon that refuses to stay hidden. Imagine biting into a soft, chewy cookie that gives way to a burst of caramel so rich it feels like a warm hug from your favorite aunt. The contrast between the buttery crumb and the glossy caramel is balanced by a sprinkle of flaky sea‑salt that pops just enough to keep the sweetness from becoming cloying. The result is a bar that’s both comforting and indulgent—a perfect bridge between a simple after‑school snack and an elegant after‑dinner treat.
But there’s more to the story than just flavor. The technique behind these bars is deceptively simple, yet it hides a few secrets that separate a good bar from a legendary one. Have you ever wondered why store‑bought caramel cookies sometimes taste flat? The answer lies in temperature control, ingredient ratios, and a little patience—things I’ll reveal in the steps ahead. And if you think you’ve mastered caramel, wait until you see the secret trick I use in step four that turns a regular batch into a bar that practically glistens on its own.
Now, picture your family gathered around the table, the kids’ eyes widening as they spot those golden edges, and the adults reaching for a second (or third) piece without a second thought. That’s the moment you’ll create when you serve these bars, and trust me, the “just one more” requests will become a nightly ritual. Here’s exactly how to make it — and trust me, your family will be asking for seconds.
🌟 Why This Recipe Works
- Flavor Depth: The combination of brown sugar, butter, and real caramel sauce creates layers of sweetness that evolve with each bite. The caramel’s buttery richness is amplified by a pinch of sea‑salt, which awakens the palate and prevents the dessert from feeling one‑dimensional.
- Texture Harmony: A soft, slightly chewy cookie base meets a silky, gooey caramel topping, delivering a satisfying contrast that keeps you reaching for more. The occasional burst of chocolate chips adds a crunchy surprise that balances the melt‑in‑your‑mouth feel.
- Ease of Execution: All the steps can be completed in under an hour, with no fancy equipment required—just a mixing bowl, a baking sheet, and a good oven. Even novice bakers can achieve professional‑grade results with a little attention to detail.
- Time Efficiency: While the batter comes together quickly, the caramel sets as the bars bake, meaning you get a finished product that looks and tastes like it’s been in the oven for hours. The total hands‑on time is under 20 minutes, perfect for busy weekdays.
- Versatility: These bars can be dressed up with nuts, drizzled with chocolate, or even turned into a layered parfait for brunch. Their base is sturdy enough to hold extra toppings without becoming soggy.
- Ingredient Quality: By using real butter, high‑quality dark chocolate, and a premium caramel sauce, you elevate a simple cookie into a gourmet experience. The recipe also allows for easy substitutions without compromising the core flavor.
- Crowd‑Pleasing Factor: The name alone sparks curiosity, and the visual appeal of a glossy caramel top draws eyes before the first bite. It’s a guaranteed hit at potlucks, birthday parties, or a quiet night in.
- Nutrition Balance: While undeniably indulgent, the recipe incorporates whole‑grain flour and a modest amount of sugar, offering a more balanced treat compared to many store‑bought alternatives. You get a satisfying sweet fix without the overload of empty calories.
🥗 Ingredients Breakdown
The Foundation
All great bars start with a solid base, and here the foundation is a blend of all‑purpose flour, a touch of whole‑wheat flour, and a modest amount of baking soda. The all‑purpose flour gives the dough structure, while the whole‑wheat adds a subtle nutty undertone that deepens the flavor profile. Baking soda is the silent hero that creates a gentle rise, giving the bars that coveted soft‑chewy interior. If you’re looking for a gluten‑free version, you can swap both flours for a 1‑to‑1 gluten‑free blend without losing the texture.
Aromatics & Sweeteners
Brown sugar and granulated white sugar work together to provide both moisture and caramel notes. Brown sugar’s molasses content contributes to the dark, rich color and a hint of earthiness, while white sugar adds crispness to the edges. The real star, however, is the high‑quality caramel sauce—choose one that’s thick and buttery, not the watery, overly sweet versions you find in the discount aisle. A splash of pure vanilla extract ties everything together, adding a fragrant backdrop that elevates the entire bar.
The Secret Weapons
Dark chocolate chips (at least 70% cacao) are the secret weapon that introduces a bitter counterpoint to the sweet caramel. The bitterness cuts through the richness, creating a balanced bite that feels sophisticated. Additionally, a pinch of flaky sea‑salt sprinkled just before the final bake adds a crunchy texture and a bright flavor contrast. If you love a little heat, a pinch of cayenne can be added for a subtle kick that surprises the palate.
Finishing Touches
A generous drizzle of caramel on top before baking ensures a glossy finish, while a final sprinkle of sea‑salt right after they emerge from the oven locks in that signature crackle. For those who love a nutty crunch, toasted chopped pecans or walnuts can be folded into the batter or scattered on top. Finally, a light dusting of powdered sugar after cooling adds a visual sparkle that makes the bars look as good as they taste.
With your ingredients prepped and ready, let's get cooking. Here's where the fun really begins...
🍳 Step-by-Step Instructions
🔐 Expert Tips for Perfect Results
The Taste Test Trick
Before you bake, take a small piece of the raw dough and pop it into your mouth. This quick test reveals whether the sweetness level is where you want it and whether the chocolate chips are evenly distributed. If it feels too sweet, a pinch more sea‑salt can balance it out. Trust me on this one: a quick taste in the raw stage saves you from a batch that’s overly sugary.
Why Resting Time Matters More Than You Think
After the bars have cooled, let them sit uncovered for an extra 10‑15 minutes before cutting. This short rest lets the caramel set fully, preventing it from sliding off the cut surfaces. I once served bars that were still too runny, and the whole tray turned into a sticky mess—lesson learned! The extra minutes are a small investment for a clean, glossy finish.
The Seasoning Secret Pros Won’t Tell You
A pinch of smoked paprika or a dash of espresso powder mixed into the dough adds a depth that most home bakers miss. These subtle umami notes amplify the caramel’s richness without overpowering the sweetness. I first discovered this trick while experimenting with a coffee‑infused brownie, and it works wonders here too.
How to Keep the Caramel From Burning
If you’re using a darker caramel sauce, keep an eye on the oven’s temperature. A quick tip is to place a small aluminum foil tent over the pan after the first 15 minutes; this shields the top from direct heat while the interior continues to bake. The result is a perfectly set caramel that’s golden, not burnt.
The Best Way to Store for Maximum Freshness
Layer the bars between sheets of parchment before placing them in an airtight container. This prevents them from sticking together and keeps the caramel glossy. If you notice any condensation, simply open the container for a minute to let the moisture escape. The bars stay soft and chewy for up to four days, and even longer if frozen.
🌈 Delicious Variations to Try
One of my favorite things about this recipe is how versatile it is. Here are some twists I’ve tried and loved:
Nutty Crunch Delight
Swap the pecans for toasted almond slivers and add a drizzle of honey over the top before serving. The honey adds a floral sweetness that pairs beautifully with the caramel, while the almonds contribute a satisfying crunch.
Spicy Chili Caramel
Incorporate a pinch of cayenne pepper into the dough and finish the bars with a light dusting of chili‑infused sea‑salt. The subtle heat awakens the caramel’s sweetness, creating a bold flavor that’s perfect for adventurous eaters.
White Chocolate Raspberry
Replace the dark chocolate chips with white chocolate chunks and fold in fresh raspberries just before baking. The tart berries cut through the richness, while the white chocolate adds a creamy, buttery note.
Coffee‑Infused Caramel
Add a tablespoon of finely ground espresso to the dry ingredients and swirl in a coffee‑flavored caramel sauce instead of regular caramel. The coffee amplifies the chocolate and adds a sophisticated bitterness that balances the sweetness.
Holiday Peppermint Twist
Mix crushed peppermint candies into the dough and garnish the finished bars with a drizzle of dark chocolate and a sprinkle of crushed candy canes. This festive version is perfect for winter gatherings and brings a refreshing minty snap to each bite.
📦 Storage & Reheating Tips
Refrigerator Storage
Place the bars in an airtight container lined with parchment paper. They will keep fresh for up to four days, retaining their chewy texture and glossy caramel. If you notice the caramel thickening, let the bars sit at room temperature for a few minutes before serving to restore its soft sheen.
Freezing Instructions
Wrap each bar individually in plastic wrap, then layer them in a freezer‑safe zip‑top bag. They freeze beautifully for up to three months. When you’re ready to enjoy them, thaw overnight in the fridge and warm them gently in a 300°F oven for 8‑10 minutes to bring back that fresh‑out‑the‑oven gooeyness.
Reheating Methods
To reheat without drying out, place a splash of milk or a drizzle of caramel on the bar and cover it loosely with foil. Heat in a pre‑heated oven at 325°F for 5‑7 minutes, or microwave for 15‑20 seconds on medium power. The trick to reheating without drying it out? A splash of milk or a dab of butter keeps the crumb tender and the caramel luscious.
❓ Frequently Asked Questions
Can I use a different type of caramel sauce?
What if I don’t have whole‑wheat flour?
How do I prevent the bars from sticking to the pan?
Can I add nuts without making the bars too heavy?
Is there a gluten‑free version?
Can I make these bars in a muffin tin?
How long can I keep the bars at room temperature?
What’s the best way to reheat a single bar?
Similar Recipes
 Desserts
Delightfully Moist Almond Flour Zucchini Cake: Steps, Tips, and Serving Suggestions
Delicious Delightfully Moist Almond Flour Zucchini Cake: Steps, Tips, and Serving Suggestions
 Desserts
spiced apple and cranberry crisp with oat topping for winter desserts
Learn how to make delicious spiced apple and cranberry crisp with oat topping for winter desserts.…
 Desserts
Deliciously Easy Mini Baked Apple Pies: A Step-by-Step Guide
Delicious Deliciously Easy Mini Baked Apple Pies: A Step-by-Step Guide
 Desserts
Tropical Bliss: Frozen Yogurt Coconut Berry Swirl Slices
Delicious Tropical Bliss: Frozen Yogurt Coconut Berry Swirl Slices
 Desserts
How to Make Slice and Bake Heart Cookies: A Sweet Treat for Any Occasion
Learn how to make delicious How to Make Slice and Bake Heart Cookies: A Sweet Treat…
 Desserts
Zesty Chocolate Dipped Orange Slices: The Perfect Fusion of Sweet and Citrus
Delicious Zesty Chocolate Dipped Orange Slices: The Perfect Fusion of Sweet and Citrus
 Desserts
Cinnamon Apple Bliss Rolls: A Step-by-Step Guide to Deliciousness
Delicious Cinnamon Apple Bliss Rolls: A Step-by-Step Guide to Deliciousness
 Desserts
Soft Batch Gingerbread Cookies for Freezing
Learn how to make delicious Soft Batch Gingerbread Cookies for Freezing. Easy recipe with step-by-step instructions,…

Victoria
I cook these recipes at home before they ever land here — simple ingredients, clear steps.
Other Reader Favorites
 Dinner
Unique Sweet Potato Rosti with Basil
Delicious Unique Sweet Potato Rosti with Basil
 Desserts
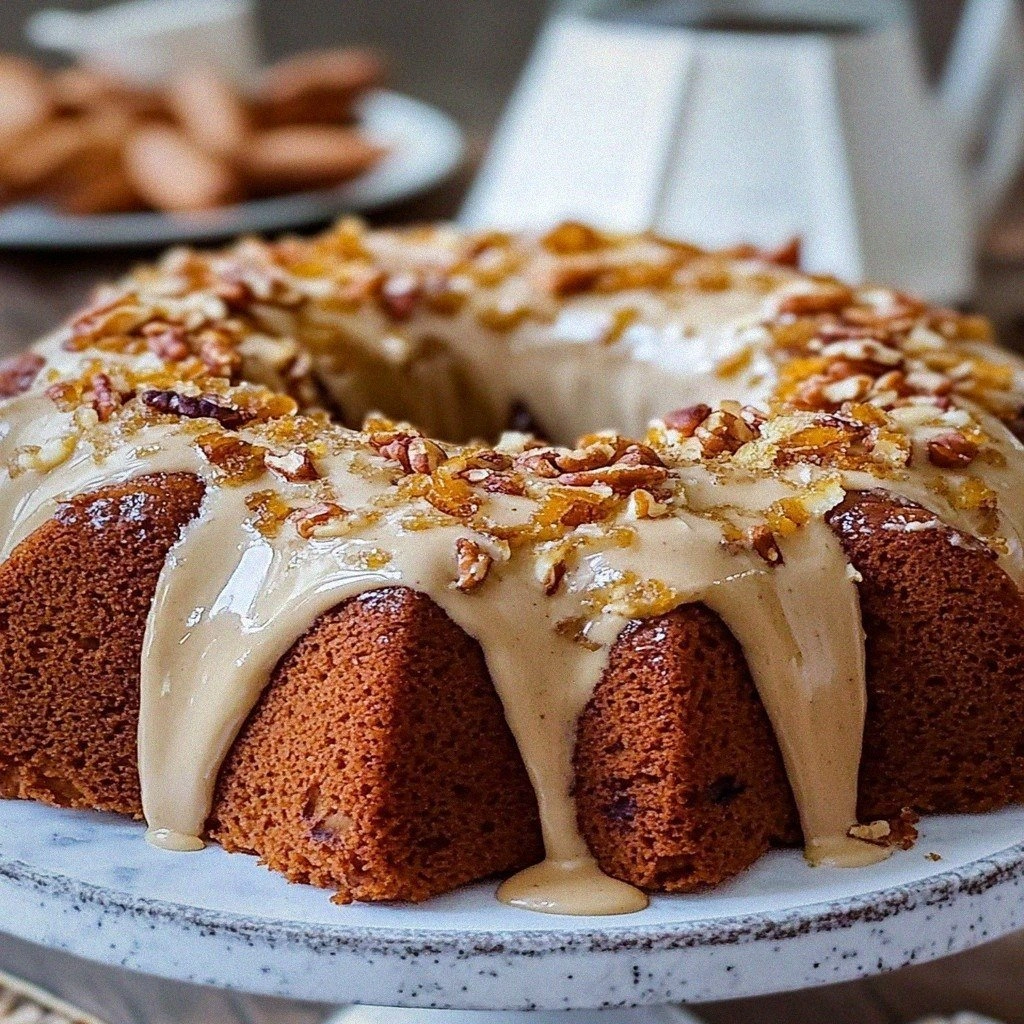
Irresistible Maple Pumpkin Spice Bundt Recipe for Fall
Learn how to make delicious Irresistible Maple Pumpkin Spice Bundt Recipe for Fall. Easy recipe with…
 Drinks
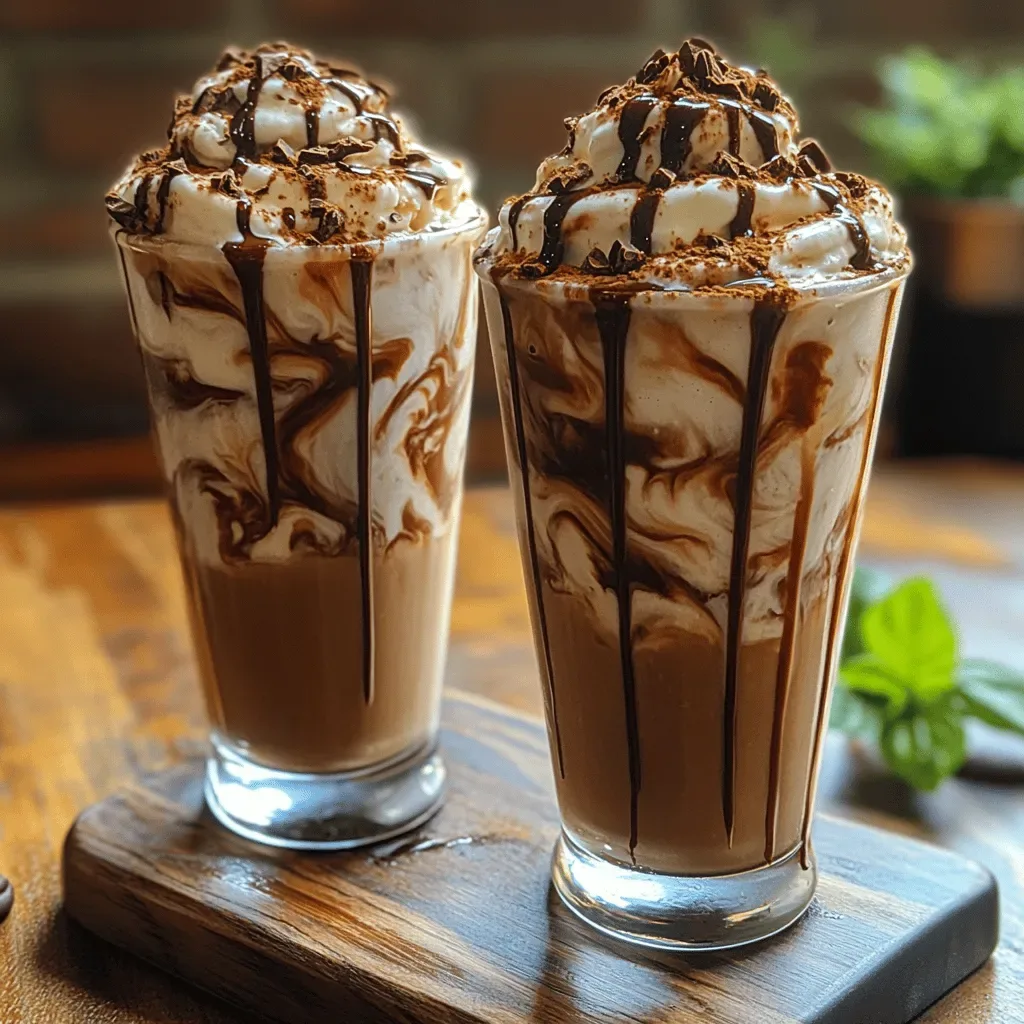
Coffee Dreams Shake: A Delicious Blend of Coffee and Ice Cream
Delicious Coffee Dreams Shake: A Delicious Blend of Coffee and Ice Cream
 Dinner
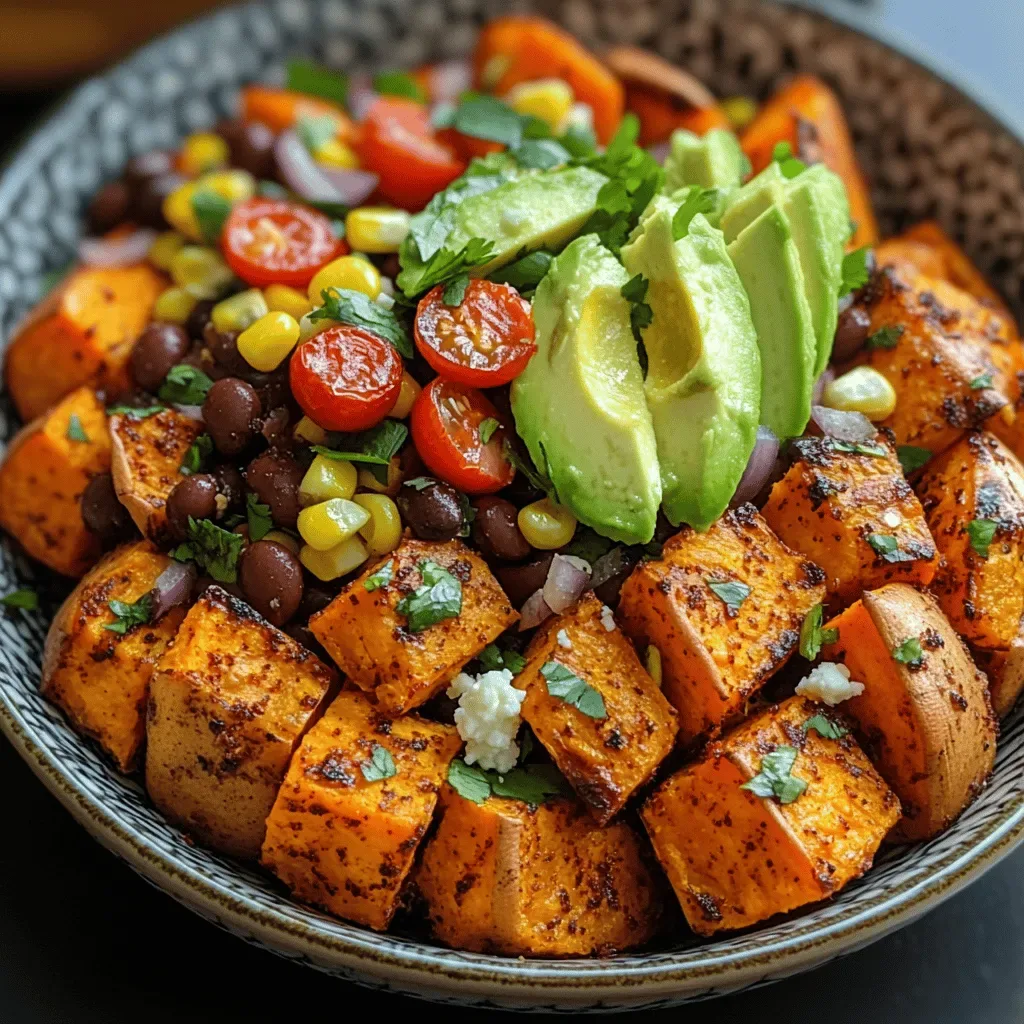
Sweet & Spicy Tex-Mex Sweet Potato Bowls
Delicious Sweet & Spicy Tex-Mex Sweet Potato Bowls