Heavenly No-Bake Chocolate Peanut Butter Bites
 Save
Save
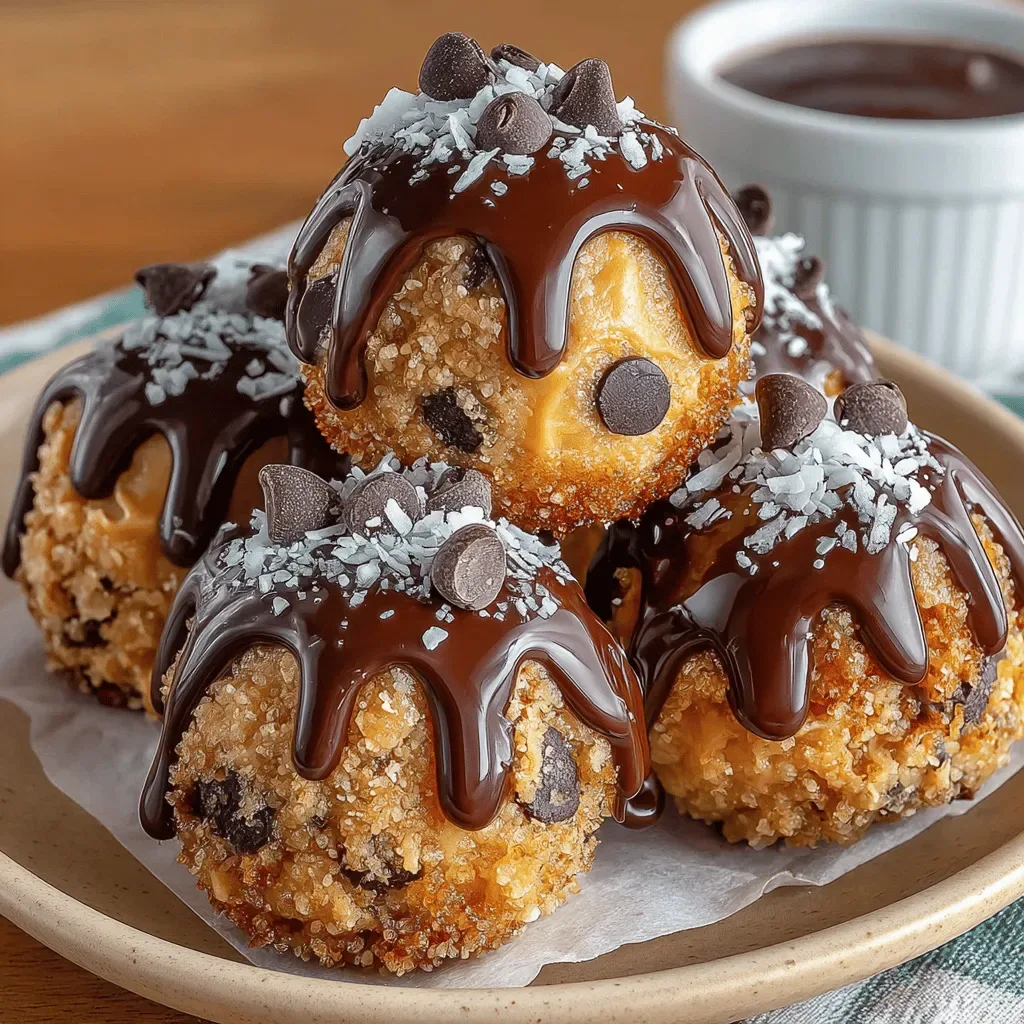
Imagine a bite‑size treat that delivers the deep richness of chocolate, the creamy comfort of peanut butter, and a melt‑in‑your‑mouth texture—all without ever touching a hot oven. That’s exactly what our Heavenly No‑Bake Chocolate Peanut Butter Bites promise: pure indulgence in a handful.
What makes these bites truly special is the perfect balance of sweet and salty, layered with a hint of vanilla and a crunchy oat topping that adds texture without compromising the no‑bake simplicity.
Kids, college students, and busy parents alike will fall in love with these bite‑sized desserts, whether they’re served after dinner, as an afternoon snack, or at a festive gathering.
The process is delightfully straightforward: combine a few pantry staples, press the mixture into mini molds, chill until firm, and finish with a glossy chocolate drizzle. No stovetop, no oven, just pure, effortless decadence.
Why You'll Love This Recipe
Zero Oven Required: Skip the heat and the cleanup—just mix, press, and chill for a dessert that’s ready in minutes.
Kid‑Approved Flavors: Chocolate and peanut butter are a timeless duo that even the pickiest eaters can’t resist.
Customizable Sweetness: Adjust the honey or maple syrup to suit your taste, or swap for a sugar‑free alternative.
Portion‑Perfect: Each bite is individually sized, making it easy to control portions and serve at parties.
Tips & Tricks
Perfecting the Recipe
Even oat texture. Pulse oats just enough to break them up; over‑processing turns them into flour, which can make the bites too dense.
Temperature control. Keep peanut butter and honey slightly warmed (microwave 10‑seconds) so they blend smoothly without creating lumps.
Press firmly. A compact base prevents cracking when dipped; use the back of a spoon or your palm for consistent pressure.
Quick chill. If you’re short on time, place the tray on a metal baking sheet—metal conducts cold faster, reducing chilling time.
Flavor Enhancements
Add a dash of espresso powder to the chocolate glaze for a subtle mocha note, or swirl in a spoonful of caramel sauce before the glaze sets. A sprinkle of toasted coconut flakes on top adds tropical flair without extra prep.
Common Mistakes to Avoid
Avoid using chunky peanut butter—it won’t bind properly and can create grainy bites. Also, don’t over‑heat the chocolate; overheating causes the glaze to become grainy and lose its shine.
Pro Tips
Use parchment paper. It prevents sticking during chilling and makes transferring the bites effortless.
Store in a single layer. When refrigerating, keep bites in a single layer to avoid them sticking together.
Flavor‑infused honey. Swap plain honey for honey infused with vanilla bean or cinnamon for an extra depth of flavor.
Freeze for a firmer bite. If you prefer a firmer texture, move the finished bites to the freezer for 10 minutes before serving.
Variations
Ingredient Swaps
Swap rolled oats for puffed quinoa or crushed pretzels for a lighter crunch. Use almond butter or cashew butter instead of peanut butter for a milder nut profile. Dark chocolate chips can replace semi‑sweet for a richer, less sweet glaze.
Dietary Adjustments
For a vegan version, choose a plant‑based honey substitute such as agave syrup and ensure the chocolate chips are dairy‑free. Gluten‑free is automatic as oats are naturally gluten‑free—just verify they’re labeled as such. To make keto‑friendly, replace honey with a low‑carb sweetener like erythritol and use almond flour in place of oats.
Serving Suggestions
Arrange the bites on a decorative platter with fresh berries for a pop of color. Pair them with a glass of cold milk, almond milk, or a robust cold brew for a balanced snack. They also work beautifully as a topping for frozen yogurt or ice cream.
Storage Info
Leftover Storage
Place cooled bites in an airtight container lined with parchment. Store in the refrigerator for up to 5 days. For longer keeping, arrange them in a freezer‑safe bag, press a piece of parchment between each bite, and freeze for up to 3 months.
Reheating Instructions
To enjoy a softer texture, let frozen bites thaw at room temperature for 10 minutes, then pop them in a 300°F oven for 5‑7 minutes. If you prefer them chilled, simply serve straight from the fridge. Adding a drizzle of fresh chocolate before serving revives the glossy finish.
Frequently Asked Questions
Can I make these bites ahead of time?
What if I’m allergic to peanuts?
How do I keep the chocolate glaze from cracking?
Can I use a different sweetener?
These Heavenly No‑Bake Chocolate Peanut Butter Bites bring together simple pantry staples for a dessert that feels indulgent yet requires almost no effort. You now have the full recipe, storage tips, and creative variations to make it your own. Feel free to experiment with flavors, textures, and presentations—after all, the best recipes evolve with the cook’s imagination. Enjoy every bite of this effortless, chocolate‑kissed delight!
Heavenly No-Bake Chocolate Peanut Butter Bites
Delicious Heavenly No-Bake Chocolate Peanut Butter Bites
Ingredients
Base Ingredients
- 1 cup rolled oats
- ½ cup creamy peanut butter
- ¼ cup honey (or maple syrup)
- 1 teaspoon vanilla extract
Chocolate Topping
- ½ cup semi‑sweet chocolate chips
- 1 tablespoon coconut oil
Optional Add‑Ins
- ¼ cup chopped toasted peanuts
- Pinch of sea salt
Instructions
Forming the Bites
- Portion the mixture. Using a tablespoon or small ice‑cream scoop, portion out 12 equal piles onto a parchment‑lined tray. This ensures uniform size and even chilling.
- Press into shapes. With wet hands, firmly press each pile into a compact disc about ½‑inch thick. The moisture prevents sticking and helps create a smooth surface for the chocolate glaze.
- Optional add‑ins. If you’re using chopped peanuts or a pinch of sea salt, sprinkle them on top now and gently press them into the surface.
- Chill. Place the tray in the refrigerator for at least 15 minutes, or in the freezer for 5 minutes, until the bases are firm enough to handle without crumbling.
Finishing the Bites
- Dip or drizzle. Using a fork or a small spoon, dip each chilled base halfway into the chocolate glaze, allowing excess to drip back into the bowl. For a sleek look, you can also drizzle the glaze in a thin stream over the tops.
- Set the glaze. Return the glazed bites to the parchment sheet and refrigerate for another 10 minutes, or until the chocolate is firm to the touch.
- Serve. Transfer the bites to a serving platter. They can be enjoyed straight from the fridge for a firmer texture or at room temperature for a softer bite—your preference dictates the final experience.
Similar Recipes
 Desserts
Buzzy Raspberry Cheesecake Bombs Recipe
Delicious Buzzy Raspberry Cheesecake Bombs Recipe
 Desserts
Chocolate Hershey Kiss Cookies
Learn how to make delicious Chocolate Hershey Kiss Cookies. Easy recipe with step-by-step instructions.
 Desserts
Crispy Reese’s Puffs Delight Bars: A Decadent Homemade Treat
Delicious Crispy Reese’s Puffs Delight Bars: A Decadent Homemade Treat
 Desserts
Brownie Neapolitan Fudge (No-Bake Layered Fudge)
Learn how to make delicious Brownie Neapolitan Fudge (No-Bake Layered Fudge). Easy recipe with step-by-step instructions.
 Desserts
Homemade Vampire Fudge: The Ultimate Spooky Treat That Disappears Fast
Learn how to make delicious Homemade Vampire Fudge: The Ultimate Spooky Treat That Disappears Fast. Easy…
 Desserts
Apple Crisp Cheesecake Recipe: A Sweet Fusion of Flavors
Delicious Apple Crisp Cheesecake Recipe: A Sweet Fusion of Flavors
 Desserts
Chocolate and Orange Ricotta Ice Cream
Learn how to make delicious Chocolate and Orange Ricotta Ice Cream. Easy recipe with step-by-step instructions.
 Desserts
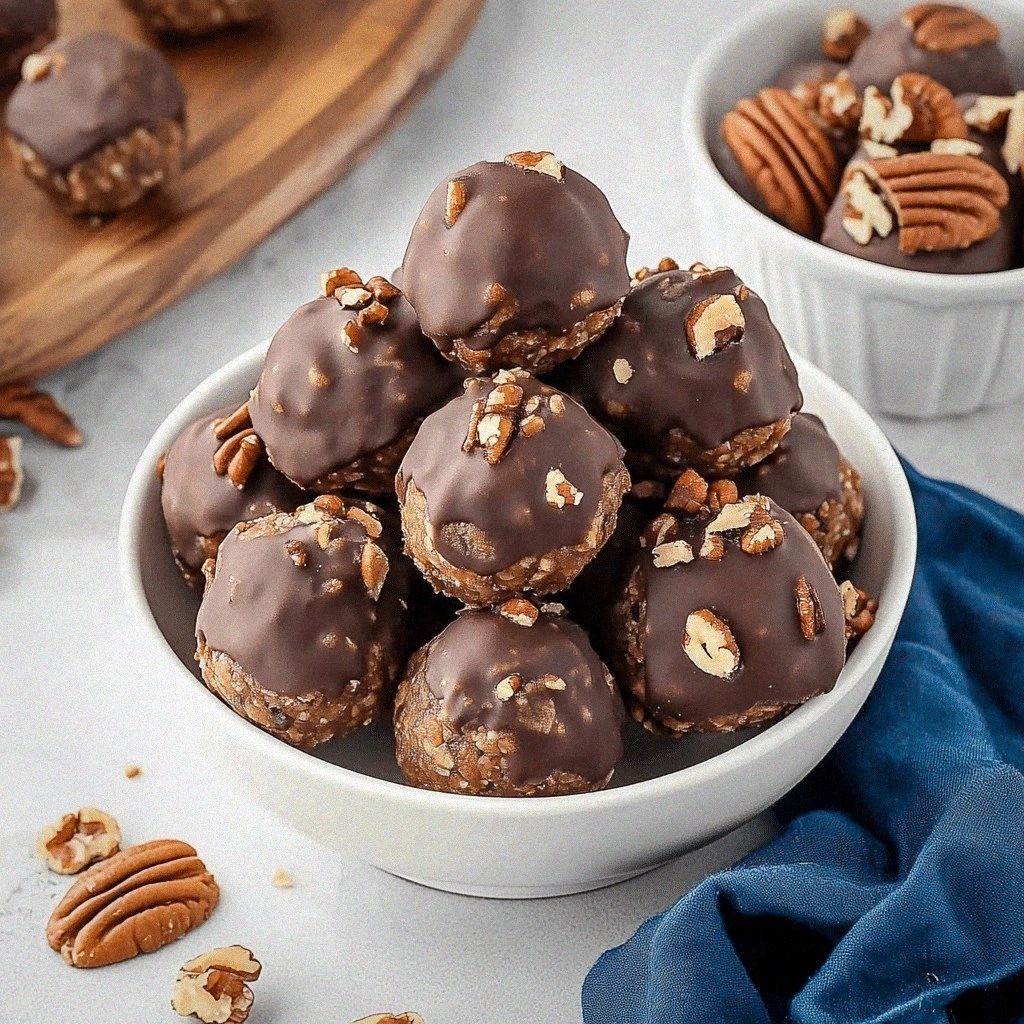
Pecan Pie Balls
Learn how to make delicious Pecan Pie Balls. Easy recipe with step-by-step instructions.

Victoria
I cook these recipes at home before they ever land here — simple ingredients, clear steps.