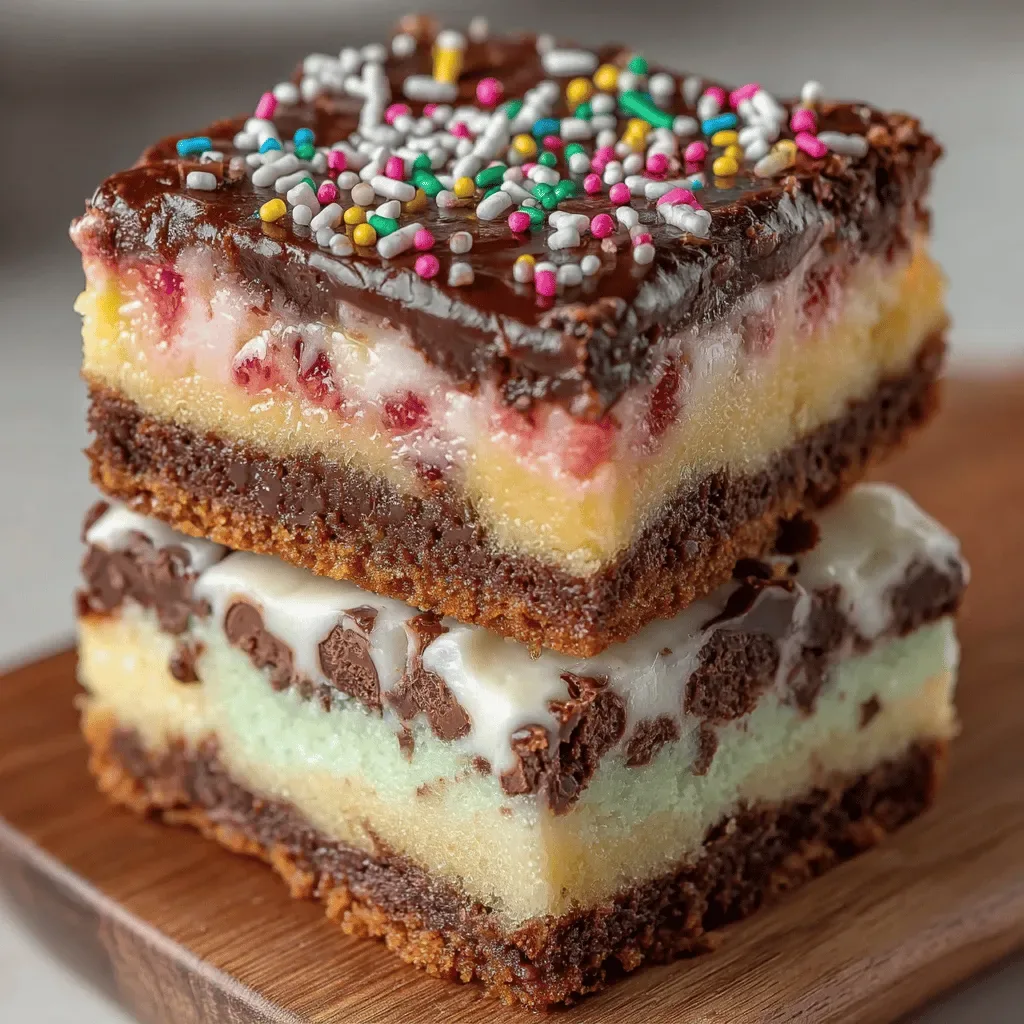
Imagine a bite‑size dessert that looks as luxurious as a high‑end patisserie but never touches an oven. Our Decadent No‑Bake Turtle Mini Cheesecakes deliver that wow factor with silky cream cheese, buttery graham‑cracker crusts, and a lavish drizzle of chocolate‑caramel‑pecan “turtle” topping.
What makes this recipe truly special is the harmony of textures: a crisp crust, a velvety filling, and a glossy, nutty topping that adds just the right amount of crunch and richness.
Breakfast lovers, brunch hosts, and anyone craving a sweet treat without the heat of the oven will adore these mini cheesecakes. They shine on lazy weekend mornings, elegant brunch tables, or as a make‑ahead dessert for holiday gatherings.
The process is straightforward: blend a simple crust, whip a light cheesecake mixture, pipe or spoon it into cups, and finish with a decadent turtle sauce that sets while chilling. No baking, no fuss, just pure indulgence.
Why You'll Love This Recipe
Zero‑Bake Simplicity: All the flavor comes together without heating the oven, saving energy and keeping your kitchen cool—perfect for warm mornings.
Portion‑Perfect Minis: Individual cups make serving effortless, eliminate waste, and let guests enjoy a controlled sweet bite.
Elegant Turtle Topping: The classic combination of chocolate, caramel, and toasted pecans adds a sophisticated, restaurant‑quality finish.
Make‑Ahead Friendly: Once chilled, the cheesecakes keep beautifully for days, giving you a ready‑to‑serve dessert whenever the craving hits.
Ingredients
The foundation of these mini cheesecakes is a buttery graham‑cracker crust that provides a subtle sweetness and a sturdy base. The filling relies on full‑fat cream cheese, sweetened with powdered sugar and brightened by a splash of vanilla. The star of the show—the turtle topping—brings together rich dark chocolate, silky caramel, and toasted pecans for texture and flavor depth.
Crust
- 1 ½ cups graham‑cracker crumbs
- 3 tablespoons unsalted butter, melted
- 2 tablespoons granulated sugar
Cheesecake Filling
- 8 oz (1 package) cream cheese, softened
- ¼ cup powdered sugar
- 1 teaspoon pure vanilla extract
- ¼ cup heavy cream
Turtle Topping
- ½ cup dark chocolate chips
- ¼ cup caramel sauce (store‑bought or homemade)
- ¼ cup pecan halves, toasted
Each component plays a purpose: the butter‑moistened crumbs bind into a firm crust, the cream cheese mixture stays light thanks to the added cream, and the turtle topping delivers a glossy, buttery finish that hardens just enough to slice cleanly. The toasted pecans add a nutty crunch that contrasts beautifully with the smooth layers.
Step-by-Step Instructions
Preparing the Crust
In a medium bowl, combine graham‑cracker crumbs, granulated sugar, and the melted unsalted butter. Stir until the mixture resembles wet sand. Spoon the crumb blend into the bottoms of twelve 2‑inch ramekins, pressing firmly with the back of a spoon to create an even layer. The pressed crust will hold the filling without crumbling.
Mixing the Cheesecake Filling
Using a handheld mixer, beat softened cream cheese on medium speed until smooth, about 1 minute. Add powdered sugar and continue beating for another 30 seconds. Blend in vanilla extract and finally drizzle in heavy cream, mixing until the filling is light, airy, and just pourable. This airy texture keeps the mini cheesecakes from feeling heavy.
Assembling the Mini Cheesecakes
- Fill the Cups. Spoon or pipe the cheesecake mixture over each crust, leveling the tops with a small offset spatula. Aim for a smooth dome about ¾‑inch high; the filling will settle slightly as it chills.
- Chill. Cover the ramekins loosely with plastic wrap and refrigerate for at least 2 hours, or until the filling is firm enough to hold its shape when lifted.
- Prepare the Turtle Topping. While the cheesecakes chill, melt dark chocolate chips in a microwave‑safe bowl (30‑second bursts, stirring in between) until smooth. Warm the caramel sauce gently in a saucepan over low heat until fluid.
- Drizzle & Sprinkle. Remove the cheesecakes from the fridge. Using a spoon, drizzle a thin line of melted chocolate across the top of each mini, followed by a drizzle of warm caramel. Finish with a scattering of toasted pecan halves for crunch and visual appeal.
- Set the Topping. Return the finished cheesecakes to the refrigerator for 10 minutes to let the chocolate and caramel firm slightly. This prevents smearing when serving.
Serving
Serve the mini cheesecakes straight from the ramekins for a polished presentation, or gently run a thin knife around the edge to release them onto a serving platter. Pair with fresh berries or a dusting of cocoa powder for an extra touch of elegance.
Tips & Tricks
Perfecting the Recipe
Room‑Temperature Cream Cheese. Let the cream cheese sit out for 20‑30 minutes before mixing; it blends more evenly, preventing lumps in the filling.
Even Crust Pressure. Use the bottom of a measuring cup to press the crust firmly and uniformly, ensuring each mini has a stable base.
Chill Before Topping. Adding the chocolate and caramel while the cheesecake is still warm can cause the toppings to melt and run; always chill first.
Flavor Enhancements
Stir a pinch of sea‑salt into the caramel for a sweet‑salty contrast, or fold a teaspoon of espresso powder into the chocolate for depth. A drizzle of orange‑infused honey over the finished cheesecake adds a bright, fruity lift.
Common Mistakes to Avoid
Avoid over‑mixing the filling; excess air can cause cracks when chilled. Also, don’t skip the butter in the crust—without it the base will crumble rather than hold together.
Pro Tips
Use a Piping Bag. Transfer the cheesecake filling to a piping bag fitted with a large star tip for a professional‑looking swirl on each mini.
Toast Pecans Evenly. Spread pecans on a baking sheet and toast at 350°F for 5‑7 minutes, shaking halfway, to bring out their buttery flavor without burning.
Store Toppings Separately. If you need to prep ahead, keep chocolate and caramel in separate containers; combine just before serving to preserve texture.
Variations
Ingredient Swaps
Replace graham crackers with vanilla wafers for a lighter crust, or swap dark chocolate for white chocolate to create a sweeter profile. For a nut‑free version, use toasted sunflower seeds instead of pecans. Coconut cream can substitute heavy cream for a subtle tropical note.
Dietary Adjustments
Use a gluten‑free cracker blend for the crust, and choose a dairy‑free cream cheese (such as almond‑based) with coconut‑milk heavy cream for a vegan-friendly mini cheesecake. For a low‑sugar version, replace powdered sugar with a natural sweetener like erythritol and use sugar‑free caramel.
Serving Suggestions
Serve alongside fresh berries, a dollop of whipped coconut cream, or a dusting of cocoa powder for added elegance. Pair with a sparkling mimosa or a cold brew coffee to balance the richness of the turtle topping.
Storage Info
Leftover Storage
Allow the cheesecakes to cool completely, then cover each ramekin with plastic wrap or transfer them to an airtight container. Store in the refrigerator for up to 4 days. For longer keeping, freeze individually wrapped in foil for up to 3 months; thaw overnight in the fridge before serving.
Reheating Instructions
Because the desserts are no‑bake, they are best enjoyed cold. If you prefer a softer texture, let them sit at room temperature for 15 minutes before serving. Should the chocolate harden too much after freezing, gently warm the topping in a microwave (10‑second bursts) before drizzling.
Frequently Asked Questions
These Decadent No‑Bake Turtle Mini Cheesecakes bring a touch of elegance to any breakfast or brunch spread while staying wonderfully simple to prepare. With a buttery crust, airy filling, and a luxurious chocolate‑caramel‑pecan crown, they satisfy both the eye and the palate. Feel free to experiment with the suggested swaps or add your own flair—after all, the best recipes evolve with each baker’s imagination. Enjoy every silky, crunchy bite!