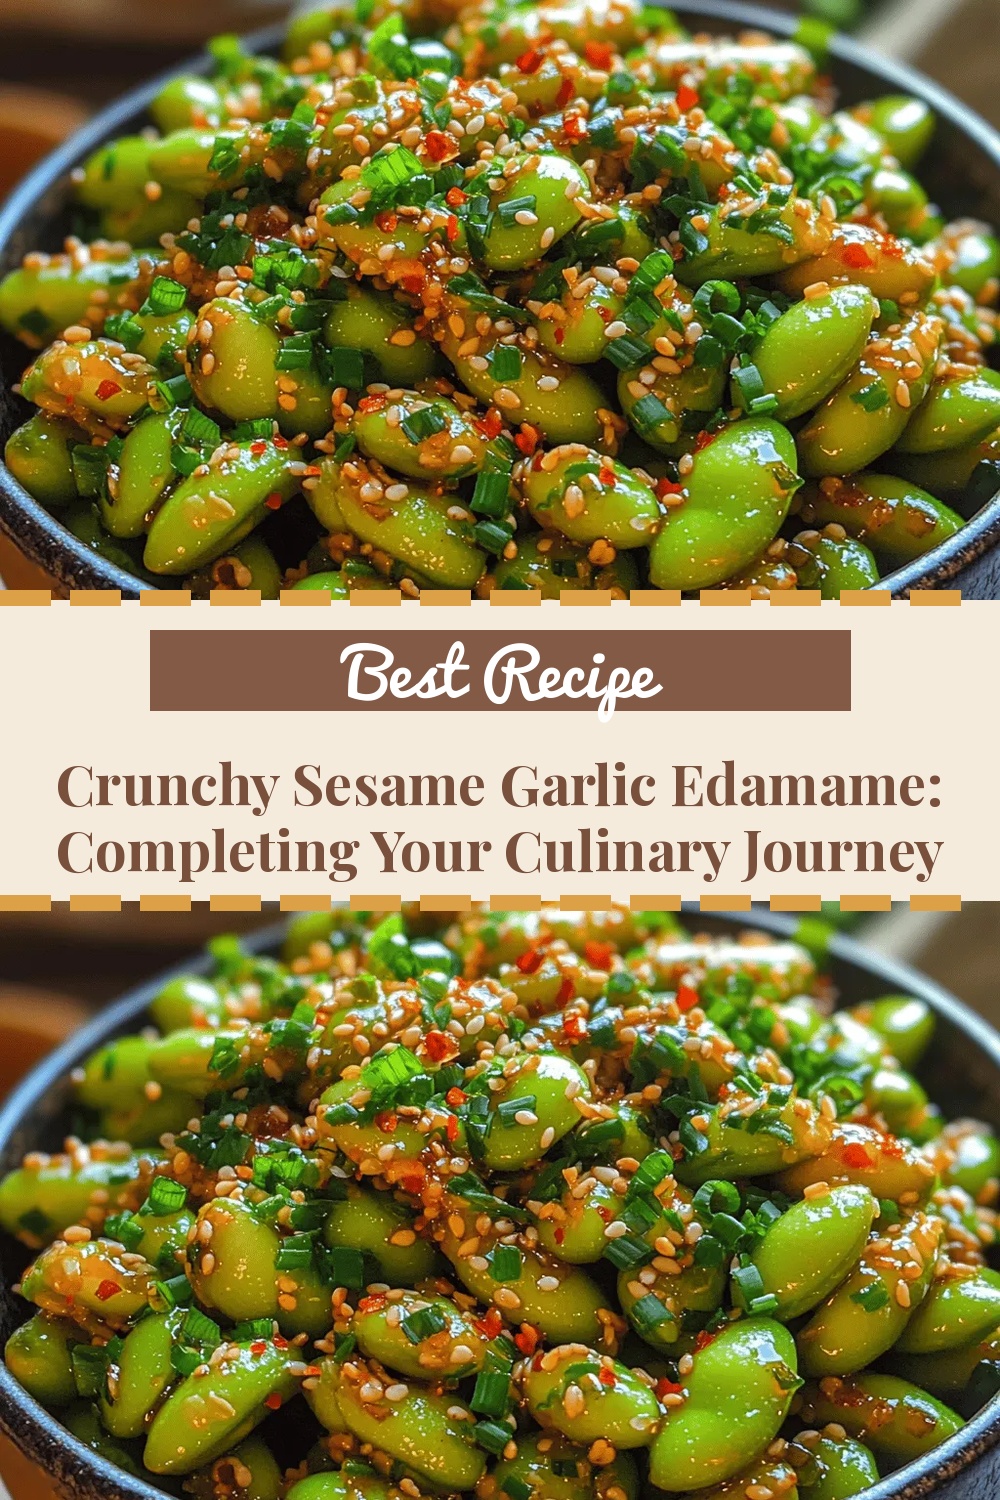
Crunchy Sesame Garlic Edamame: Completing Your Culinary Journey
 Save
Save
Imagine a bite‑size snack that crackles with toasted sesame, sings with garlic, and delivers the satisfying pop of perfectly cooked edamame. Crunchy Sesame Garlic Edamame brings that moment to your table in under fifteen minutes, turning a simple bean into a star‑worthy appetizer.
What makes this dish special is the balance between nutty sesame, sweet‑tart glaze, and a whisper of heat from chili flakes. The edamame stays tender inside while the coating turns golden and crisp, creating a textural duet that’s hard to resist.
Anyone who loves bold flavors without the heaviness of fried foods will adore this snack—college students pulling an all‑night study session, busy parents needing a quick bite, or hosts looking for a crowd‑pleasing party finger food.
The process is straightforward: steam the edamame, whisk a quick sesame‑garlic sauce, toss, and finish under a hot broiler or skillet. The result is a glossy, crunchy bite ready to be devoured the moment it hits the plate.
Why You'll Love This Recipe
Bold, Layered Flavor: Garlic, sesame, soy, and a hint of honey create a savory‑sweet profile that stays on the palate long after each bite.
Ready in Minutes: With just a brief steam and a quick toss, you have a hot, crunchy snack perfect for spontaneous gatherings or last‑minute cravings.
Plant‑Based Powerhouse: Edamame delivers protein, fiber, and essential micronutrients, making this appetizer both satisfying and nutritious.
Customizable Heat: Adjust chili flakes or add a splash of sriracha for extra kick, letting you tailor the spice level to any crowd.
Tips & Tricks
Perfecting the Recipe
Dry the Beans Thoroughly: After steaming, pat the edamame completely dry. Moisture creates steam, which prevents the glaze from crisping.
High Heat, Short Time: A hot skillet gives a quick, even crust without over‑cooking the beans.
Use Fresh Garlic: Freshly minced garlic releases more aromatic oils than pre‑minced jars, boosting flavor.
Watch the Glaze: Once the sauce starts to bubble, keep stirring; it can go from glossy to burnt in seconds.
Flavor Enhancements
Add a squeeze of fresh lime juice just before serving for bright acidity, or drizzle a teaspoon of toasted chili oil for an extra layer of heat. For a richer mouthfeel, stir in a small knob of butter at the end of the glaze.
Common Mistakes to Avoid
Skipping the drying step leaves excess water, resulting in soggy beans. Also, avoid overcrowding the pan; a crowded skillet steams rather than crisps, preventing the desired crunch.
Pro Tips
Use a Stainless‑Steel Skillet: It conducts heat evenly, helping you achieve a uniform golden crust.
Prep All Ingredients First: The cooking window is short; having everything ready prevents burning the glaze.
Adjust Sweetness: If you prefer less sweetness, reduce honey to ½ tablespoon or substitute with a sugar‑free sweetener.
Finish with a Sprinkle: A final dusting of flaky sea salt adds a pleasant contrast to the sweet‑savory glaze.
Variations
Ingredient Swaps
Replace edamame with shelled soybeans for a softer bite, or try green peas for a sweeter twist. Swap sesame oil for peanut oil and add crushed peanuts for an Asian‑inspired nutty version. Use agave nectar instead of honey for a vegan-friendly glaze.
Dietary Adjustments
For gluten‑free diners, ensure the soy sauce is labeled gluten‑free or use tamari. To keep it dairy‑free, simply omit the optional butter finish. Those on low‑carb or keto can replace honey with erythritol or monk fruit sweetener without sacrificing sweetness.
Serving Suggestions
Serve the crunchy edamame as a stand‑alone snack, or pile it over a bowl of soba noodles for a hearty meal. It also shines as a topping for Buddha bowls, adding texture and protein. Pair with a crisp Asian‑style cucumber salad to balance the richness.
Storage Info
Leftover Storage
Allow the edamame to cool completely, then transfer to an airtight container. Store in the refrigerator for up to 3 days. For longer keeping, portion into freezer‑safe bags, squeeze out excess air, and freeze for up to 2 months. The glaze may thicken; a quick stir before reheating restores its sheen.
Reheating Instructions
Reheat in a preheated 350°F (175°C) oven for 8‑10 minutes, uncovered, to regain crispness. Alternatively, toss in a hot skillet with a splash of sesame oil for 2‑3 minutes, stirring constantly. Microwaving is possible but will soften the crust; if you choose this method, finish under a broiler for 1‑2 minutes.
Frequently Asked Questions
Can I make this snack ahead of time?
What if I only have shelled edamame?
How spicy is this dish, and can I adjust the heat?
This Crunchy Sesame Garlic Edamame brings together bold Asian flavors, a satisfying crunch, and a nutritious plant‑based protein in a single, fast‑track snack. We’ve covered everything from ingredient selection to storage, plus plenty of variations to keep the dish fresh for any occasion. Feel free to experiment with heat levels, swaps, or serving styles—cooking is your personal canvas. Serve it hot, share it wide, and enjoy every savory, crunchy bite!
Crunchy Sesame Garlic Edamame: Completing Your Culinary Journey
Delicious Crunchy Sesame Garlic Edamame: Completing Your Culinary Journey
Ingredients
Main Ingredients
- 2 cups frozen edamame (in‑shell)
- 2 tablespoons sesame oil
- 1 tablespoon toasted sesame seeds
Sauce / Marinade
- 3 cloves garlic, minced
- 2 tablespoons low‑sodium soy sauce
- 1 tablespoon honey or maple syrup
- 1 teaspoon rice vinegar
- ½ teaspoon red‑pepper flakes (adjust to taste)
Seasonings & Garnish
- ¼ teaspoon sea salt (or to taste)
- Freshly ground black pepper
- Optional: sliced green onions for garnish
Instructions
Combine and Crisp
- Heat the Oil. Place a large non‑stick skillet over medium‑high heat. Add the sesame oil and let it shimmer, about 30 seconds, indicating it’s hot enough to sear.
- Toast the Edamame. Add the drained edamame in a single layer. Let it sizzle undisturbed for 2‑3 minutes so the bottoms develop a light crust. Flip and repeat on the other side.
- Coat with Glaze. Reduce the heat to medium. Pour the prepared sesame‑garlic glaze over the edamame, tossing quickly to ensure every bean is evenly coated. The sauce will caramelize, creating a thin, sticky shell.
- Finish with Seeds. Sprinkle the toasted sesame seeds over the beans, stirring just until they adhere. Add a final grind of black pepper and, if desired, a few slices of green onion for color.
- Serve Immediately. Transfer the crunchy edamame to a serving bowl while still hot. The residual heat keeps the coating glossy and the beans delightfully crisp.
Similar Recipes
 Appetizers
Garlic Herb Roasted Sweet Potatoes
Delicious Garlic Herb Roasted Sweet Potatoes
 Appetizers
Ranch Potato Salad: Discover Flavorful Recipe Secrets
Learn how to make delicious Ranch Potato Salad: Discover Flavorful Recipe Secrets. Easy recipe with step-by-step…
 Appetizers
Crunchy Caesar Delight Wraps: A Delicious and Satisfying Meal Option
Delicious Crunchy Caesar Delight Wraps: A Delicious and Satisfying Meal Option
 Appetizers
Cheesy Garlic Dream Sticks Recipe
Delicious Cheesy Garlic Dream Sticks Recipe
 Appetizers
Spicy Buffalo Chickpea Wraps: A Flavorful Vegan Delight
Delicious Spicy Buffalo Chickpea Wraps: A Flavorful Vegan Delight
 Appetizers
Addictive Charcuterie Board: The Ultimate Guide to Creating an Irresistible Spread
Delicious Addictive Charcuterie Board: The Ultimate Guide to Creating an Irresistible Spread
 Appetizers
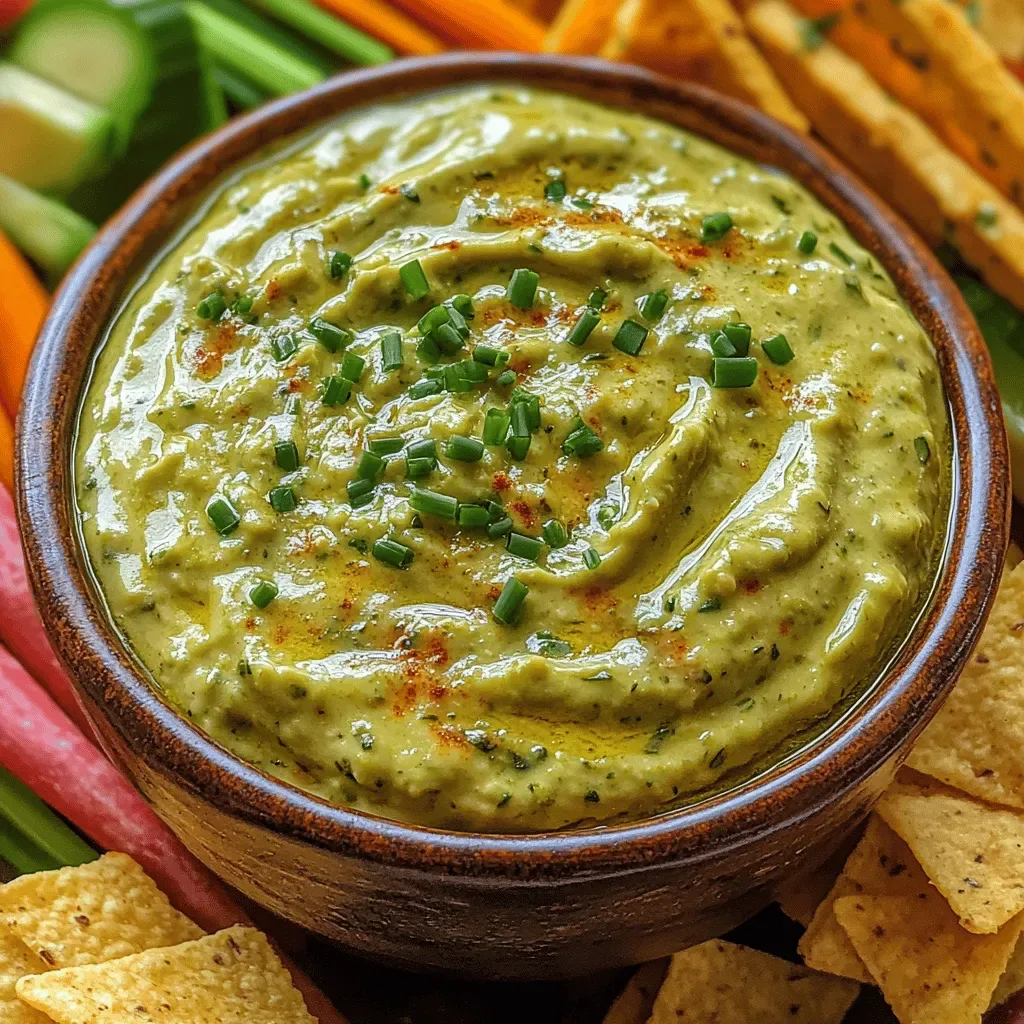
Creamy Avocado Ranch Dip: A Culinary Delight
Delicious Creamy Avocado Ranch Dip: A Culinary Delight
 Appetizers
Mini Sloppy Joe Slider Rolls
Discover how to make Mini Sloppy Joe Slider Rolls—perfect bite‑size sandwiches packed with savory beef, cheese,…

Victoria
I cook these recipes at home before they ever land here — simple ingredients, clear steps.