Cherry Pie Crumble Bars: The Perfect Dessert
 Save
Save
Imagine the warm scent of a classic cherry pie mingling with the buttery crunch of a crumble, all in a handheld bar that’s perfect for any occasion. Cherry Pie Crumble Bars take that nostalgic flavor and turn it into a portable, crowd‑pleasing dessert that looks as good as it tastes.
What sets these bars apart is the layered texture: a shortbread‑like base, a luscious cherry‑spice filling, and a golden oat crumble topping that cracks delightfully with each bite. The balance of sweet, tart, and buttery notes creates a truly irresistible treat.
Kids, teens, and adults alike will devour these bars, whether they’re served at a backyard barbecue, a holiday brunch, or a simple after‑dinner snack. They’re especially great for picnics because they travel well and stay fresh for days.
The process is straightforward: make a quick crust, simmer a cherry filling, sprinkle on a crumble, and bake until bubbling and lightly browned. Minimal hands‑on time, no fancy equipment—just pure, comforting flavor.
Why You'll Love This Recipe
Hand‑Held Comfort: Each bar delivers the classic cherry‑pie experience without the need for a fork, making it perfect for on‑the‑go snacking or casual gatherings.
Simple Ingredient List: The recipe relies on pantry staples—flour, butter, oats, and frozen cherries—so you won’t have to hunt for specialty items.
Layered Texture: A crisp crust, juicy filling, and crumbly topping create a satisfying contrast that keeps every bite interesting.
Make‑Ahead Friendly: These bars store beautifully, allowing you to bake them ahead of time and serve them fresh throughout the week.
Tips & Tricks
Perfecting the Recipe
Chill the crust. A cold crust prevents it from spreading too much during baking, giving you a firm base that holds the juicy filling.
Don’t over‑mix the crumble. Keep the crumble slightly coarse; over‑mixing creates a dense topping rather than a light, buttery crunch.
Use frozen cherries. They retain their shape better than fresh cherries, preventing the filling from turning watery.
Flavor Enhancements
Add a splash of vanilla extract to the filling for extra depth, or stir in a tablespoon of almond extract for a subtle nutty note. A pinch of ground ginger pairs beautifully with the cherry‑spice profile, while a drizzle of caramel sauce on warm bars elevates indulgence.
Common Mistakes to Avoid
Skipping the chilling step can cause the crust to become soggy, and over‑baking the crumble will turn it bitter. Also, avoid using too much liquid in the filling; it will make the bars runny and prevent clean slicing. Finally, cut the bars while still warm—this leads to crumbly pieces.
Pro Tips
Use a kitchen scale. Precise measurements, especially for butter, guarantee consistent texture across batches.
Line the pan with parchment. This makes removal effortless and preserves the crisp edges of the crust.
Cool on a wire rack. Proper cooling prevents steam from making the bottom soggy.
Store with a paper towel. Placing a paper towel under the lid absorbs excess moisture, keeping the crumble crisp.
Variations
Ingredient Swaps
Substitute the cherries with mixed berries for a summer twist, or use diced apples and a dash of clove for an autumn version. Replace rolled oats with toasted quinoa flakes for extra crunch, and swap brown sugar with coconut sugar for a caramel‑like nuance.
Dietary Adjustments
For a gluten‑free bar, use a 1‑to‑1 gluten‑free flour blend in both crust and crumble. Vegan diners can replace butter with coconut oil or a plant‑based butter, and use maple syrup instead of brown sugar. To keep it low‑carb, swap the flour for almond flour and use a sugar substitute like erythritol.
Serving Suggestions
Serve warm with a dollop of vanilla‑bean Greek yogurt or a scoop of vanilla ice cream. A drizzle of dark chocolate ganache adds richness, while a dusting of powdered sugar offers a simple, elegant finish.
Storage Info
Leftover Storage
Allow the bars to cool completely, then slice and place them in an airtight container. Refrigerate for up to four days. For longer keeping, wrap individual bars in plastic wrap and freeze in a zip‑top bag; they’ll stay fresh for three months.
Reheating Instructions
Reheat refrigerated bars in a 350°F (175°C) oven for 8–10 minutes, covered with foil to retain moisture. If using the microwave, heat a single bar for 20–30 seconds on medium power, adding a splash of milk or water to keep the crumble from drying out.
Frequently Asked Questions
Can I make these bars ahead of time?
What if I don’t have frozen cherries?
How do I keep the crumble topping from getting soggy?
Can I add a glaze on top?
Cherry Pie Crumble Bars bring the beloved taste of a classic dessert into a convenient, handheld form that’s perfect for any gathering. By following the detailed steps, using quality ingredients, and applying the tips provided, you’ll achieve a bar that’s buttery, juicy, and wonderfully crunchy. Feel free to experiment with the suggested swaps or add your own twist—after all, the best recipes evolve with each baker’s imagination. Enjoy every bite of this sweet, comforting treat!
Cherry Pie Crumble Bars: The Perfect Dessert
Delicious Cherry Pie Crumble Bars: The Perfect Dessert
Ingredients
Crust
- 1 ½ cups all‑purpose flour
- ¼ cup granulated sugar
- ⅓ cup unsalted butter, cold and cubed
- ¼ teaspoon salt
Cherry Filling
- 3 cups frozen sweet‑cherry halves (thawed)
- ¼ cup light brown sugar
- 2 tablespoons cornstarch
- ½ teaspoon ground cinnamon
- ¼ teaspoon ground nutmeg
- 1 tablespoon lemon juice
Crumble Topping
- ¾ cup rolled oats
- ¼ cup all‑purpose flour
- ⅓ cup brown sugar, packed
- ⅙ cup unsalted butter, melted
- ¼ teaspoon sea salt
Instructions
Making the Cherry Filling
- Combine wet ingredients. In a medium saucepan, whisk together the thawed cherries, brown sugar, lemon juice, cinnamon, nutmeg, and cornstarch. The acid from the lemon brightens the fruit while the cornstarch will thicken the mixture.
- Cook to thicken. Bring the mixture to a gentle boil over medium heat, stirring constantly. Once bubbling, reduce the heat and simmer for 3–4 minutes until the sauce is glossy and coats the back of a spoon. Remove from heat and let cool slightly.
Preparing the Crumble Topping
- Mix dry components. In a bowl, combine rolled oats, flour, brown sugar, and sea salt. The dry mixture ensures the crumble stays light and crumbly.
- Incorporate butter. Drizzle the melted butter over the oat mixture and stir with a fork until clumps form. The butter melts during baking, creating a caramelized, crunchy topping.
Similar Recipes
 Desserts
Elegant No-Bake Oreo Cheesecake: A Delightful Dessert for Every Occasion
Delicious Elegant No-Bake Oreo Cheesecake: A Delightful Dessert for Every Occasion
 Desserts
Sweet & Spiced Delight: Pan Fried Cinnamon Bananas
Delicious Sweet & Spiced Delight: Pan Fried Cinnamon Bananas
 Desserts
Pumpkin Honey Butter Rolls
Discover a fall favorite: Pumpkin Honey Butter Rolls—soft, fluffy buns with pumpkin puree, honey, and buttery…
 Desserts
Velvety Indulgence: Red Velvet Cheesecake Cupcakes
Delicious Velvety Indulgence: Red Velvet Cheesecake Cupcakes
 Desserts
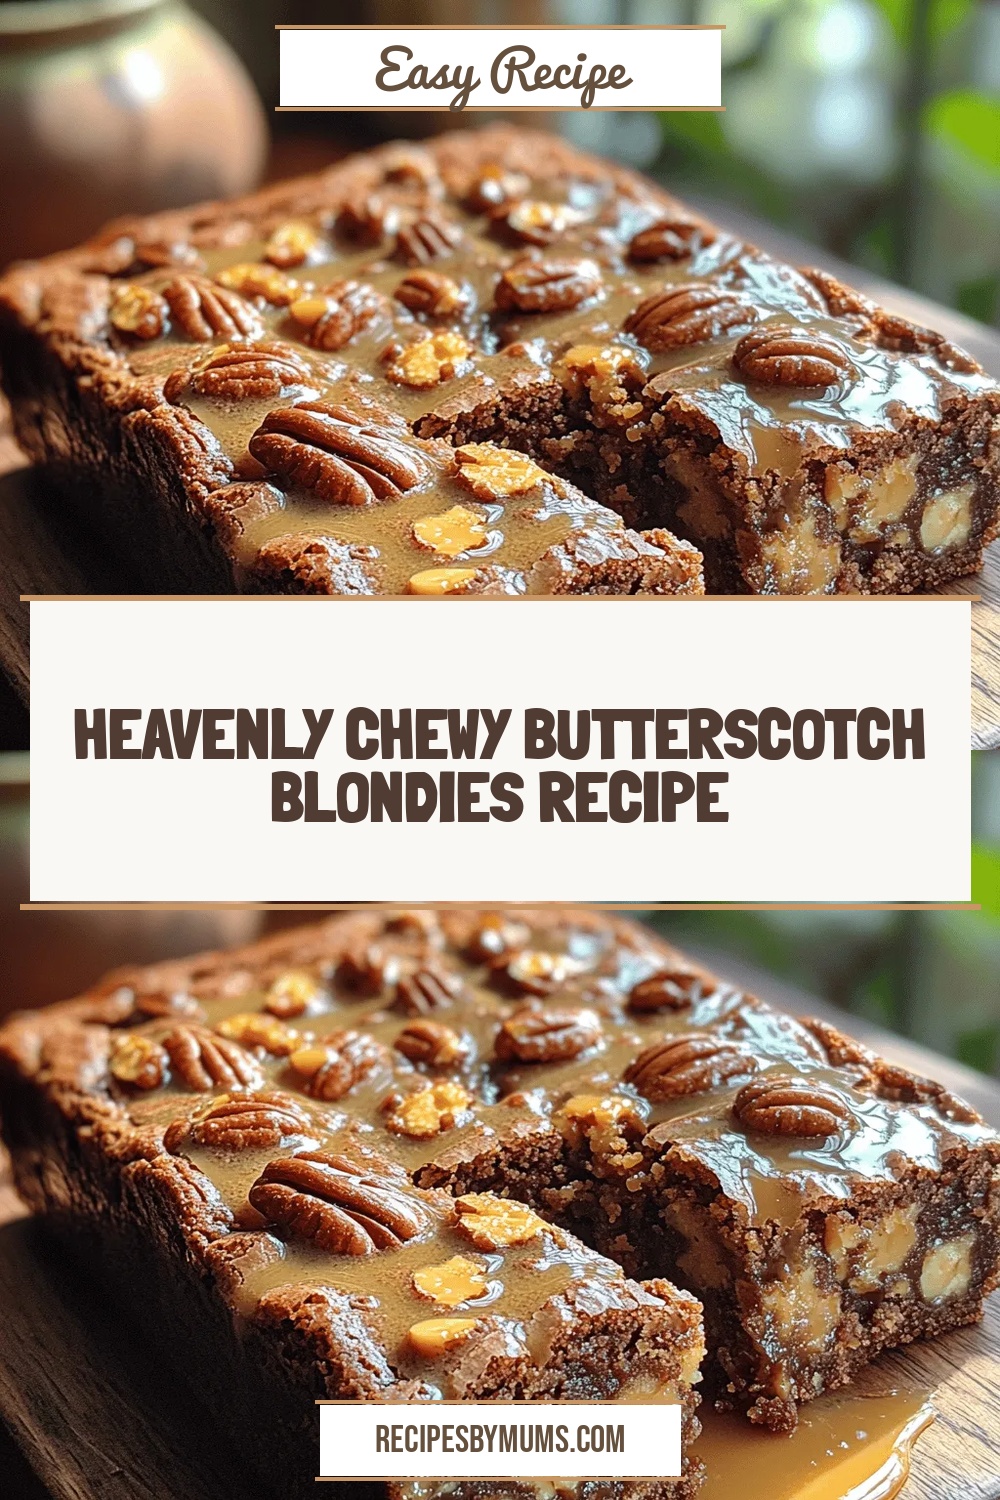
Heavenly Chewy Butterscotch Blondies Recipe
Delicious Heavenly Chewy Butterscotch Blondies Recipe
 Desserts
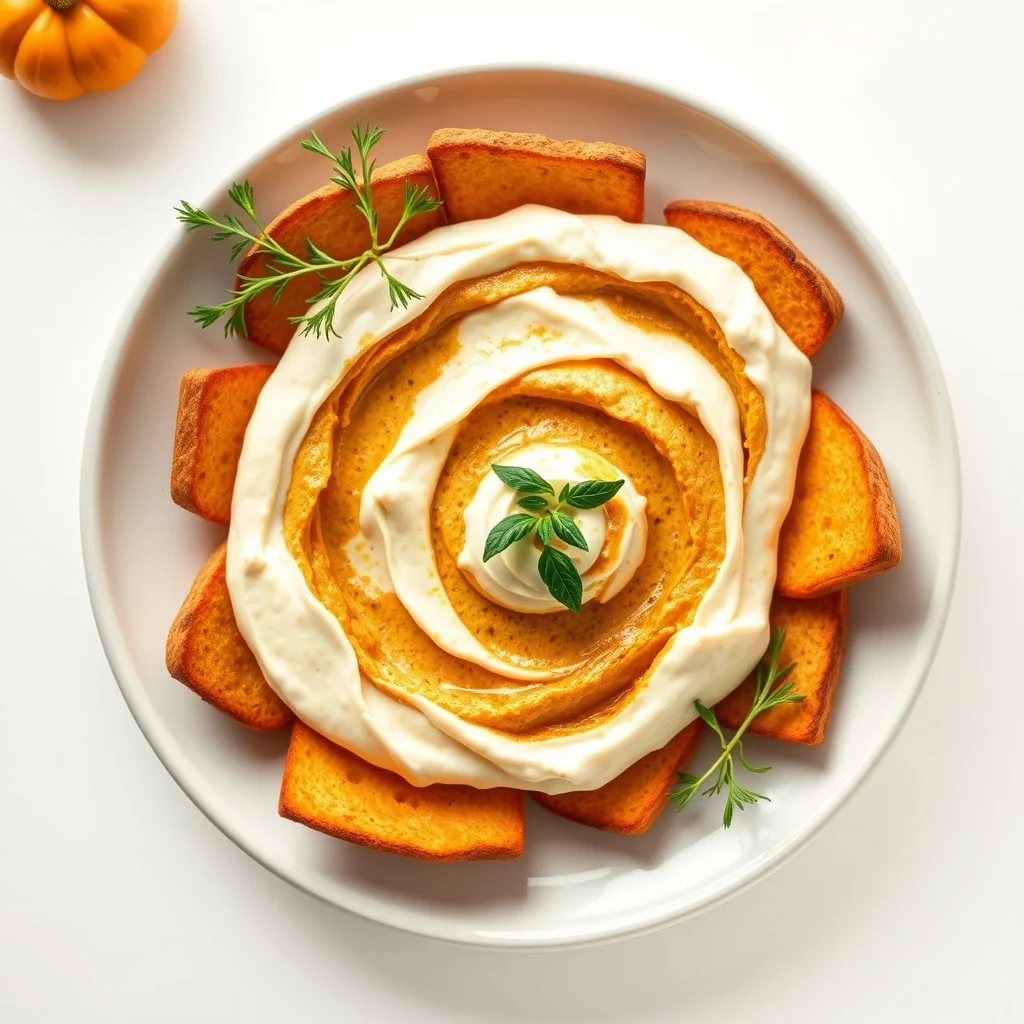
Pumpkin Pie Dip
Discover the perfect pumpkin pie dip—smooth cream cheese, warm spices, and a hint of maple. Serve…
 Desserts
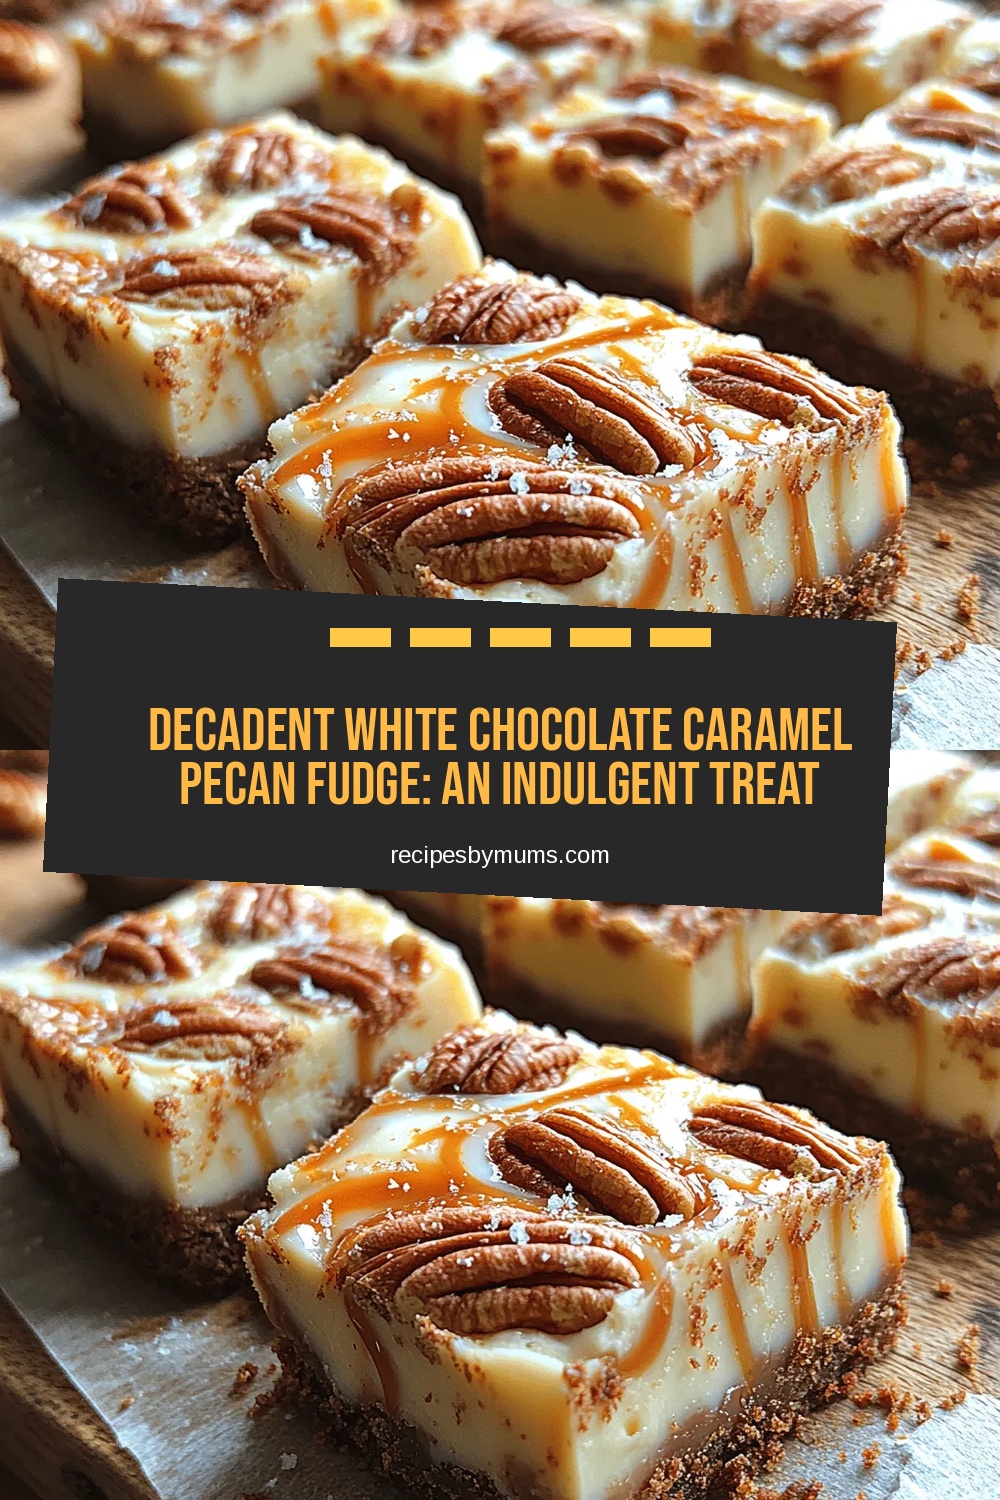
Decadent White Chocolate Caramel Pecan Fudge: An Indulgent Treat
Delicious Decadent White Chocolate Caramel Pecan Fudge: An Indulgent Treat
 Desserts
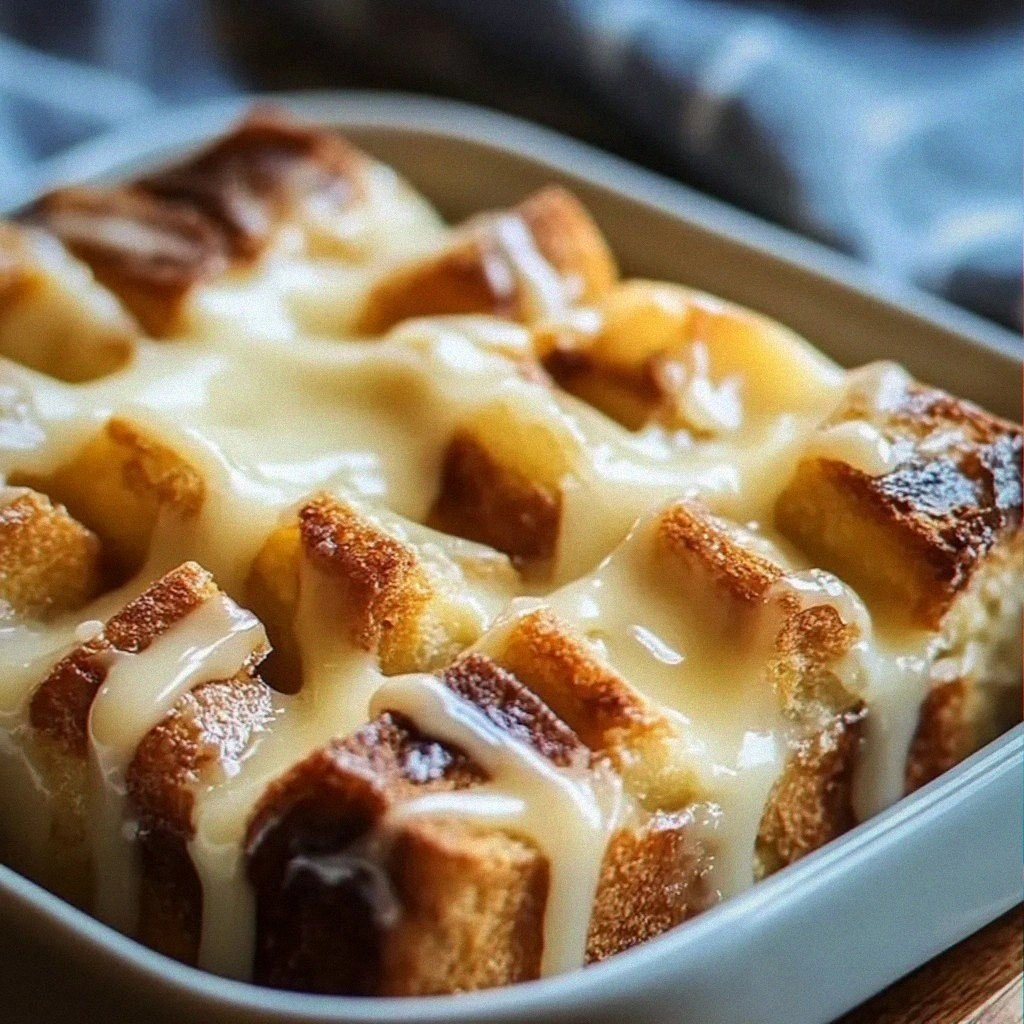
Comforting Bread Pudding With Warm Vanilla Sauce: An Incredible 5-Step Recipe
Learn how to make delicious Comforting Bread Pudding With Warm Vanilla Sauce: An Incredible 5-Step Recipe.…

Victoria
I cook these recipes at home before they ever land here — simple ingredients, clear steps.