Dreamy Vanilla Crepes: A Delightful Recipe for Every Occasion
 Save
Save
Imagine the delicate whisper of a thin, buttery sheet that folds around a cloud‑soft vanilla filling—this is the magic of Dreamy Vanilla Crepes. Perfect for lazy weekend brunches or elegant holiday breakfasts, they bring a touch of Parisian charm to any table.
What sets this recipe apart is the balance between a light, slightly crisp batter and a luxuriously smooth vanilla custard that never feels heavy. A hint of citrus zest and a splash of real vanilla bean elevate the flavor without overpowering the subtle sweetness.
Fans of classic French cuisine, parents looking for a kid‑friendly treat, and anyone craving a versatile base for sweet toppings will fall in love. Serve them plain, with fresh berries, or drizzle with caramel for a show‑stopping finish.
The process is straightforward: whisk a few pantry staples into a silky batter, rest briefly, then pan‑cook each crepe in butter until golden. Finish with a quick vanilla‑infused custard, roll, and garnish—ready in under forty minutes.
Why You'll Love This Recipe
Elegant Simplicity: Only seven core ingredients create a sophisticated dish that feels restaurant‑grade while staying home‑cook friendly.
Quick Turn‑Around: From batter to plated crepes in under forty minutes, perfect for busy mornings or impromptu brunches.
Customizable Canvas: The neutral vanilla base invites endless toppings—fresh fruit, nut butter, chocolate, or savory twists.
Family‑Friendly Fun: Kids love the roll‑and‑fill ritual, and the subtle sweetness appeals to all ages without excess sugar.
Tips & Tricks
Perfecting the Recipe
Rest the Batter: Allowing the batter to sit for ten minutes lets the gluten relax, producing a tender, melt‑in‑your‑mouth crepe.
Use a Light‑Weight Pan: A thin, non‑stick skillet distributes heat evenly, ensuring a uniform golden edge without sticking.
Control Heat Precisely: Medium heat prevents the batter from scorching while still achieving a crisp exterior.
Thin Batter is Key: If the batter feels too thick, whisk in an extra tablespoon of milk; a runny consistency spreads effortlessly.
Flavor Enhancements
Add a splash of Grand Marnier to the custard for an orange‑kissed aroma, or stir in finely chopped toasted almonds for a subtle crunch. A drizzle of honey over the finished crepes adds a floral sweetness that pairs beautifully with the vanilla.
Common Mistakes to Avoid
Never over‑mix the batter; vigorous whisking creates gluten strands that make crepes tough. Also, avoid stacking hot crepes without covering—they will dry out and lose their supple texture.
Pro Tips
Butter the Pan Lightly: Use a silicone brush to spread a thin film of butter; this prevents excess oil from weighing down the crepes.
Keep a Batter Reservoir: Store the batter in a squeeze bottle for precise pouring, which speeds up the cooking process.
Temperature Test: Drop a single drop of batter into the pan; if it sizzles and spreads instantly, the pan is perfect.
Finish with a Cool Touch: Spread the custard while the crepe is still warm; the heat will slightly melt the custard, creating a silkier mouthfeel.
Variations
Ingredient Swaps
Replace all‑purpose flour with buckwheat flour for a nutty flavor, or use almond flour for a gluten‑free twist. Swap heavy cream for coconut milk to create a dairy‑free custard, and experiment with flavored extracts—lavender or almond add an unexpected perfume.
Dietary Adjustments
For a vegan version, substitute the eggs with ¼ cup aquafaba and use plant‑based milk (oat or soy). Use maple syrup instead of sugar and a dairy‑free butter alternative for the pan. Those following a low‑carb plan can halve the sugar and serve the crepes with a sugar‑free berry compote.
Serving Suggestions
Pair the crepes with a dollop of Greek yogurt and a drizzle of pistachio‑infused honey for brunch. For dessert, roll them with melted dark chocolate, sprinkle sea salt, and top with toasted coconut flakes. A simple dusting of cinnamon sugar turns them into a cozy afternoon treat.
Storage Info
Leftover Storage
Allow crepes and custard to cool completely before stacking them with parchment paper between each layer. Store in an airtight container in the refrigerator for up to three days. For longer keeping, freeze the crepes individually wrapped in plastic wrap, then place in a freezer bag for up to two months.
Reheating Instructions
Reheat refrigerated crepes in a 350°F (175°C) oven, covered with foil, for 8‑10 minutes until soft. To restore the custard’s silkiness, gently warm it on the stovetop over low heat, stirring constantly. Frozen crepes can be reheated directly in the oven for 12‑15 minutes; no thawing required.
Frequently Asked Questions
Can I make the batter ahead of time?
How do I keep the crepes from sticking to the pan?
What are the best toppings for a sweet versus savory version?
Can I use a blender instead of whisking by hand?
This Dreamy Vanilla Crepe recipe delivers a delicate balance of buttery elegance and silky vanilla custard, all while staying quick enough for any weekday brunch. By following the detailed steps, using the suggested tips, and experimenting with the variations, you’ll master a versatile dish that can be sweet or savory. Feel free to add your own flair—whether a splash of liqueur, a sprinkle of fresh herbs, or a daring new topping. Enjoy the soft folds, the fragrant aroma, and the smiles around the table as you share this timeless classic.
Dreamy Vanilla Crepes: A Delightful Recipe for Every Occasion
Delicious Dreamy Vanilla Crepes: A Delightful Recipe for Every Occasion
Ingredients
Batter
- 1 cup all‑purpose flour
- 2 large eggs
- 1 ¼ cups whole milk, room temperature
- 2 Tbsp unsalted butter, melted and cooled
- 1 Tbsp granulated sugar
- ¼ tsp salt
- 1 tsp pure vanilla extract
Vanilla Custard Filling
- ¾ cup heavy cream
- ¼ cup whole milk
- 3 Tbsp granulated sugar
- 1 vanilla bean, split and seeds scraped
- 1 large egg yolk
- Pinch of salt
Finishing Touches
- Zest of 1 lemon
- Powdered sugar, for dusting
- Fresh berries or sliced fruit (optional)
Instructions
Cooking the Crepes
- Heat the Pan. Place a non‑stick 8‑inch skillet over medium heat and add a teaspoon of butter. When the butter foams and turns slightly brown‑gold, the surface is ready—about 2 minutes.
- Pour the Batter. Using a ladle (≈¼ cup), swirl the batter into the center of the pan, then immediately tilt and rotate the pan so the batter spreads into a thin, even circle. The batter should sizzle lightly; if it spreads too slowly, the pan is not hot enough.
- Cook One Side. Let the crepe cook for 45‑60 seconds, watching the edges turn opaque and the underside turn golden brown. A light bubbling pattern indicates the surface is set.
- Flip Carefully. Slide a thin spatula under the crepe and flip in one swift motion. Cook the second side for another 30‑45 seconds until lightly browned. Over‑cooking will make the crepe tough.
- Keep Warm. Transfer the finished crepe to a warm plate, cover loosely with foil, and repeat with the remaining batter. This maintains temperature and prevents drying.
Similar Recipes
 Breakfast
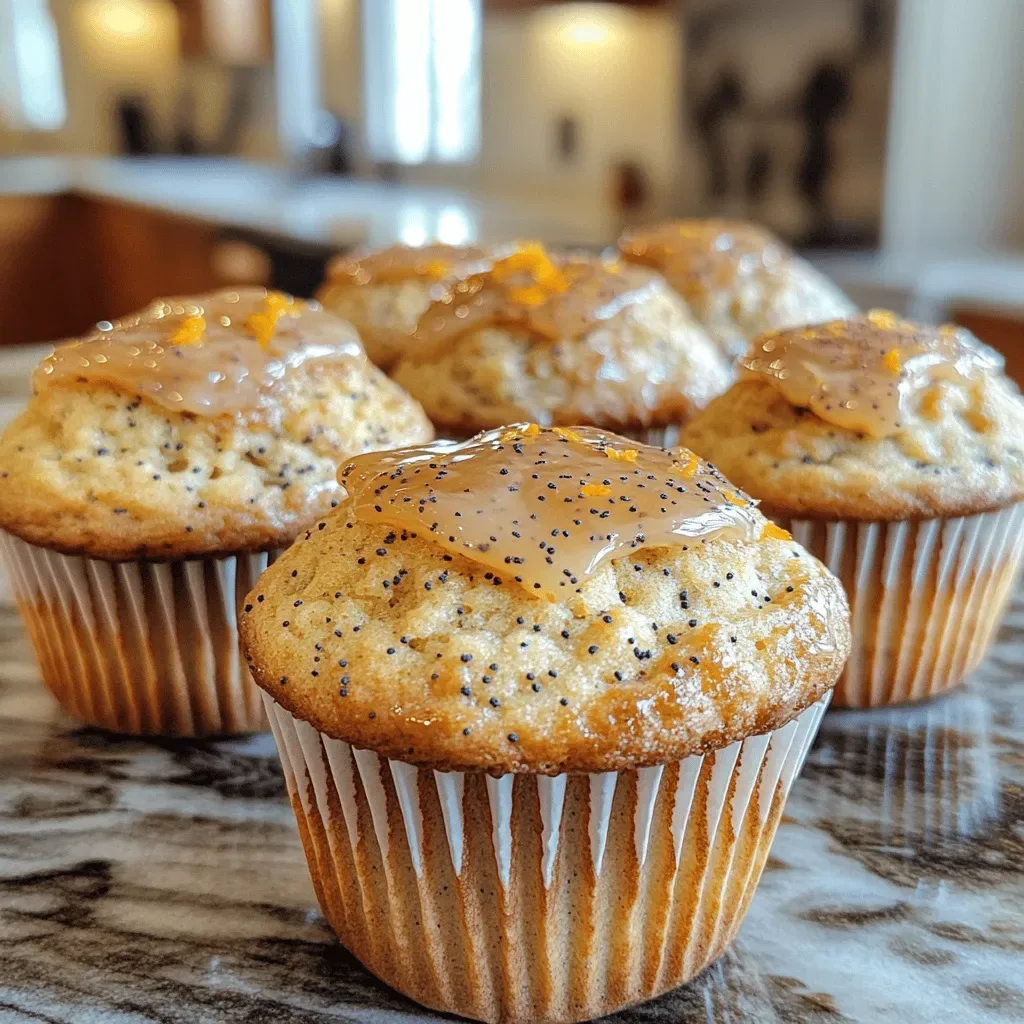
Zesty Orange Poppy Seed Muffins: A Flavorful Delight
Delicious Zesty Orange Poppy Seed Muffins: A Flavorful Delight
 Breakfast
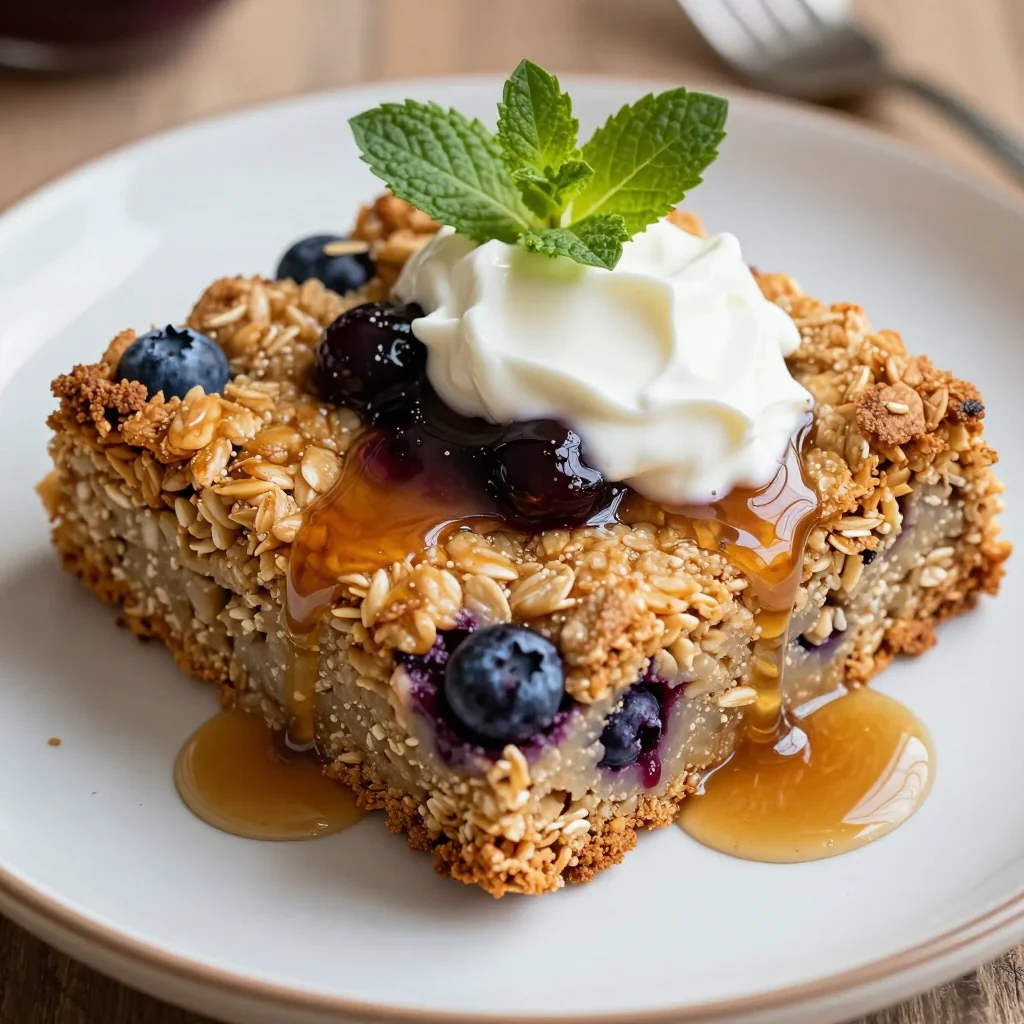
Baked Blueberry Oatmeal for Easy Breakfast
Learn how to make delicious Baked Blueberry Oatmeal for Easy Breakfast. Easy recipe with step-by-step instructions,…
 Breakfast
Mini Spinach & Mushroom Quiche Cups: A Delicious and Versatile Snack
Delicious Mini Spinach & Mushroom Quiche Cups: A Delicious and Versatile Snack
 Breakfast
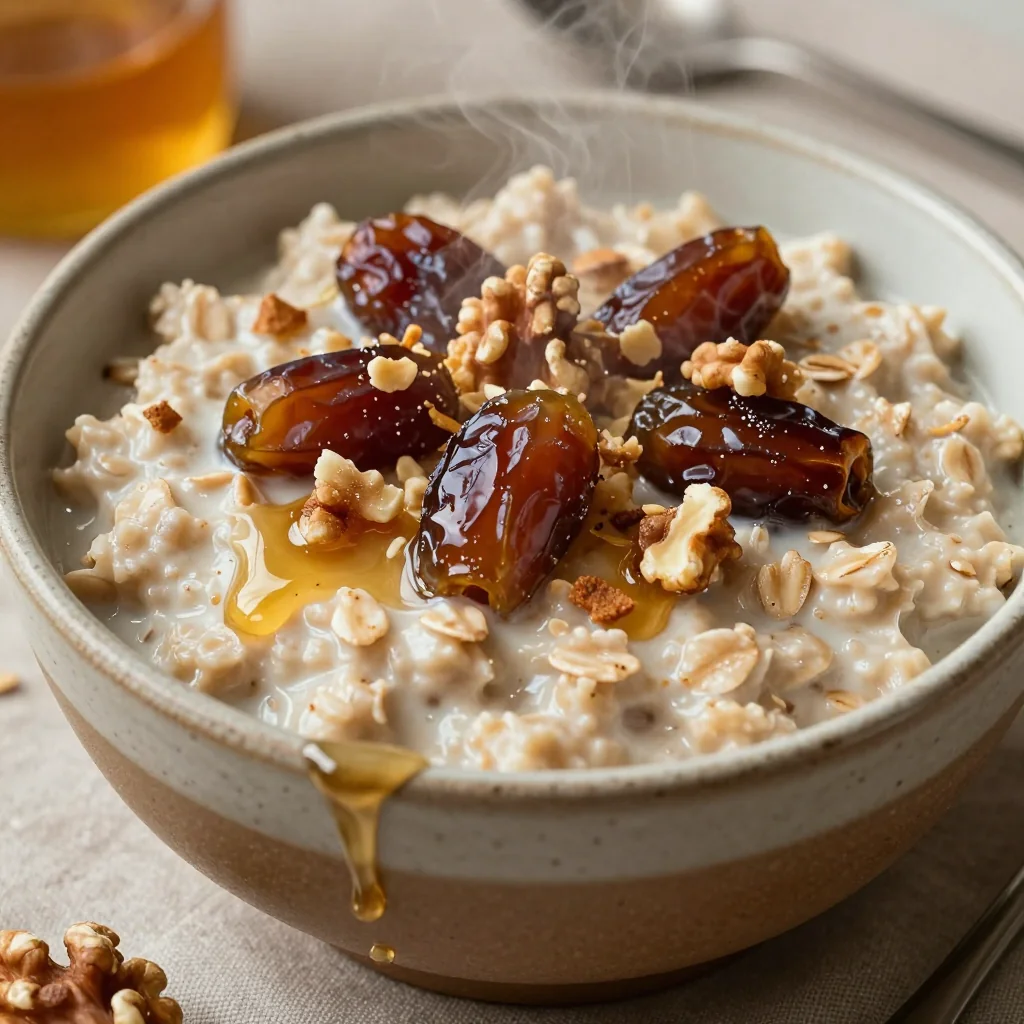
Warm Oatmeal with Dates and Walnuts for Winter
Learn how to make delicious Warm Oatmeal with Dates and Walnuts for Winter. Easy recipe with…
 Breakfast
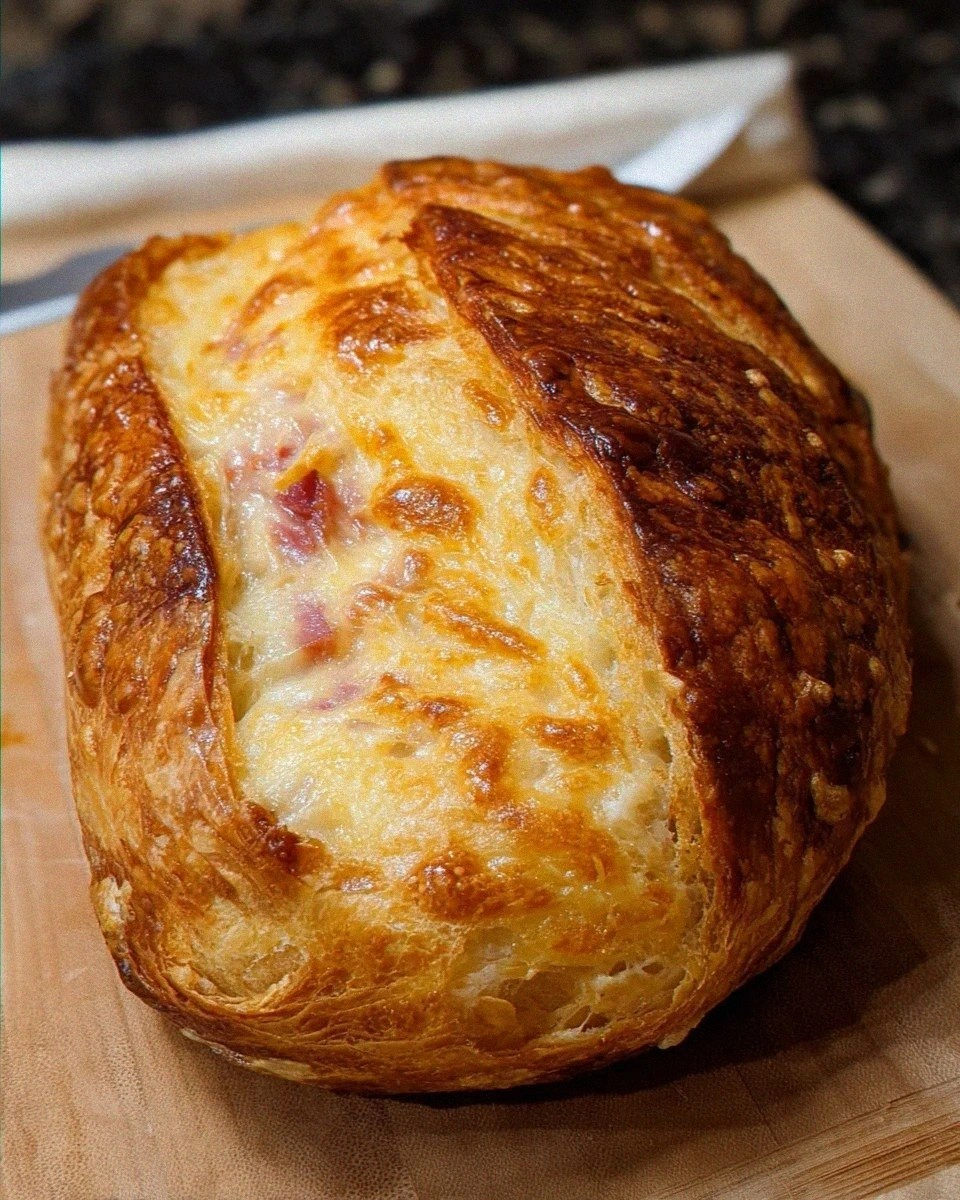
Ham and Cheese Sourdough Croissant Loaf
Learn how to make delicious Ham and Cheese Sourdough Croissant Loaf. Easy recipe with step-by-step instructions.
 Breakfast
Make-Ahead Winter Breakfast Bake for January
Learn how to make delicious Make-Ahead Winter Breakfast Bake for January. Easy recipe with step-by-step instructions,…
 Breakfast
Delicious Spanish-Style Eggs with Crispy Roasted Potatoes
Learn how to make delicious Delicious Spanish-Style Eggs with Crispy Roasted Potatoes. Easy recipe with step-by-step…
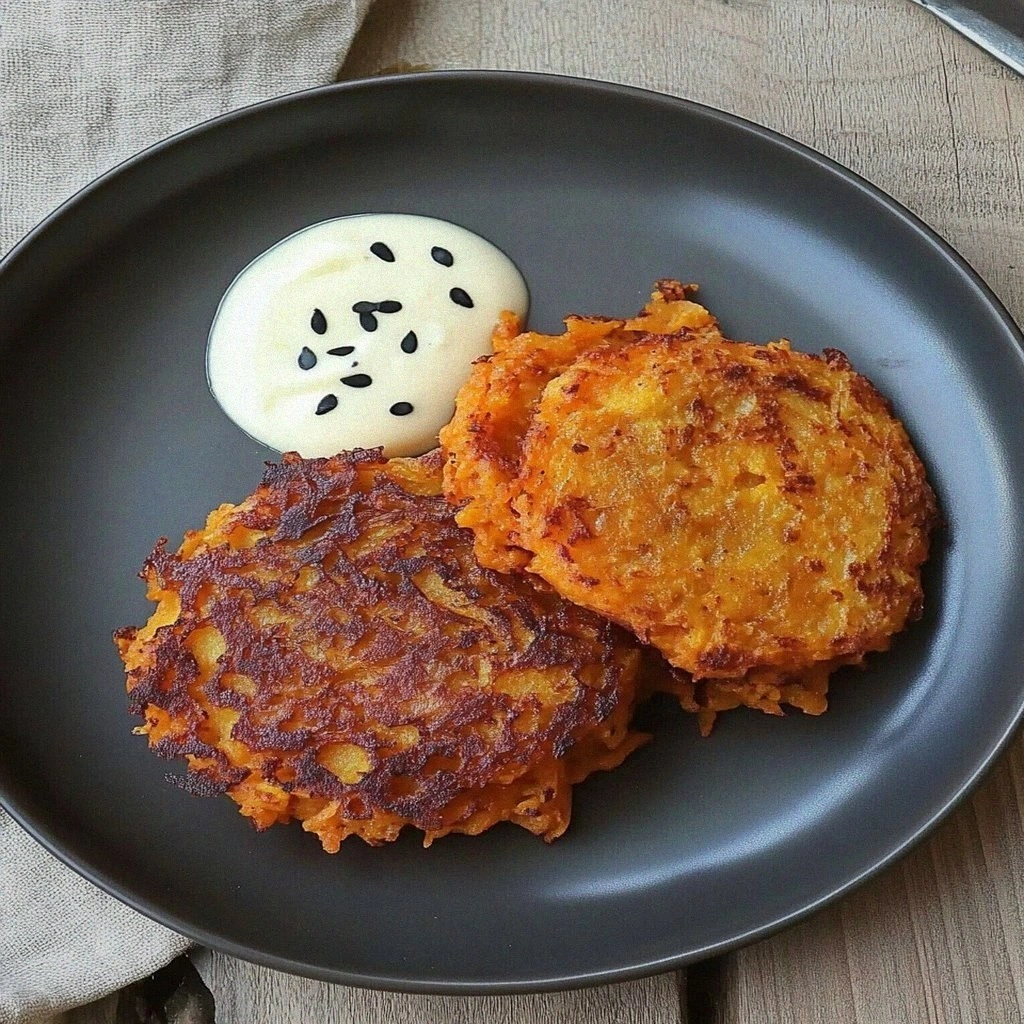 Breakfast
Crispy Sweet Potato Hash Browns Recipe for Breakfast Bliss
Learn how to make delicious Crispy Sweet Potato Hash Browns Recipe for Breakfast Bliss. Easy recipe…

Victoria
I cook these recipes at home before they ever land here — simple ingredients, clear steps.