Oreo Peanut Butter Cup Cheesecake: A Decadent Dessert Recipe
 Save
Save
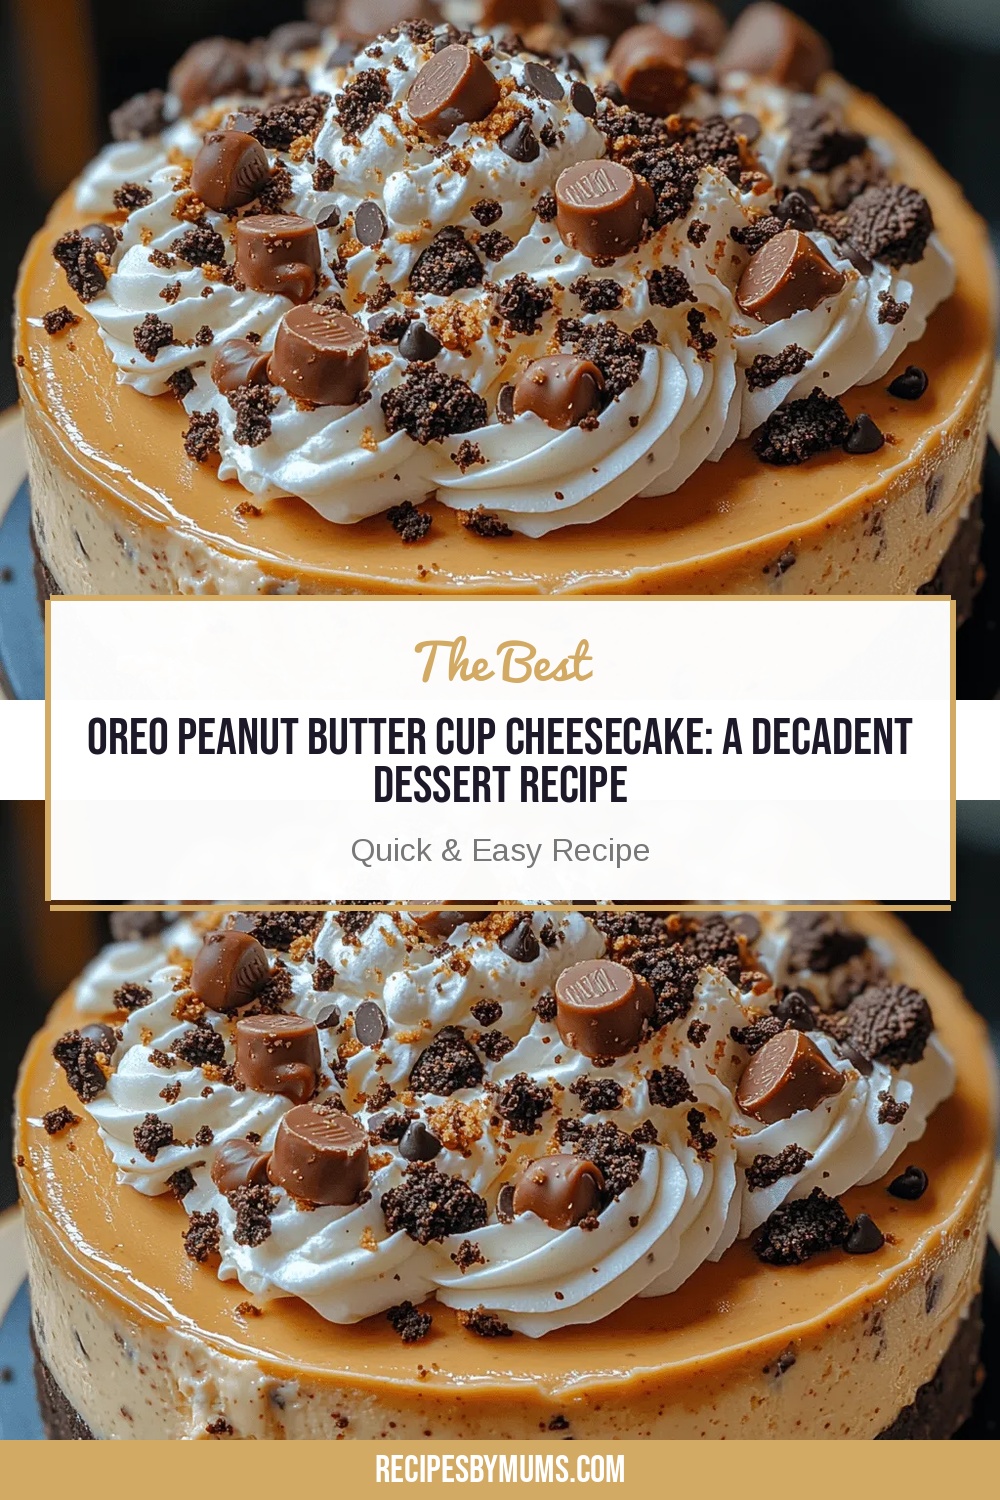
Imagine a dessert that marries the nostalgic crunch of Oreo cookies with the silky richness of peanut butter and the velvety smoothness of cheesecake. That’s exactly what the Oreo Peanut Butter Cup Cheesecake delivers—a show‑stopping treat that feels both indulgent and surprisingly balanced.
What makes this cheesecake truly unique is the layered approach: a buttery Oreo crust, a classic New York‑style cream cheese base, and a swirl of peanut butter ganache that mimics the beloved candy cup. Each bite offers a harmonious blend of textures and flavors that keep you reaching for more.
This dessert is perfect for anyone with a sweet tooth—kids, teens, and adults alike. Serve it at birthday parties, holiday gatherings, or as a decadent finale to a dinner party, and watch it disappear within minutes.
Preparing the cheesecake involves a few simple steps: crushing cookies for the crust, mixing a creamy filling, creating a peanut butter swirl, and baking until set. A quick chill in the fridge completes the process, resulting in a sliceable masterpiece.
Why You'll Love This Recipe
Ultimate Flavor Fusion: The classic Oreo crunch pairs perfectly with the creamy, slightly salty peanut butter, creating a flavor combo that feels both familiar and exciting.
Impressively Easy: Despite its gourmet appearance, the recipe uses pantry staples and requires only basic kitchen tools, making it accessible for bakers of any skill level.
Make‑Ahead Friendly: The cheesecake can be assembled a day ahead, allowing the flavors to meld and freeing up time on the day you plan to serve it.
Visually Stunning: The swirl of peanut butter through the creamy filling creates a marble‑like pattern that looks as impressive as it tastes.
Tips & Tricks
Perfecting the Recipe
Room‑Temperature Ingredients. Ensure cream cheese, eggs, and butter are at room temperature; this prevents lumps and promotes a silky batter.
Don’t Over‑Mix. Once the eggs are added, mix just until combined. Over‑mixing incorporates excess air, leading to cracks during baking.
Use a Water Bath. Placing the springform pan in a larger pan of hot water creates gentle, even heat, reducing the risk of a cracked top.
Flavor Enhancements
For an extra layer of depth, fold a tablespoon of toasted chopped peanuts into the peanut butter ganache. A pinch of sea‑salt on the finished cheesecake brightens the sweet and nutty flavors. If you love chocolate, swirl in a teaspoon of dark chocolate ganache alongside the peanut butter for a dual‑marble effect.
Common Mistakes to Avoid
Skipping the cooling period in the oven often results in a cracked surface. Also, avoid opening the oven door during the first 45 minutes of baking; temperature fluctuations can cause the center to sink. Finally, don’t forget to run a thin knife around the edge before chilling—this helps release the cheesecake cleanly from the pan.
Pro Tips
Chill the Pan. After pressing the crust, refrigerate it for 10 minutes; a firm base prevents crumbs from mixing into the filling.
Measure Peanut Butter Precisely. Too much can make the swirl overly dense; balance with cream for a pourable consistency.
Use a Hot Water Bath. Fill the outer pan with boiling water up to halfway up the springform pan’s side for even baking.
Variations
Ingredient Swaps
Swap the classic Oreo crumbs for chocolate graham cracker crumbs for a subtler cocoa flavor. Use almond butter instead of peanut butter for a nutty twist, or blend half peanut butter and half Nutella for a chocolate‑peanut swirl. For a lighter crust, replace butter with coconut oil.
Dietary Adjustments
Gluten‑free diners can use certified gluten‑free Oreo‑style cookies or substitute with gluten‑free chocolate cookies. To make it dairy‑free, choose a plant‑based cream cheese (such as almond‑based) and coconut cream instead of heavy cream. For a keto version, reduce the sugar in the filling and use a sugar‑free sweetener; keep the crust low‑carb by using almond flour and erythritol.
Serving Suggestions
Serve each slice with a dollop of whipped coconut cream and a drizzle of caramel sauce for extra indulgence. Pair with fresh berries—strawberries or raspberries add a bright acidity that cuts through the richness. For a festive touch, garnish with edible gold leaf or mini chocolate‑covered peanuts.
Storage Info
Leftover Storage
Allow the cheesecake to cool completely, then cover the springform pan tightly with plastic wrap. Store in the refrigerator for up to 5 days. For longer keeping, wrap the entire cheesecake in double layers of foil and freeze for up to 2 months; thaw overnight in the fridge before serving.
Reheating Instructions
Reheat individual slices in a preheated 300°F (150°C) oven for 8‑10 minutes, covered loosely with foil to prevent drying. Alternatively, microwave a slice on medium power for 20‑30 seconds, adding a splash of milk or cream if the texture feels too firm.
Frequently Asked Questions
Can I make this cheesecake ahead of time?
What if I don’t have a springform pan?
Can I use natural peanut butter instead of creamy?
How do I prevent cracks on the surface?
This Oreo Peanut Butter Cup Cheesecake brings together beloved candy flavors in a sophisticated, slice‑ready form. By following the detailed steps, using quality ingredients, and applying the pro tips, you’ll create a dessert that looks as impressive as it tastes. Feel free to experiment with swaps or toppings to make it truly yours. Serve, savor, and enjoy every creamy, crunchy, nutty bite!
Oreo Peanut Butter Cup Cheesecake: A Decadent Dessert Recipe
Delicious Oreo Peanut Butter Cup Cheesecake: A Decadent Dessert Recipe
Ingredients
Crust
- 24 Oreo cookies (about 1 ½ cups, crushed)
- 5 tablespoons unsalted butter, melted
Filling
- 32 ounces (4 ½ cups) cream cheese, softened
- 1 cup granulated sugar
- 4 large eggs, room temperature
- 1 teaspoon vanilla extract
- ¼ teaspoon kosher salt
Peanut Butter Swirl
- ½ cup creamy peanut butter
- ¼ cup heavy cream
- 2 tablespoons confectioners’ sugar
Topping (Optional)
- ¼ cup semi‑sweet chocolate chips, melted
- Extra crushed Oreos for garnish
Instructions
Assembling, Baking, and Finishing
- Crush Cookies. Pulse Oreos until fine; this ensures a uniform crust that holds together without gaps.
- Press Crust. Firmly compact the crumb‑butter mixture; a solid base prevents sogginess during baking.
- Beat Cream Cheese. Achieving a smooth batter eliminates air pockets that could cause cracks.
- Incorporate Eggs. Adding eggs gradually helps maintain emulsion, giving the cheesecake its classic dense texture.
- Swirl Ganache. Gentle swirls create a beautiful marble pattern without fully mixing the flavors.
- Bake Evenly. Using a water bath is optional, but the low temperature and gradual cooling keep the surface smooth.
- Cool Gradually. The hour‑long oven cool‑down prevents sudden temperature changes that cause cracking.
- Chill Overnight. This step firms the cheesecake, making it easier to slice cleanly.
Similar Recipes
 Desserts
Cinnamon Toast Crunch Cheesecake: A Decadent Dessert Recipe
Delicious Cinnamon Toast Crunch Cheesecake: A Decadent Dessert Recipe
 Desserts
Delightful Homemade Strawberry Pop Tarts: A Step-by-Step Guide
Delicious Delightful Homemade Strawberry Pop Tarts: A Step-by-Step Guide
 Desserts
Chewy Chocolate Chip Cookie Bars : The Ultimate Simple Sweet Dessert
Learn how to make delicious Chewy Chocolate Chip Cookie Bars : The Ultimate Simple Sweet Dessert.…
 Desserts
Cinnamon Apple Bliss Rolls: A Step-by-Step Guide to Deliciousness
Delicious Cinnamon Apple Bliss Rolls: A Step-by-Step Guide to Deliciousness
 Desserts
Chocolate Chip Almond Butter Bliss Bars: A Healthy Dessert Delight
Delicious Chocolate Chip Almond Butter Bliss Bars: A Healthy Dessert Delight
 Desserts
My Favorite Soft & Chewy Peanut Butter Cookies in 30 Minutes
Learn how to make delicious My Favorite Soft & Chewy Peanut Butter Cookies in 30 Minutes.…
 Desserts
Raspberry White Chocolate Scones Perfect for Tea Time
Learn how to make delicious Raspberry White Chocolate Scones Perfect for Tea Time. Easy recipe with…
 Desserts
Chocolate Bliss No-Bake Brownie Batter Truffles
Delicious Chocolate Bliss No-Bake Brownie Batter Truffles

Victoria
I cook these recipes at home before they ever land here — simple ingredients, clear steps.