Irresistible Pizza Sliders Ready in Just 30 Minutes
 Save
Save
Irresistible Pizza Sliders Ready in Just 30 Minutes
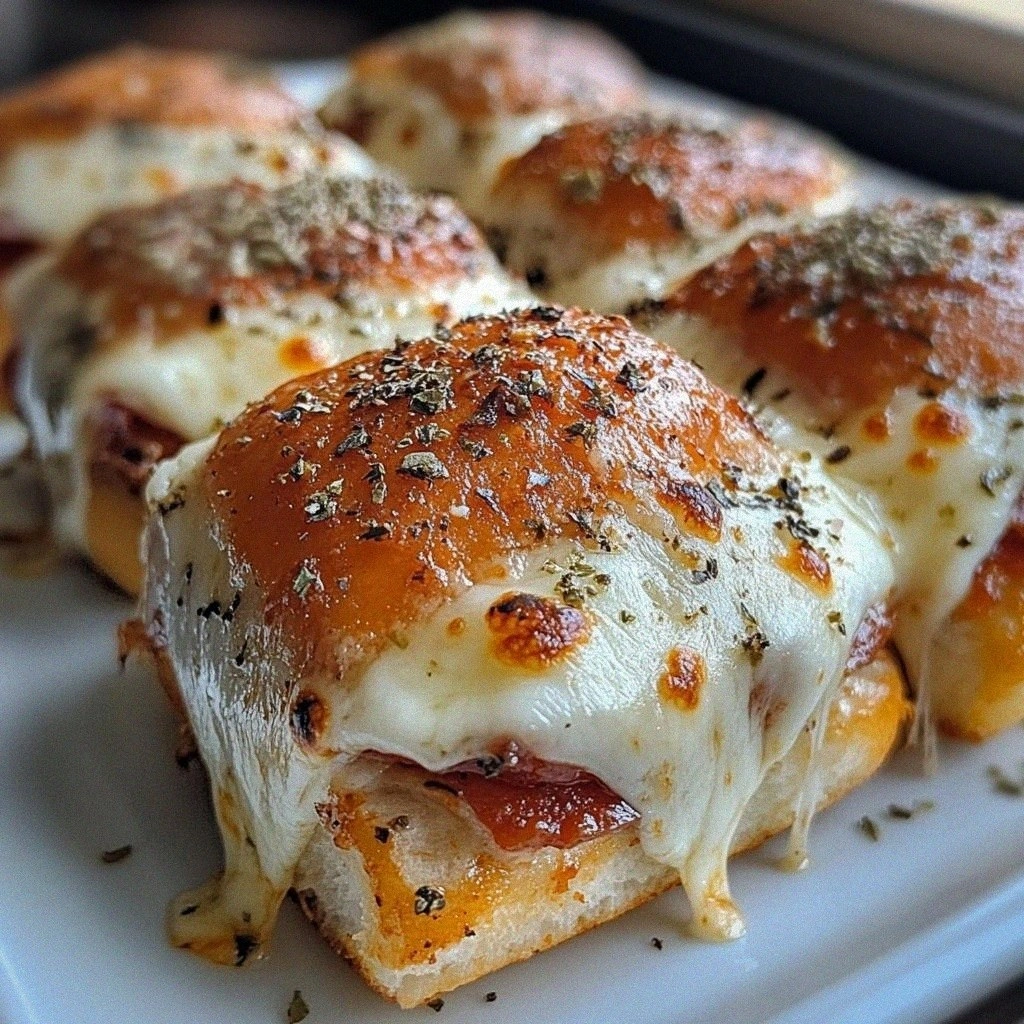
It was a rainy Saturday afternoon, the kind where the sky looks like a watercolor painting and the only thing that could cut through the cozy gloom was the smell of something warm and cheesy drifting from the kitchen. I remember pulling the first soft, buttery bun out of the oven, feeling the gentle give of the dough under my fingertips, and instantly knowing that I was about to create a memory that would linger long after the plates were cleared. The moment you lift the lid, a cloud of fragrant steam hits you—garlic, oregano, and melted mozzarella swirling together like a tiny, edible fog that promises pure comfort. That first bite, with the crisp edge of the bun giving way to a gooey river of cheese, is what made me fall in love with pizza sliders forever.
What makes these sliders truly irresistible is the way every component works in harmony: the sweet, pillowy buns act like little edible sponges, soaking up the vibrant tomato sauce while holding the pepperoni in a perfect embrace. Imagine a bite that starts with a buttery crunch, then bursts into a tangy, herb‑infused sauce, followed by the salty snap of pepperoni and a melt‑in‑your‑mouth cheese pull that could rival any pizzeria’s best. The beauty of this recipe is that it doesn’t demand a marathon of prep or a mountain of exotic ingredients—just a handful of pantry staples and a dash of love. Have you ever wondered why restaurant versions taste so different? The secret often lies in the balance of texture and flavor, and that’s exactly what we’ll nail down in the next few sections.
But wait—there’s a little trick that transforms a good slider into an unforgettable one, and I’m saving it for step four. Trust me, you’ll want to hear it because it’s the difference between “delicious” and “absolutely drool‑worthy.” The best part? You can have this whole experience on the table in under half an hour, meaning you’ll spend more time enjoying the moment and less time stressing over the stove. I’ve served these at birthday parties, game nights, and even a last‑minute dinner for unexpected guests, and each time they’ve sparked the kind of happy chatter that makes any gathering feel special.
So, are you ready to bring a burst of pizza joy to your next meal? Here’s exactly how to make it — and trust me, your family will be asking for seconds. Grab your ingredients, preheat that oven, and let’s dive into a culinary adventure that’s as quick as it is satisfying. The journey from raw ingredients to golden, cheesy perfection starts now, and the secret trick in step four will make you the hero of your own kitchen.
🌟 Why This Recipe Works
- Flavor Depth: By mixing a spoonful of pesto into the pizza sauce, you add a subtle herbaceous note that layers beautifully with the tomato base, creating a complexity that feels gourmet without the fuss.
- Texture Harmony: The soft, slightly sweet slider buns provide a tender bite, while the melted butter brushed on top gives a golden crust that adds a satisfying crunch on the first chew.
- Speed & Simplicity: Every step is designed for a 30‑minute turnaround, meaning you can pull this dish together after work, before the kids get home, or even as a quick weekend treat.
- Versatility: The base recipe is a canvas; you can swap pepperoni for sausage, add veggies, or even go completely vegetarian while keeping the same delightful structure.
- Nutrition Balance: While indulgent, the sliders still offer protein from cheese and pepperoni, and the butter adds a dose of healthy fats that keep you feeling satisfied longer.
- Crowd‑Pleaser Factor: Mini‑size portions are perfect for parties, allowing guests to sample more flavors without feeling overstuffed, and they’re easy for little hands to hold.
- Ingredient Quality: Using freshly shredded mozzarella and quality pepperoni ensures a melt that’s smooth and a flavor that’s bold, avoiding the cardboard‑like texture of pre‑shredded cheese.
🥗 Ingredients Breakdown
The Foundation: Buns & Butter
Slider buns are the unsung heroes of this recipe. Those soft, slightly sweet dinner rolls work best – they’re like little edible sponges for all that cheesy goodness, soaking up sauce without falling apart. When you brush them with melted butter before baking, you create a glossy, golden top that adds a buttery aroma you can’t ignore. If you can’t find mini dinner rolls, a regular brioche bun sliced into halves works just as well, but keep an eye on the baking time so the edges don’t over‑brown.
Aromatics & Spices: Sauce, Garlic & Italian Herbs
The pizza sauce is the flavor backbone, and a cup of it provides enough moisture to coat every bun evenly. My secret? I sometimes mix in a spoonful of pesto for extra flavor, giving the sauce a fresh basil punch that elevates the whole dish. Garlic powder adds a warm, earthy note that fills the kitchen with an inviting scent, while Italian seasoning ties everything together with a blend of oregano, thyme, and rosemary. If you’re out of Italian seasoning, a pinch of dried basil and oregano will do the trick.
The Secret Weapons: Cheese & Pepperoni
Shredded mozzarella is the melty star of the show. Pro tip – shred it yourself if you can! Pre‑shredded has anti‑caking agents that don’t melt quite as beautifully, and you’ll notice the difference in the stretchiness of each bite. Two cups give you a generous blanket of cheese that bubbles and browns just enough to create those coveted golden spots. Pepperoni, with its 30 slices, adds a salty, slightly spicy crunch; I usually throw in a few extra because, let’s be honest, who’s counting? If you prefer a milder taste, turkey pepperoni or even thinly sliced ham are great alternatives.
Finishing Touches: Butter, Garlic, & Seasoning
Melted butter (¼ cup) is the glue that brings the final glaze together, making the tops shine and helping the garlic powder and Italian seasoning adhere. This step is crucial for that glossy finish that makes the sliders look restaurant‑ready. A teaspoon of garlic powder and a teaspoon of Italian seasoning are the finishing touches that boost the aroma and give each bite a layered flavor profile. Remember, a little goes a long way—over‑seasoning can mask the delicate balance of the cheese and sauce.
With your ingredients prepped and ready, let's get cooking. Here’s where the fun really begins…
🍳 Step-by-Step Instructions
🔐 Expert Tips for Perfect Results
The Taste Test Trick
Before you commit the entire batch to the oven, grab a single assembled slider and pop it in the microwave for 15 seconds. This quick “taste test” lets you gauge the balance of sauce, cheese, and seasoning, so you can adjust the next batch if needed. I once discovered I needed a pinch more Italian seasoning after a trial run, and the difference was night and day. Trust me, a tiny tweak at this stage can save you from an under‑seasoned disaster.
Why Resting Time Matters More Than You Think
Allowing the sliders to rest for a few minutes after baking isn’t just about convenience—it’s about texture. The cheese continues to set, and the bun’s interior re‑absorbs a bit of the sauce, creating a harmonious bite where every component is perfectly moist. Skipping this step can lead to sliders that fall apart or feel too soggy. I’ve learned the hard way that patience truly pays off in the final mouthfeel.
The Seasoning Secret Pros Won’t Tell You
A dash of smoked paprika mixed into the garlic‑herb butter adds a subtle smoky depth that mimics a wood‑fired oven. This secret ingredient is what many restaurant chefs keep under lock and key, but you can bring that smoky nuance home with just a pinch. The result is a richer flavor profile that makes the sliders feel upscale without any extra effort.
Cheese Pull Perfection
For that Instagram‑worthy cheese pull, use a blend of mozzarella and a small amount of provolone. The provolone contributes a sharper bite and helps the cheese stretch further, creating those long, gooey strands that make everyone gasp. I once experimented with a ¾ mozzarella / ¼ provolone mix, and the visual impact was instantly upgraded.
Crisp Edge Mastery
If you love a crispier edge, sprinkle a thin layer of grated Parmesan on the bun tops before the final butter brush. The Parmesan will brown quickly, forming a crunchy, savory crust that contrasts beautifully with the soft interior. This tiny addition adds a nutty flavor that many home cooks overlook, but it’s a game‑changer for texture lovers.
🌈 Delicious Variations to Try
One of my favorite things about this recipe is how versatile it is. Here are some twists I've tried and loved:
Mediterranean Magic
Swap pepperoni for sliced Kalamata olives and crumbled feta cheese. Add a sprinkle of dried oregano and a drizzle of olive oil before baking. The result is a tangy, salty slider with a Mediterranean flair that pairs perfectly with a glass of chilled rosé.
Spicy Jalapeño Pop
Add thinly sliced jalapeños on top of the cheese and use a spicy chorizo sausage instead of pepperoni. Finish with a dash of chipotle powder in the butter for a smoky heat that will make your taste buds dance. This variation is ideal for anyone who loves a little kick.
Veggie Delight
Replace the meat entirely with roasted red peppers, sautéed mushrooms, and caramelized onions. Sprinkle a bit of fresh basil after baking for a burst of herbaceous freshness. Even the most devoted carnivores will appreciate the depth of flavor from the caramelized veggies.
BBQ Chicken Slider
Mix shredded cooked chicken with your favorite BBQ sauce and layer it under the mozzarella. Top with a few slices of red onion and a sprinkle of smoked Gouda for a sweet‑smoky twist that feels like a backyard grill in a bite.
Breakfast Pizza Slider
Swap the pepperoni for cooked breakfast sausage and crack a tiny egg onto each slider before the final bake. The egg will set just enough to stay on top, creating a hearty breakfast that feels like pizza meets brunch. Serve with a side of fresh fruit for a balanced morning feast.
📦 Storage & Reheating Tips
Refrigerator Storage
Allow the sliders to cool completely, then store them in an airtight container in the fridge for up to 3 days. Place a sheet of parchment between layers to prevent them from sticking together. When you’re ready to eat, simply reheat in the oven for 5‑7 minutes at 350°F (175°C) to restore the crispness.
Freezing Instructions
For longer‑term storage, arrange the cooled sliders on a baking sheet and freeze them individually for 2‑3 hours. Once solid, transfer them to a zip‑top freezer bag. They’ll keep for up to 2 months. To reheat, bake directly from frozen at 375°F (190°C) for 12‑15 minutes, or microwave for 30 seconds then finish under the broiler for a crispy top.
Reheating Methods
The trick to reheating without drying out? A splash of water or a few drops of butter on the tray before popping the sliders in the oven. This creates a gentle steam that keeps the buns moist while the cheese re‑melts beautifully. If you’re in a hurry, a quick microwave burst followed by a 2‑minute broil will give you that golden finish without sacrificing flavor.
❓ Frequently Asked Questions
Can I use a different type of cheese?
What if I don’t have slider buns?
Is there a gluten‑free version?
Can I make these ahead of time for a party?
How do I prevent the buns from getting soggy?
Can I add vegetables without making the sliders too wet?
What’s the best way to reheat leftovers?
Can I make these sliders vegan?
Similar Recipes
 Appetizers
Fiesta Corn Dip Delight: A Flavorful Fiesta for Your Palate
Delicious Fiesta Corn Dip Delight: A Flavorful Fiesta for Your Palate
 Appetizers
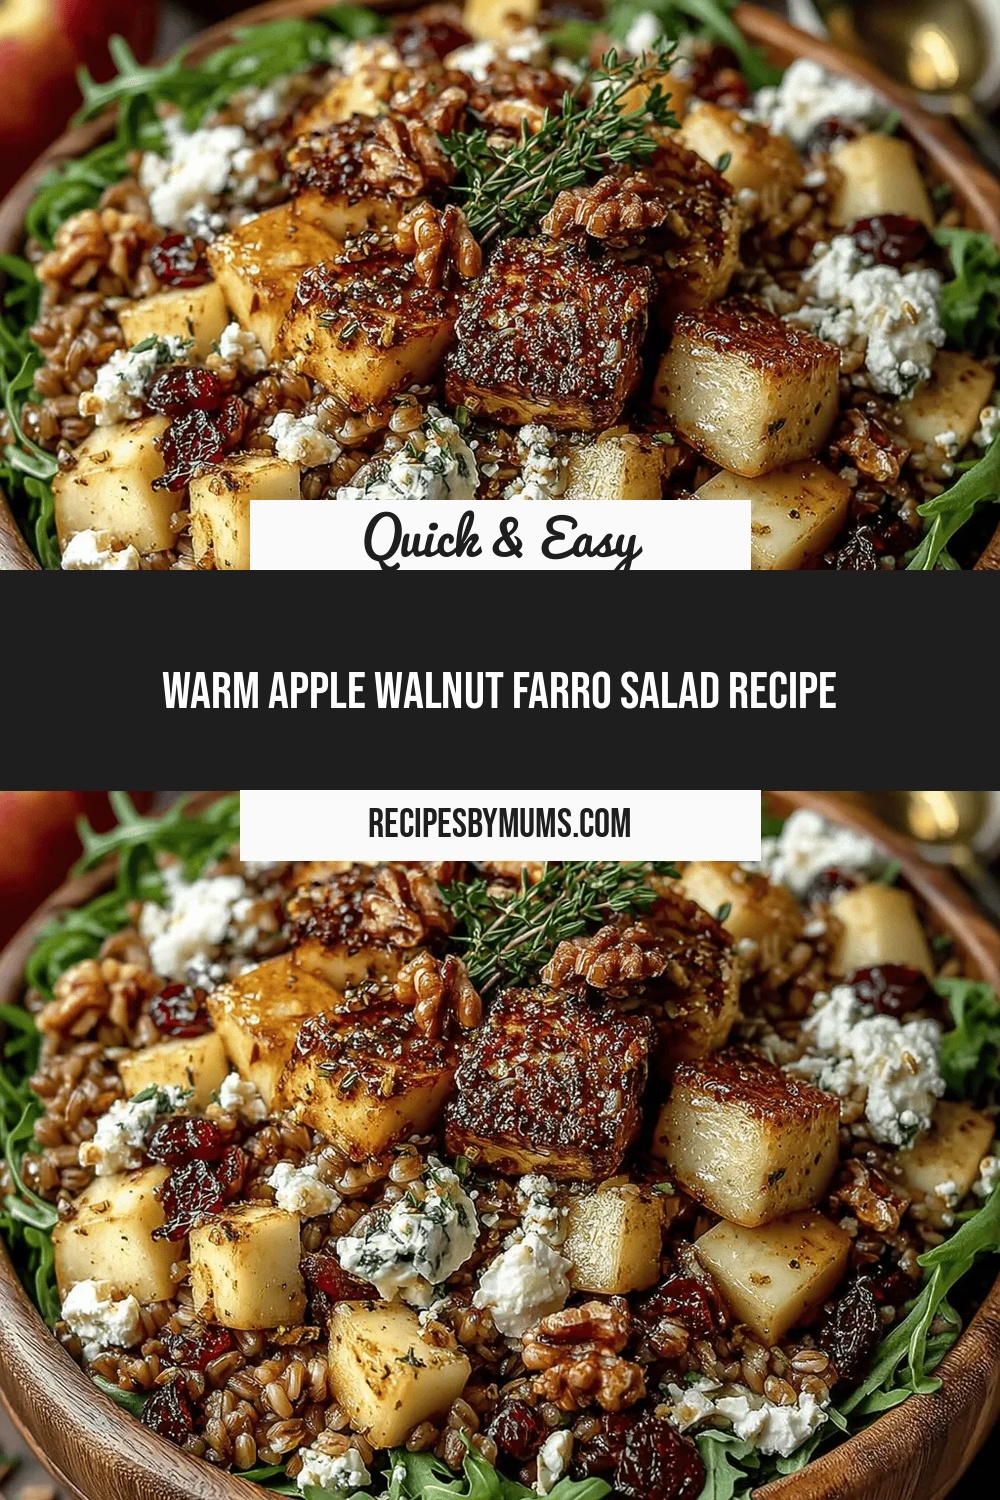
Warm Apple Walnut Farro Salad Recipe
Delicious Warm Apple Walnut Farro Salad Recipe
 Appetizers
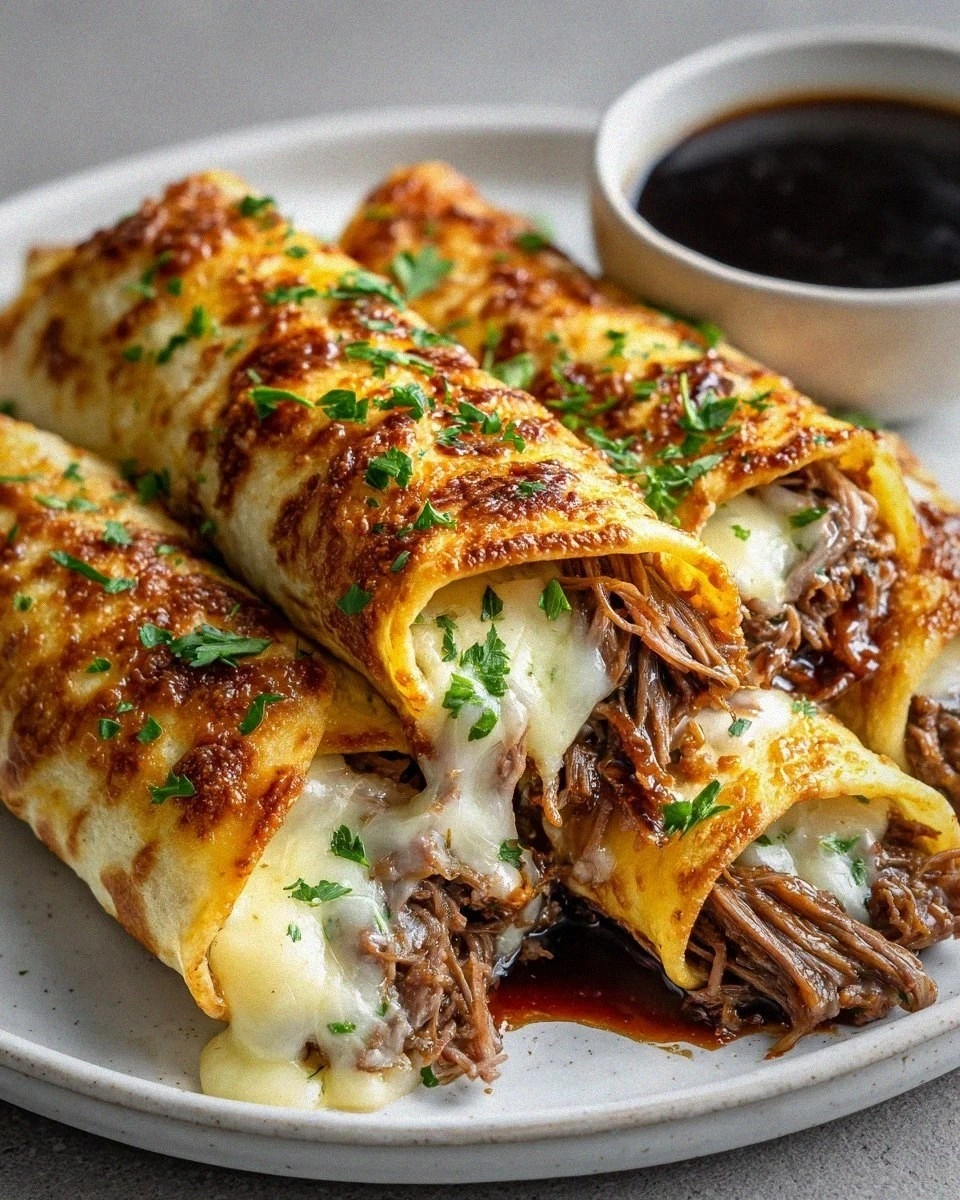
Mouthwatering French Dip Tortilla Roll Ups – So Addictive!
Learn how to make delicious Mouthwatering French Dip Tortilla Roll Ups – So Addictive!. Easy recipe…
 Appetizers
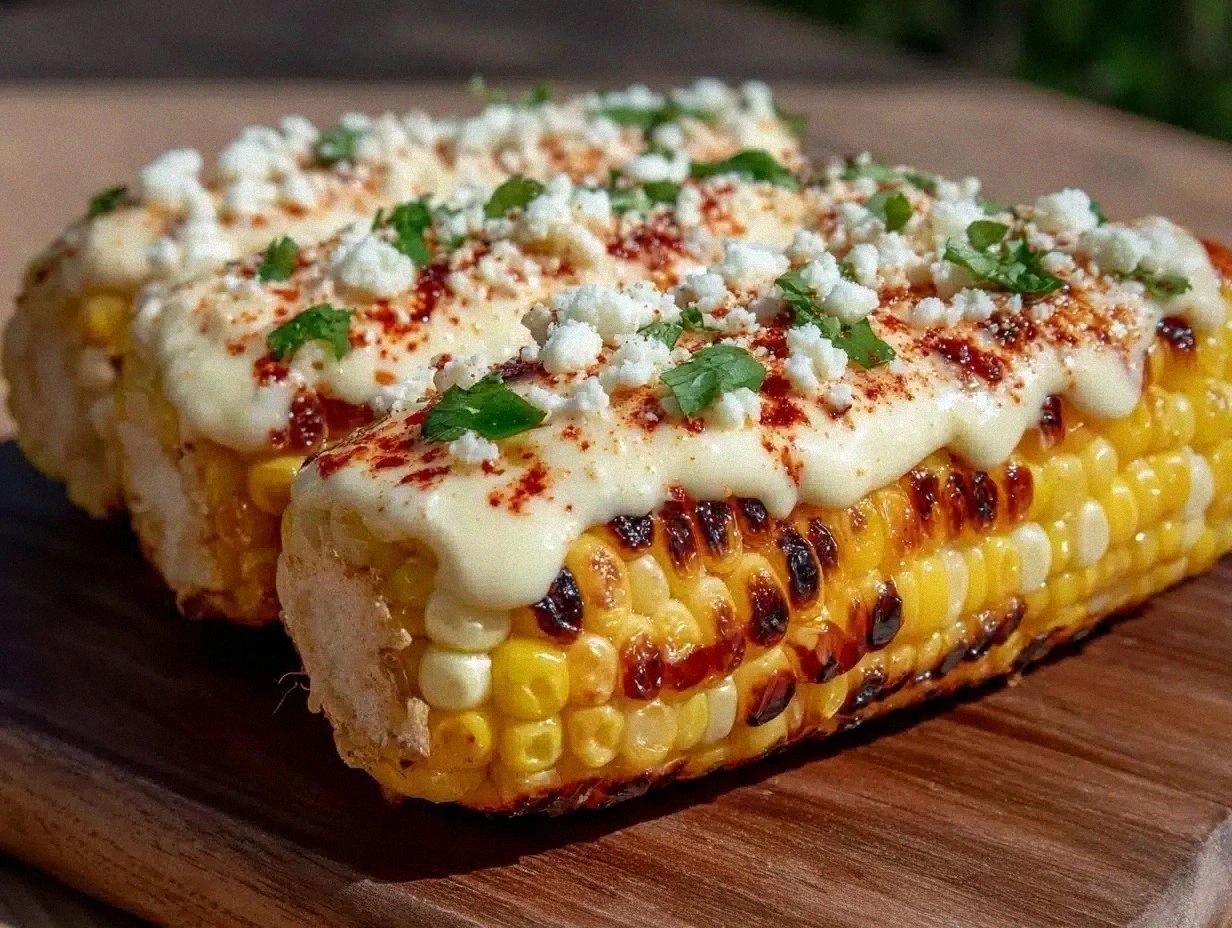
Flavorful Grilled Elote Mexican Street Corn Recipe Easy Step-by-Step Guide
Learn how to make delicious Flavorful Grilled Elote Mexican Street Corn Recipe Easy Step-by-Step Guide. Easy…
 Appetizers
Crispy Mini Air Fryer Chicken Parm Bites
Delicious Crispy Mini Air Fryer Chicken Parm Bites
 Appetizers
warm citrus and kale salad with toasted almonds for clean eating
Boost your clean eating with our warm citrus and kale salad recipe, featuring toasted almonds and…
 Appetizers
High Protein Pepperoni Pizza Rolls: A Deliciously Nutritious Snack
Delicious High Protein Pepperoni Pizza Rolls: A Deliciously Nutritious Snack
 Appetizers
Crispy Air Fryer Mozzarella Sticks: A Deliciously Easy Recipe
Delicious Crispy Air Fryer Mozzarella Sticks: A Deliciously Easy Recipe

Victoria
I cook these recipes at home before they ever land here — simple ingredients, clear steps.
Other Reader Favorites
 Dinner
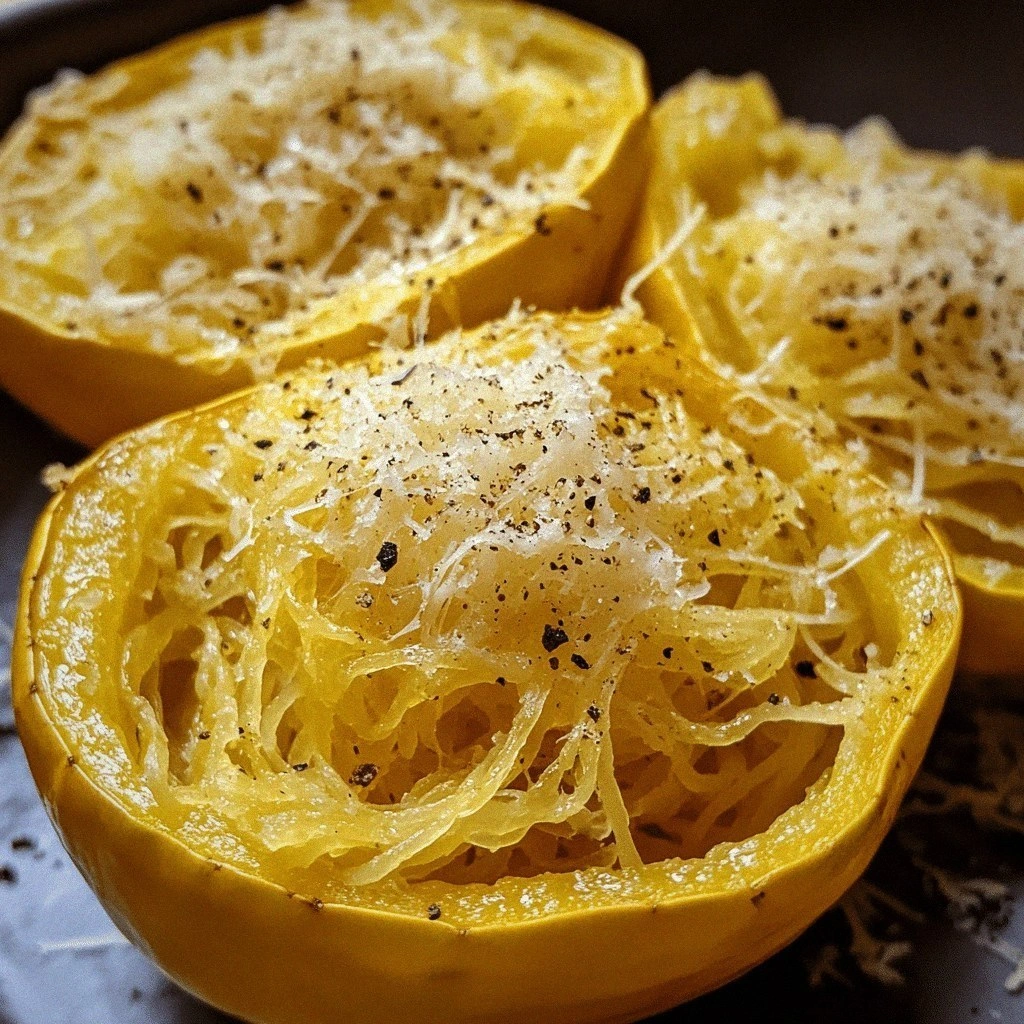
Three Cheese Spaghetti Squash
Learn how to make delicious Three Cheese Spaghetti Squash. Easy recipe with step-by-step instructions.
 Desserts
Irresistible Air Fryer Teriyaki Chicken: A Flavorful Journey
Delicious Irresistible Air Fryer Teriyaki Chicken: A Flavorful Journey
 Drinks
warm spiced apple cider with cinnamon and cloves for winter evenings
Simmer warm spiced apple cider with cinnamon & cloves for the ultimate winter drink—easy stovetop recipe…
 Appetizers
20 Dream Destinations for Your Travel Bucket List
Learn how to make delicious 20 Dream Destinations for Your Travel Bucket List. Easy recipe with…