Introduction
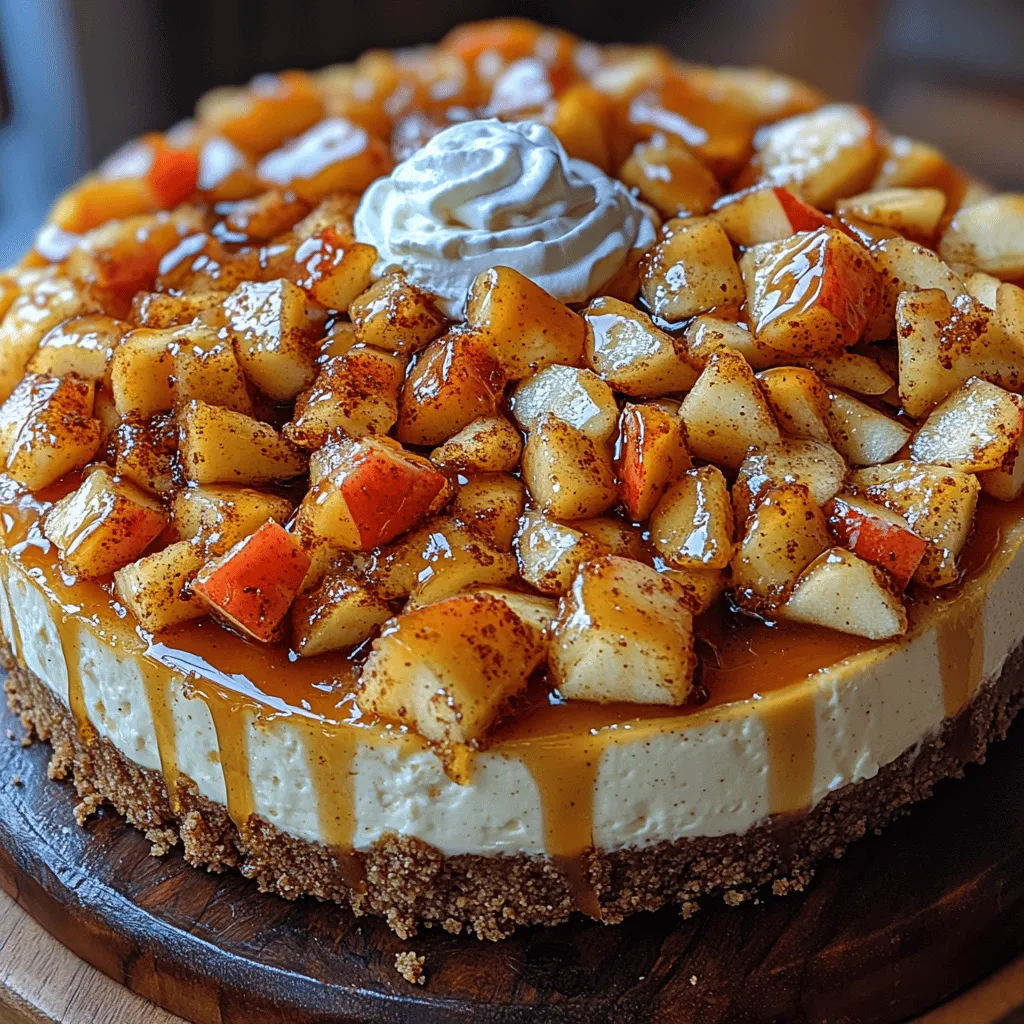
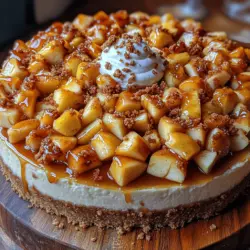
Imagine a dessert that beautifully marries the comforting, homey flavors of apple crisp with the creamy decadence of cheesecake. Welcome to the world of Apple Crisp Cheesecake—a culinary masterpiece that has captured the hearts of dessert lovers everywhere. This delightful creation combines layers of rich cheesecake with spiced apples and a crunchy oat topping, resulting in a treat that is not only visually stunning but also a feast for the taste buds.
The appeal of Apple Crisp Cheesecake lies in its unique blend of flavors and textures. The creamy, velvety cheesecake contrasts beautifully with the tender, spiced apples, while the crisp topping adds a satisfying crunch. This dessert is perfect for any occasion, from holiday gatherings to casual weeknight dinners, and it has gained popularity for its ability to please a crowd. People are drawn to its familiar flavors and the nostalgia it evokes, making it a go-to recipe for both seasoned bakers and beginners alike.
One of the standout features of this recipe is its emphasis on seasonal ingredients. Utilizing fresh apples, particularly during the fall harvest, enhances the overall taste and elevates this dessert to new heights. The quality of your apples will directly impact the flavor of the filling, making it crucial to select the right variety. Granny Smith apples, known for their tartness, are often favored for this recipe as they provide a perfect balance to the sweetness of the cheesecake. The use of seasonal produce not only supports local agriculture but also ensures that your dessert is bursting with flavor.
Ingredients Breakdown
Creating the perfect Apple Crisp Cheesecake requires careful attention to each component of the recipe. Below, we’ll break down the essential ingredients needed for the crust, cheesecake filling, apple filling, and crisp topping.
For the Crust
– Graham Cracker Crumbs: The foundation of our cheesecake crust, graham crackers provide a slightly sweet and crunchy base. Their buttery flavor complements the richness of the cheesecake while adding a delightful texture.
– Unsalted Butter: This ingredient is crucial for binding the graham cracker crumbs together and ensuring a firm crust. Using unsalted butter allows for better control over the overall saltiness of the dish.
– Granulated Sugar: A bit of sugar enhances the sweetness of the crust, balancing the flavors of the filling and crisp topping. It also contributes to the browning of the crust during baking.
For the Cheesecake Filling
– Cream Cheese: The star of the cheesecake filling, cream cheese lends its characteristic richness and tang. It must be softened to room temperature to ensure a smooth and lump-free mixture.
– Sour Cream: Adding sour cream to the filling enriches the texture, making it even creamier while introducing a subtle tang that balances the sweetness of the dessert.
– Vanilla Extract: A splash of pure vanilla extract enhances the overall flavor profile, bringing warmth and depth to the cheesecake.
– Cinnamon: This spice is a key player in tying together the flavors of the cheesecake and the apple filling. It adds warmth and a comforting aroma that evokes the essence of fall.
For the Apple Filling
– Granny Smith Apples: Ideal for baking, Granny Smith apples are tart and firm, making them perfect for this dessert. Their acidity balances the sweetness of the cheesecake and the crisp topping, providing a refreshing contrast.
– Brown Sugar: The use of brown sugar adds a hint of caramel flavor and moisture to the apple filling. It deepens the flavor profile and complements the spices used.
– Lemon Juice: A splash of lemon juice brightens the apple filling and prevents the apples from browning. It also enhances the overall flavor, adding a zesty note.
– Cornstarch: This ingredient helps to thicken the apple mixture, ensuring that the filling holds together and maintains a lovely texture while baking.
For the Crisp Topping
– Old-Fashioned Oats: The inclusion of rolled oats provides a hearty texture to the crisp topping. They absorb moisture during baking, becoming tender while still offering a satisfying crunch.
– All-Purpose Flour: Flour is essential for binding the crisp topping ingredients together. It contributes to the overall texture and helps create a crumbly topping.
– Granulated Sugar: This adds sweetness to the topping, balancing the flavors of the apples and cheesecake beneath.
– Unsalted Butter: Similar to the crust, unsalted butter is required for the crisp topping. It adds richness and helps create a golden, crunchy layer that contrasts beautifully with the creamy cheesecake and tender apples.
Step-by-Step Instructions
Now that we have a thorough understanding of the ingredients, let’s move on to the step-by-step process of creating this delicious Apple Crisp Cheesecake.
Preheat the Oven
Before diving into the preparation, it’s essential to set the stage for successful baking. Preheat your oven to 325°F (163°C). Proper temperature control is crucial in baking; it ensures that your cheesecake cooks evenly and achieves the right texture. Starting with a preheated oven also helps the crust set quickly, preventing it from becoming soggy.
Making the Crust
1. Prepare the Graham Cracker Crumbs: If you’re using whole graham crackers, crush them into fine crumbs using a food processor or by placing them in a zip-top bag and using a rolling pin. Aim for about 1 ½ cups of crumbs.
2. Combine Ingredients: In a mixing bowl, combine the graham cracker crumbs with ½ cup of granulated sugar and ½ cup of melted unsalted butter. Stir the mixture until the crumbs are evenly coated and resemble wet sand.
3. Press Into the Pan: Transfer the crust mixture into a 9-inch springform pan. Use the back of a measuring cup or your fingers to press the mixture firmly into the bottom and slightly up the sides of the pan. Be sure to create an even layer for consistent baking.
4. Bake the Crust: Place the crust in the preheated oven and bake for 10 minutes or until it’s lightly golden. This step ensures that the crust sets properly and provides a sturdy base for the cheesecake filling.
Preparing the Cheesecake Filling
1. Mix the Cream Cheese: In a large mixing bowl, beat 24 ounces of softened cream cheese with an electric mixer on medium speed until smooth and creamy. Scrape down the sides of the bowl as needed to ensure no lumps remain.
2. Add Sour Cream and Sugar: Gradually mix in 1 cup of sour cream and ¾ cup of granulated sugar. Continue mixing until fully combined and smooth.
3. Incorporate Flavorings: Add 2 teaspoons of pure vanilla extract and 1 teaspoon of ground cinnamon to the cream cheese mixture. Beat until everything is well incorporated.
4. Add Eggs: Finally, add 3 large eggs, one at a time, mixing on low speed after each addition until just combined. Be careful not to overmix, as this can introduce air bubbles that may cause cracks in your cheesecake.
Preparing the Apple Filling
1. Prepare the Apples: Peel, core, and slice 4-5 Granny Smith apples into thin wedges. Aim for uniform thickness to ensure even cooking.
2. Season the Apples: In a separate bowl, toss the apple slices with ½ cup of brown sugar, 1 tablespoon of lemon juice, and 2 tablespoons of cornstarch. This mixture should coat the apple slices evenly, creating a flavorful filling.
3. Let the Apples Rest: Allow the seasoned apples to sit for about 10 minutes. This resting period will help the apples release some of their juices, which will thicken as they bake, creating a luscious filling.
With all components prepared and the crust baked, you’re ready to assemble the Apple Crisp Cheesecake. The next steps will guide you through the layering process and the final baking instructions. Stay tuned for the mouthwatering conclusion to this delightful dessert!