Cheesy Halloween Breadstick Bones for Spooky Snacking Fun
 Save
Save
It was a crisp October evening, the kind where the wind whispers through the bare branches and the scent of pumpkin spice drifts from every kitchen window. I was hunched over my countertop, a half‑finished pizza dough in one hand and a mischievous grin on my face, because I had just decided to turn a simple breadstick into something that would make the whole neighborhood gasp with delight. The moment I lifted the lid off the oven, a cloud of fragrant steam hit me—warm, buttery, and tinged with the sharp bite of freshly grated Parmesan that seemed to shout, “It’s Halloween, and we’re ready to haunt your taste buds!” The first bite was a perfect crunch, followed by a gooey, cheesy pull that reminded me of those childhood movie‑theater treats, only spookier.
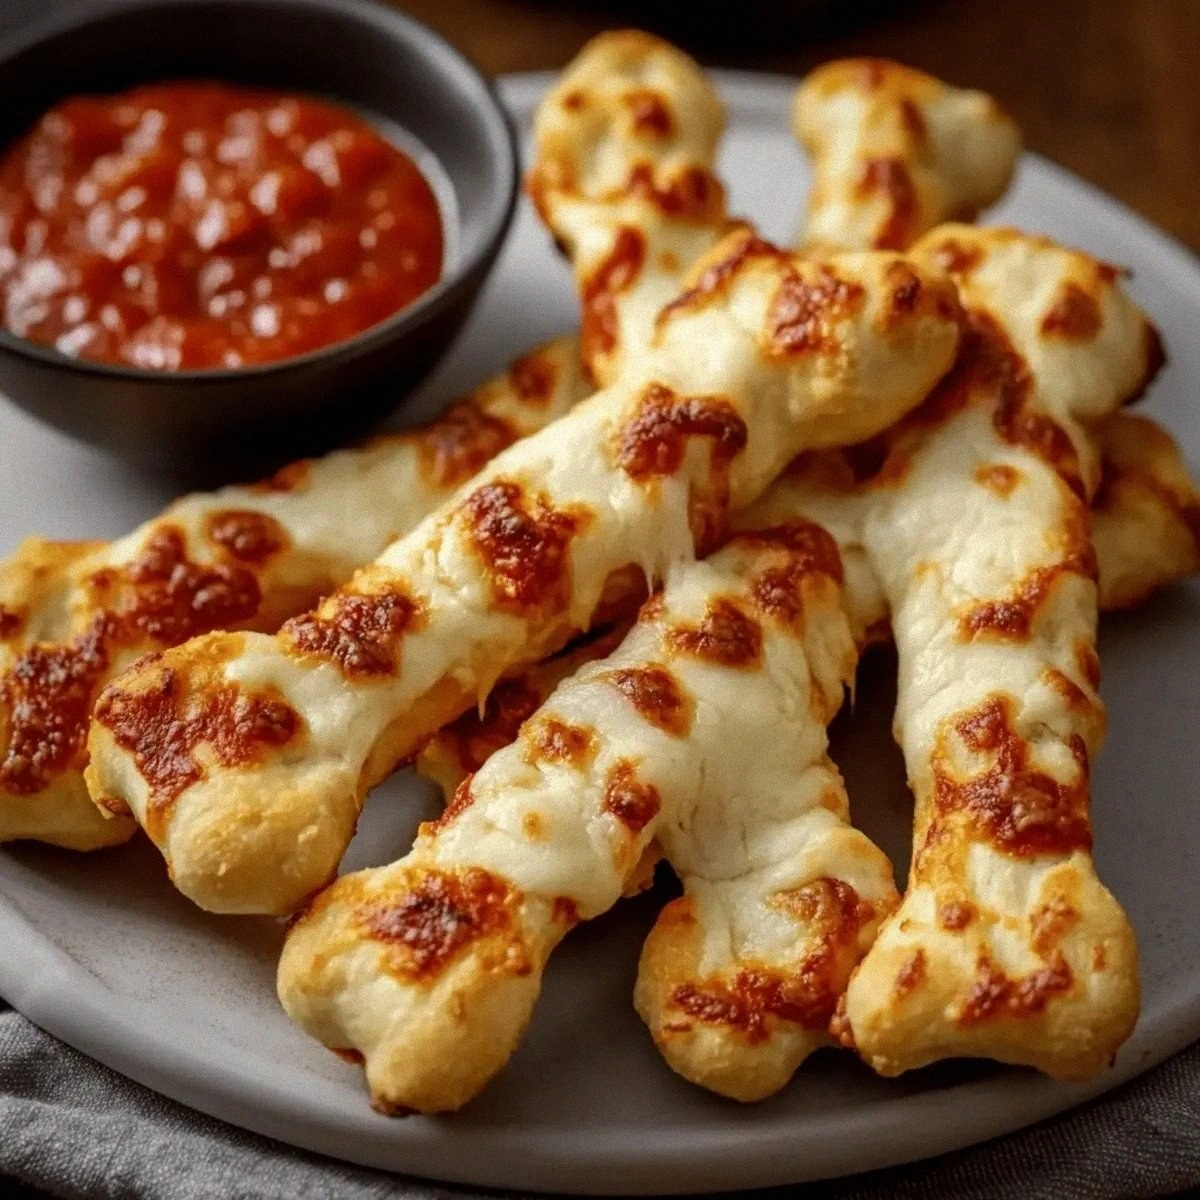
What makes these Cheesy Halloween Breadstick Bones so unforgettable is the way they marry comfort food familiarity with a playful, seasonal twist. Imagine golden‑brown sticks, shaped like skeletal ribs, each one dripping with a molten mozzarella‑Parmesan blend that stretches like a friendly ghost reaching out for a hug. The marinara dip on the side adds a bright, tangy contrast that cuts through the richness, creating a balanced bite that feels both indulgent and surprisingly light. The secret? A combination of a sturdy pizza dough base, a buttery glaze, and a strategic sprinkling of cheese that caramelizes just enough to give you that satisfying snap you hear when you bite into a fresh breadstick.
But there’s more to the story than just flavor. While many recipes rely on pre‑made dough or shortcuts that can leave the texture flat, this version uses a fresh pizza dough that you can either buy or make at home, giving you control over the crumb and chew. The addition of unsalted butter, melted and brushed over the sticks before baking, creates a glossy, almost lacquered finish that catches the light—and the eyes—of anyone gathered around the table. And let’s not forget the visual impact: the bone‑shaped design is simple enough for kids to help shape, yet clever enough to impress even the most skeptical adult snackers.
Here’s the thing: you’re about to learn a method that transforms ordinary ingredients into a show‑stopping appetizer that will have your guests asking for seconds before the candlelight even flickers. I’ll walk you through each step, from selecting the perfect flour to achieving that perfect cheese‑crackle, and I’ll sprinkle in a few insider tricks that I’ve gathered over countless Halloween parties. Trust me, once you try these, you’ll never settle for plain breadsticks again. Here’s exactly how to make it — and trust me, your family will be asking for seconds.
🌟 Why This Recipe Works
- Flavor Depth: The combination of Parmesan and mozzarella creates a layered cheese profile—sharp, salty notes from the Parmesan mingle with the creamy melt of mozzarella, delivering a taste that’s both familiar and exciting.
- Texture Contrast: A crisp, buttery crust gives way to a soft, airy interior thanks to the pizza dough, while the cheese forms a delicate crust that snaps when you bite.
- Ease of Execution: Despite its impressive appearance, the recipe uses just a handful of pantry staples and a simple shaping technique, making it approachable for cooks of any skill level.
- Time Efficiency: From start to finish it takes under an hour, perfect for a last‑minute Halloween gathering or a quick weekday treat that feels festive.
- Versatility: The breadsticks can be served as an appetizer, a party snack, or even a fun side dish paired with salads or soups, adapting to any menu.
- Nutrition Balance: While indulgent, the recipe provides protein from the cheese and a modest amount of carbs from the dough, offering a satisfying snack without overwhelming heaviness.
- Crowd‑Pleasing Factor: The spooky bone shape and cheesy pull are instant conversation starters, making the dish a hit with kids and adults alike.
🥗 Ingredients Breakdown
The Foundation: Flour & Dough
The backbone of any great breadstick is the flour, and we’re using 2 cups of all‑purpose flour because it offers the perfect balance of protein and starch to create a tender yet sturdy crumb. If you have a favorite high‑gluten flour, feel free to swap it in for a chewier texture, but be aware that it may require a touch more water. The 1 lb of pizza dough—whether store‑bought or homemade—provides that airy, slightly chewy interior that makes each bite feel light, despite the rich cheese coating.
When selecting pizza dough, look for one that’s still slightly cool to the touch; a dough that’s too warm can become sticky and difficult to handle. If you’re making dough from scratch, a simple mix of flour, water, yeast, a pinch of sugar, and a dash of olive oil will do the trick, and you’ll have the satisfaction of watching it rise before you even start shaping the bones. The dough’s elasticity is crucial for forming the thin, bone‑like shapes without tearing.
Cheesy Core: Butter & Cheese
Unsalted butter, measured at 2 tablespoons, is melted and brushed onto the dough before baking, giving the sticks a golden sheen and a subtle richness that amplifies the cheese’s flavor. Using unsalted butter lets you control the salt level more precisely, especially since the Parmesan already brings a salty punch.
The cheese duo is where the magic truly happens. We use ½ cup of grated Parmesan cheese for that sharp, nutty edge, and a full cup of shredded mozzarella for that melt‑in‑your‑mouth stretch. If you want a smoky twist, try swapping half the mozzarella for smoked provolone; just remember that smoked cheeses can deepen the flavor profile but may also darken the crust slightly.
Saucy Dipping: Marinara
A classic 1 cup of marinara sauce serves as the perfect dip, offering acidity and herbaceous notes that cut through the cheese’s richness. Look for a marinara with no added sugars to keep the balance bright, or make your own by simmering crushed tomatoes, garlic, basil, and a splash of red wine.
If you’re feeling adventurous, add a pinch of red pepper flakes to the marinara for a subtle heat that pairs beautifully with the creamy cheese. This little kick is the secret that many restaurant versions miss, and it’s a game‑changer for those who love a hint of spice.
Spooky Finishing Touches
A final dusting of extra Parmesan before baking encourages a caramelized crust that crackles delightfully when you bite into it. For an extra visual pop, sprinkle a pinch of dried oregano or thyme on top; the green specks look like little “ghoul eyes” against the golden background.
And here’s the secret ingredient most people skip—a light drizzle of olive oil just before the final bake. This tiny addition helps the cheese melt evenly and prevents the sticks from drying out, ensuring every bite stays moist and cheesy. With your ingredients prepped and ready, let's get cooking. Here’s where the fun really begins...
🍳 Step-by-Step Instructions
🔐 Expert Tips for Perfect Results
The Taste Test Trick
Before you commit to the final bake, pull one stick out after 8 minutes and give it a quick taste. If the cheese isn’t bubbling yet, give it another 2‑3 minutes; if it’s already golden, you’re ready to pull the whole tray out. This “taste test” method prevents over‑cooking and ensures every bone is uniformly perfect.
Why Resting Time Matters More Than You Think
Allowing the dough to rest after shaping (even just 5 minutes) relaxes the gluten, making the sticks easier to handle and less likely to snap when you brush on butter. I once rushed this step and ended up with a few broken bones, which, while still tasty, looked less spooky on the platter.
The Seasoning Secret Pros Won’t Tell You
A pinch of smoked sea salt added just before the final bake adds a subtle depth that elevates the cheese flavor without overwhelming it. This tiny adjustment is something I learned from a professional pizzaiolo who swears by it for all his specialty breads.
The Perfect Dipping Temperature
Warm the marinara just until it’s simmering; serving it piping hot can cause the cheese to become overly soft, while a cool dip can make the breadsticks feel dry. Aim for a dip temperature around 130°F (55°C) for the ideal balance.
How to Keep the Bones Crispy When Serving Later
If you need to keep the sticks warm for a longer period, place them in a low oven (around 200°F) on a wire rack. This method preserves the crisp exterior while preventing the cheese from becoming rubbery—a common pitfall when reheating directly on a plate.
Kids’ Involvement: A Fun Learning Moment
Let the kids help shape the bones and brush on the butter; it’s a fantastic way to teach them basic kitchen skills while they feel proud of their contribution. I once let my niece sprinkle the cheese, and the result was a slightly uneven but charmingly rustic look that added character to the whole dish.
🌈 Delicious Variations to Try
One of my favorite things about this recipe is how versatile it is. Here are some twists I've tried and loved:
Spicy Ghost Pepper Bones
Add a teaspoon of finely ground ghost pepper or a dash of hot sauce to the melted butter before brushing. The heat sneaks through the buttery coating, giving a surprising kick that pairs perfectly with the cool marinara dip.
Herb‑Infused Garlic Bones
Mix minced garlic and fresh rosemary into the butter, then brush as usual. The aromatic herbs infuse the dough, creating a fragrant bite that reminds you of a rustic Italian bakery.
Cheddar & Jalapeño Twist
Swap half the mozzarella for sharp cheddar and fold diced jalapeños into the cheese mixture. This variation adds a tangy, slightly spicy flavor profile that’s perfect for those who love a bit of boldness.
Sweet & Savory Maple Bacon Bones
After baking, drizzle a light glaze of maple syrup and sprinkle crumbled cooked bacon over the tops. The sweet‑savory combo creates an unexpected delight that’s especially popular at brunch‑style Halloween parties.
Vegan “Bone” Version
Replace the dairy butter with coconut oil, use a plant‑based mozzarella alternative, and swap Parmesan for nutritional yeast mixed with a pinch of smoked paprika. The texture stays delightfully crispy, and the flavor remains rich enough to satisfy even non‑vegans.
📦 Storage & Reheating Tips
Refrigerator Storage
Place cooled breadsticks in an airtight container lined with a paper towel to absorb excess moisture. They’ll stay fresh for up to three days, though the cheese crust is best enjoyed within 24 hours for optimal snap.
Freezing Instructions
Arrange the baked (but not yet dipped) sticks on a parchment sheet and freeze until solid. Transfer them to a zip‑top freezer bag; they’ll keep for up to two months. When you’re ready to serve, bake from frozen at 425°F for 8‑10 minutes, then finish with a quick butter brush and cheese sprinkle.
Reheating Methods
To reheat without drying out, place the sticks on a baking sheet, lightly mist them with water, and warm in a 350°F oven for 5‑7 minutes. The splash of water creates steam that keeps the interior soft while the exterior crisps back up. For a microwave quick fix, wrap a single stick in a damp paper towel and heat for 20‑30 seconds, though you’ll lose some of that coveted crunch.
❓ Frequently Asked Questions
Can I use pre‑made pizza crust instead of dough?
What if I don’t have Parmesan cheese?
Can I make these gluten‑free?
How do I keep the cheese from sliding off before baking?
Can I add other herbs to the marinara?
What’s the best way to shape the bones for a realistic look?
Can I use a different dip besides marinara?
How far in advance can I prepare the dough?
Similar Recipes
 Appetizers
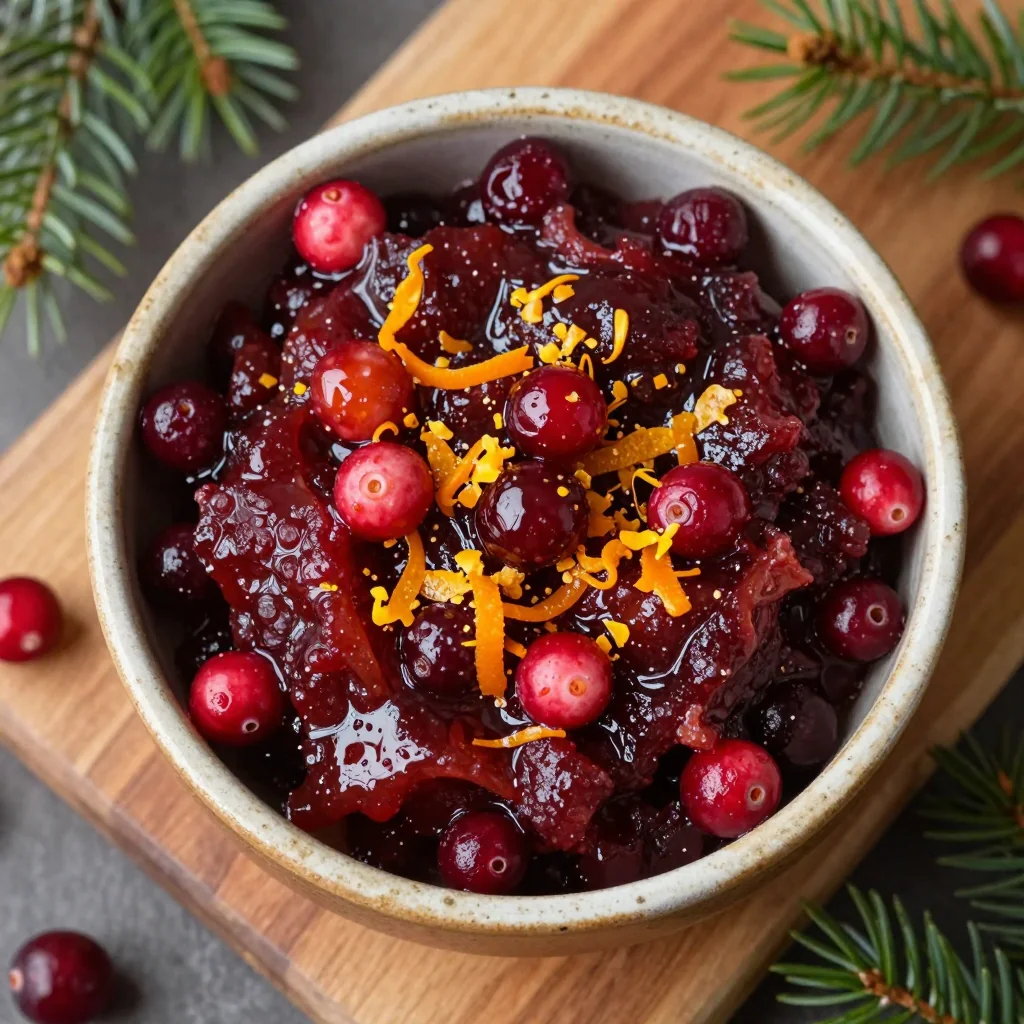
warm cranberry and orange relish to brighten your christmas dinner
Learn how to make delicious warm cranberry and orange relish to brighten your christmas dinner. Easy…
 Appetizers
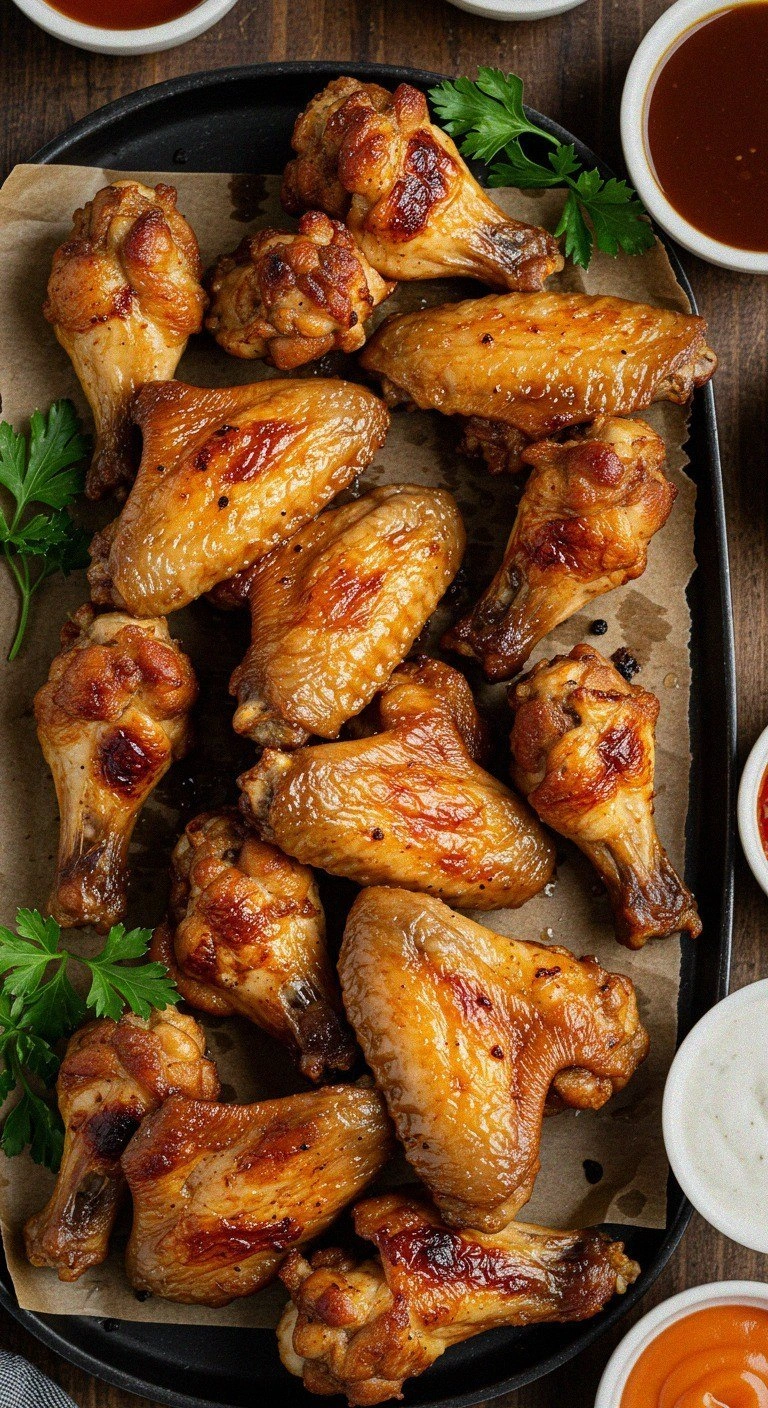
Smoked Chicken Wings
Learn how to make delicious Smoked Chicken Wings. Easy recipe with step-by-step instructions.
 Appetizers
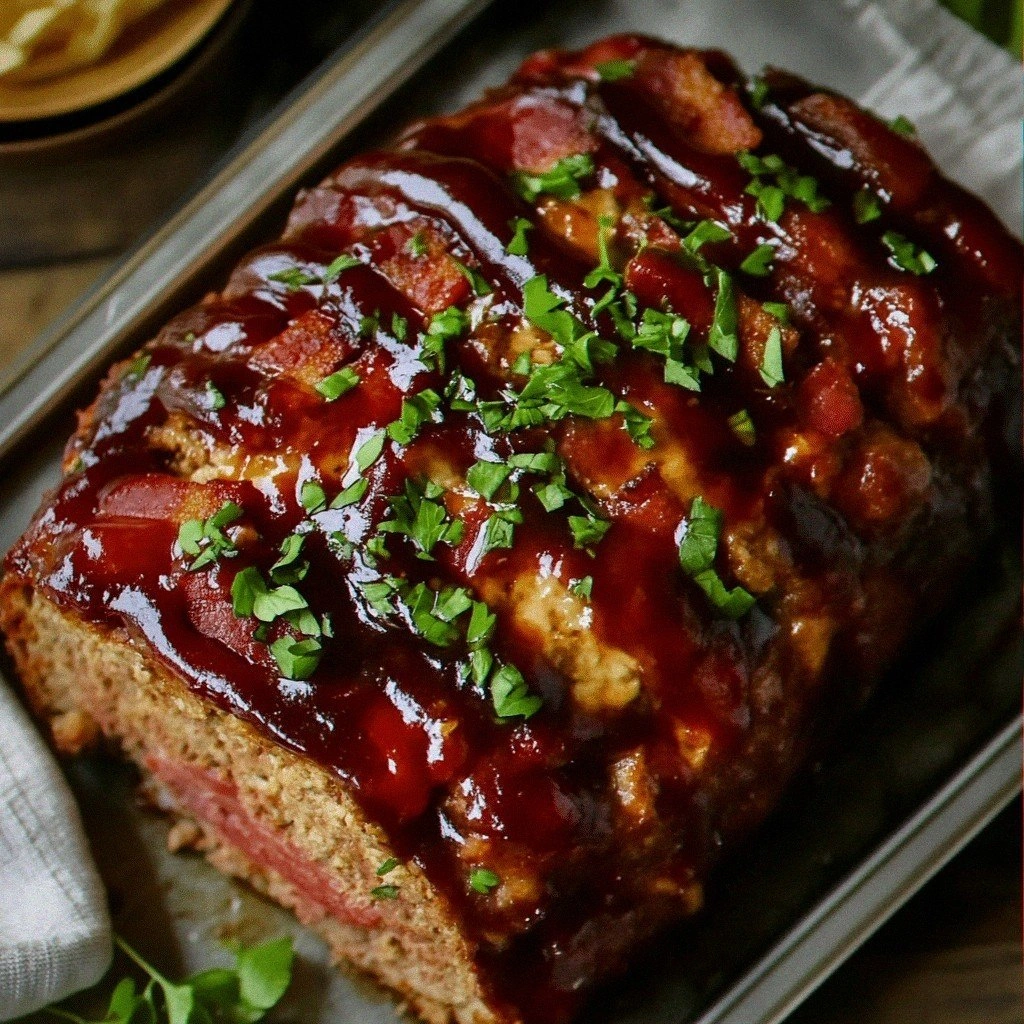
BBQ Bacon Meatloaf Recipe: Smoky, Savory, and Irresistible
Learn how to make delicious BBQ Bacon Meatloaf Recipe: Smoky, Savory, and Irresistible. Easy recipe with…
 Appetizers
Tex-Mex Chicken Quesadilla Rollups: A Flavorful Delight
Delicious Tex-Mex Chicken Quesadilla Rollups: A Flavorful Delight
 Appetizers
Crispy Spiced Roasted Chickpeas Recipe
Delicious Crispy Spiced Roasted Chickpeas Recipe
 Appetizers
Refreshing Creamy Cucumber Dill Yogurt Dip
Delicious Refreshing Creamy Cucumber Dill Yogurt Dip
 Appetizers
Spicy Air-Fried Chicken Wings: A Flavor Explosion
Delicious Spicy Air-Fried Chicken Wings: A Flavor Explosion
 Appetizers
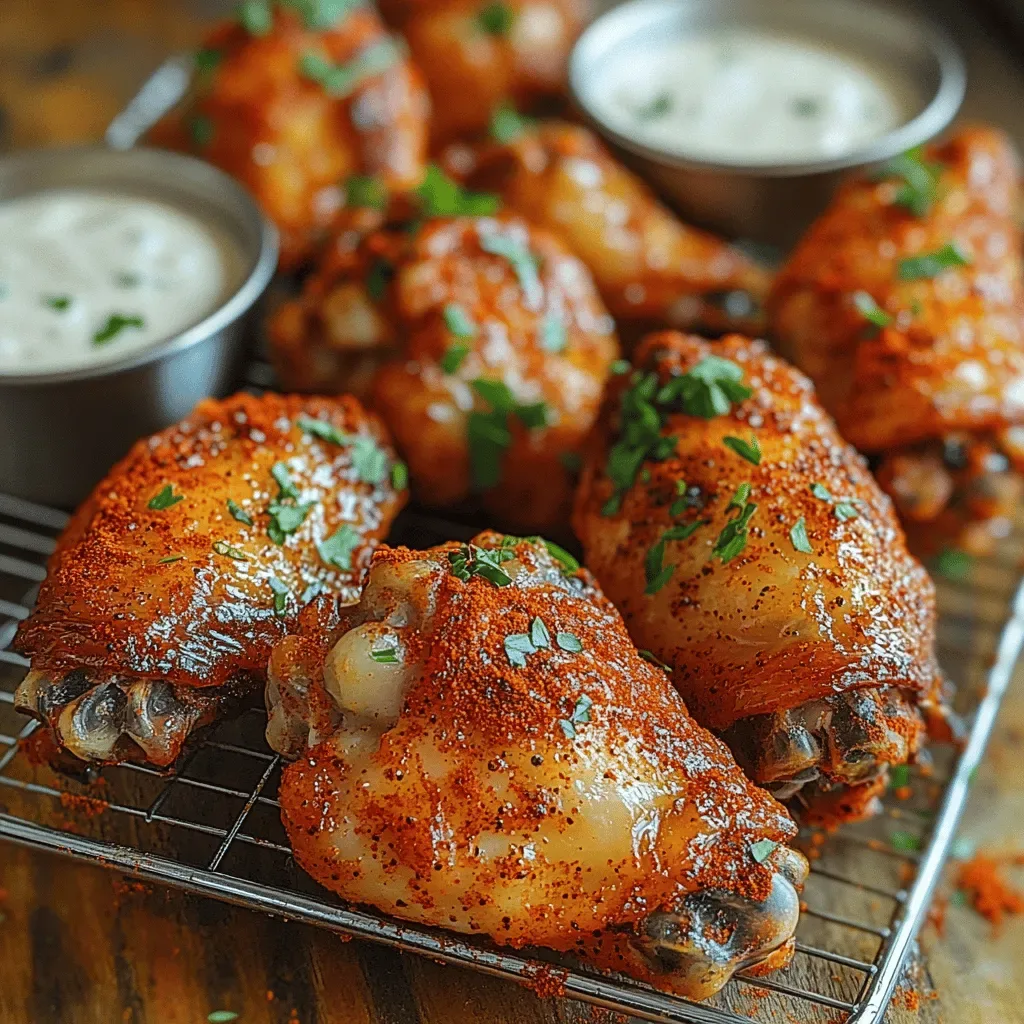
Crunchy Spice Delight Chicken Wings Recipe
Delicious Crunchy Spice Delight Chicken Wings Recipe

Victoria
I cook these recipes at home before they ever land here — simple ingredients, clear steps.
Other Reader Favorites
 Dinner
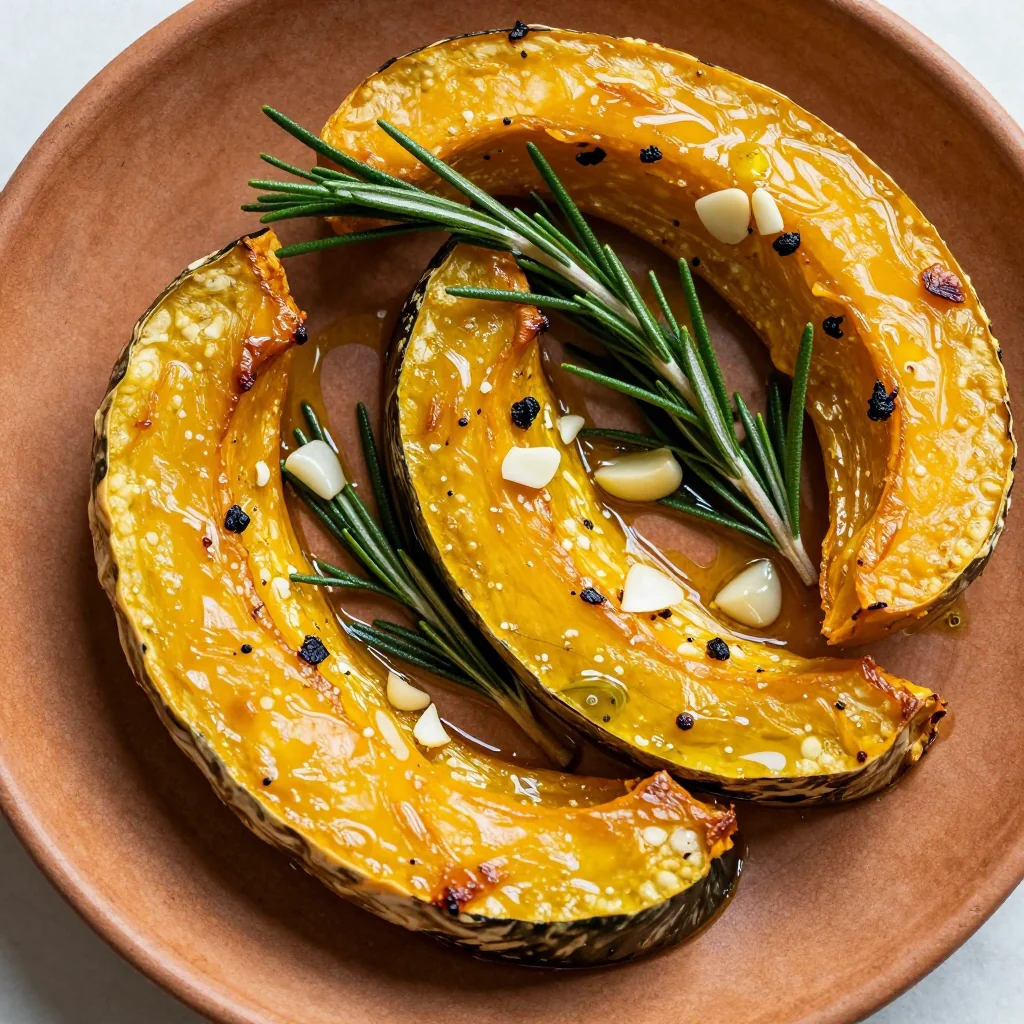
lemon and herb roasted winter squash with garlic and rosemary
Learn how to make delicious lemon and herb roasted winter squash with garlic and rosemary. Easy…
 Dinner
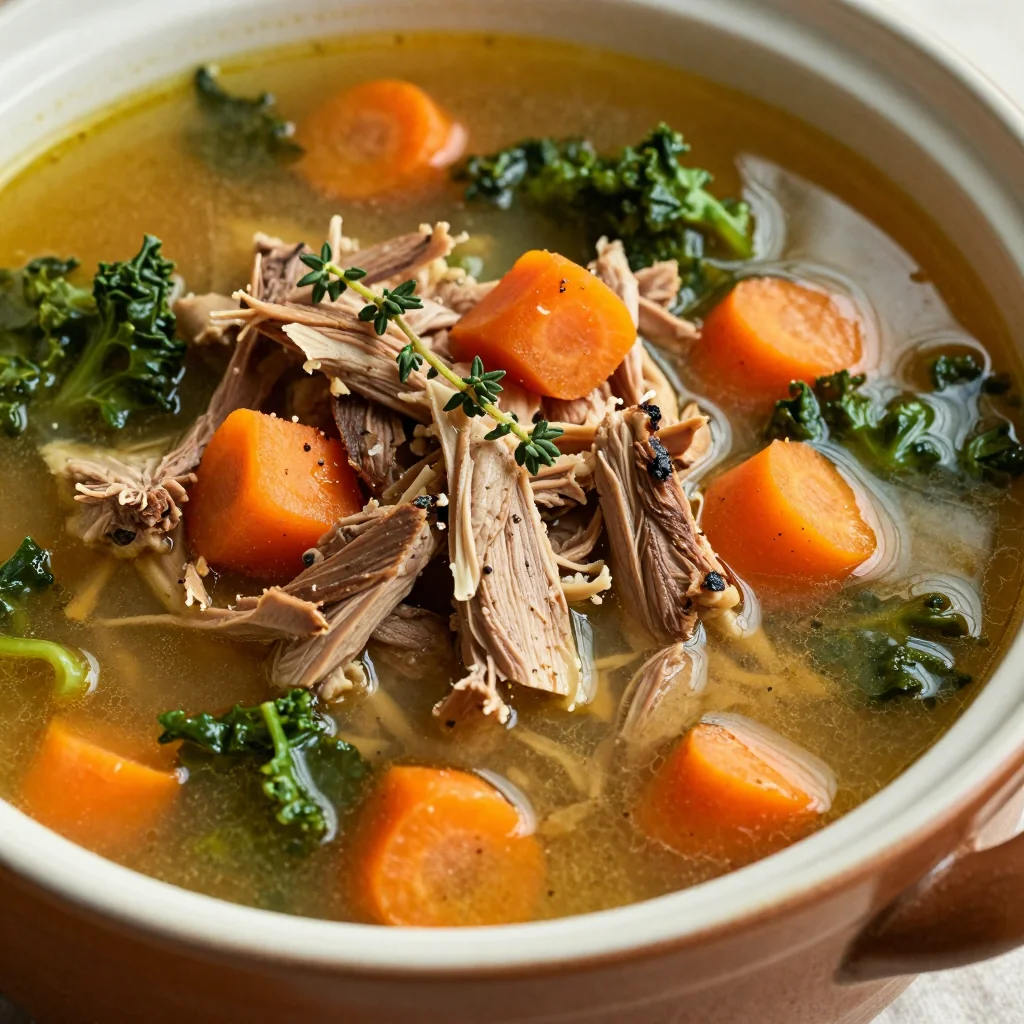
comforting slow cooker turkey soup with carrots and kale
Learn how to make delicious comforting slow cooker turkey soup with carrots and kale. Easy recipe…
 Desserts
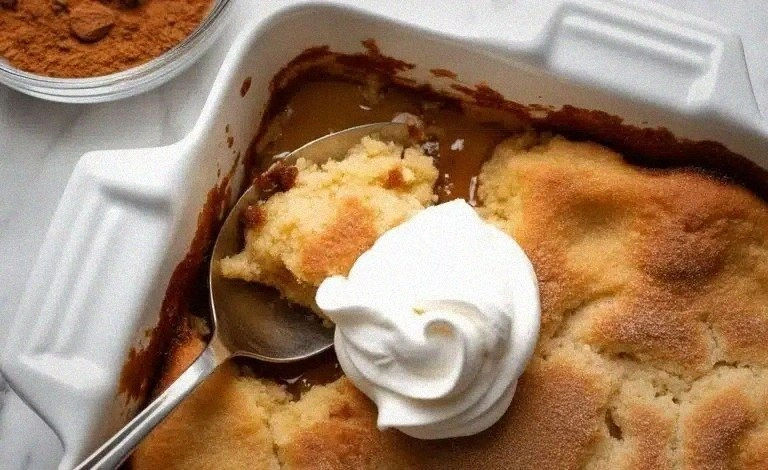
Best Snickerdoodle Cobbler Recipe – Easy & Irresistible Dessert
Learn how to make delicious Best Snickerdoodle Cobbler Recipe – Easy & Irresistible Dessert. Easy recipe…
 Desserts
Zesty Raspberry Lemonade Bars Recipe
Delicious Zesty Raspberry Lemonade Bars Recipe