Zesty One-Pan Lemon Garlic Chicken Thighs
 Save
Save
Imagine a single skillet delivering a burst of sunshine, tangy lemon, and aromatic garlic—all wrapped around juicy, caramelized chicken thighs. This is the magic of our Zesty One-Pan Lemon Garlic Chicken Thighs, a dish that turns a weekday dinner into a celebration.
What sets this recipe apart is the balance between bright citrus, savory butter, and a hint of honey, creating a glossy sauce that clings to every piece of meat. The combination of searing and oven‑finishing guarantees a crisp skin while keeping the interior tender.
Busy families, casual entertaining hosts, and anyone craving bold flavor without fuss will love this meal. It shines on weeknight tables, but also makes an impressive centerpiece for a relaxed weekend brunch or a casual dinner party.
The process is straightforward: season and sear the thighs, deglaze with lemon‑garlic broth, finish in the oven, and finish with a sprinkle of fresh herbs. Minimal cleanup, maximum flavor—just the way good food should be.
Why You'll Love This Recipe
Bold, Balanced Flavor: The zing of lemon, warmth of garlic, and subtle sweetness of honey create a harmonious sauce that never overwhelms the chicken.
One‑Pan Simplicity: All the action happens in a single skillet, so you get caramelized goodness without juggling multiple pots.
Perfectly Crispy Skin: Searing first locks in juices, then the oven finish renders the skin golden‑brown and irresistibly crisp.
Versatile Pairings: The bright sauce pairs beautifully with rice, potatoes, or a simple green salad, making it easy to adapt to any menu.
Tips & Tricks
Perfecting the Recipe
Dry the skin thoroughly. Moisture prevents crisping; use paper towels and even a light dusting of flour for extra crunch.
Use an oven‑safe skillet. Cast iron or heavy‑bottomed stainless steel retains heat, ensuring a uniform finish.
Don’t crowd the pan. Overcrowding creates steam, which softens the skin instead of browning it.
Check temperature with a probe. A quick read guarantees perfectly cooked thighs without over‑cooking.
Flavor Enhancements
Add a splash of white wine after deglazing for extra depth, or stir in a teaspoon of capers for briny brightness. Finish with a pat of cold butter right before serving to create an ultra‑silky glaze.
Common Mistakes to Avoid
Skipping the resting period leads to dry meat, and stirring the sauce too vigorously can break the emulsion, leaving it watery. Also, avoid adding the lemon juice too early; its acidity can prevent the butter from emulsifying properly.
Pro Tips
Pre‑zest the lemons. Zesting before juicing releases essential oils, giving the sauce a brighter, more aromatic profile.
Butter‑baste while baking. Every 5 minutes, spoon hot sauce over the thighs; this builds layers of flavor and keeps the meat moist.
Use a splatter guard. When searing, a guard reduces mess while still allowing the Maillard reaction.
Finish with fresh herbs. Adding parsley at the very end preserves its vibrant color and fresh flavor.
Variations
Ingredient Swaps
Replace chicken thighs with bone‑in pork chops for a heartier bite, or use firm tofu cubes for a vegetarian spin. Swap lemons for lime for a Mexican‑inspired twist, and try maple syrup instead of honey for a deeper caramel note.
Dietary Adjustments
For gluten‑free cooking, ensure the broth is certified gluten‑free and avoid any flour dusting. To keep it dairy‑free, substitute butter with extra‑virgin olive oil or a plant‑based butter. Keto diners can replace honey with a low‑carb sweetener like erythritol.
Serving Suggestions
Serve over fluffy basmati rice, buttery couscous, or creamy polenta to soak up the sauce. Roasted asparagus or a simple arugula salad adds a fresh crunch, while crusty sour‑dough bread offers a satisfying vehicle for any leftover glaze.
Storage Info
Leftover Storage
Allow the chicken and sauce to cool to room temperature (no longer than two hours), then transfer to an airtight container. Refrigerate for up to four days. For longer keeping, portion into freezer‑safe bags, lay flat, and freeze for up to three months. Label with date for easy reference.
Reheating Instructions
Reheat gently in a 350°F (175°C) oven, covered with foil, for 15‑20 minutes until steaming hot. This method preserves the skin’s crispness. In a pinch, microwave individual pieces on medium power for 2‑3 minutes, adding a splash of broth to keep the meat moist, and stir the sauce well before serving.
Frequently Asked Questions
Can I prepare this recipe ahead of time?
What if I only have boneless, skinless chicken?
How do I prevent the sauce from becoming too thin?
What side dishes work best with this meal?
This Zesty One‑Pan Lemon Garlic Chicken Thighs recipe delivers bright, bold flavor with minimal effort, thanks to a smart sear‑and‑bake technique and a glossy, buttery sauce. We’ve covered ingredient selection, step‑by‑step cooking, storage tips, and creative variations, giving you everything needed for consistent success. Feel free to experiment with herbs, proteins, or side dishes—cooking is your canvas. Serve it hot, share it with loved ones, and enjoy every citrus‑kissed bite!
Zesty One-Pan Lemon Garlic Chicken Thighs
Delicious Zesty One-Pan Lemon Garlic Chicken Thighs
Ingredients
Chicken & Main Components
- 6 bone‑in, skin‑on chicken thighs
- 2 lemons (zest and juice)
- 4 cloves garlic, minced
Sauce & Marinade
- 3 tablespoons olive oil
- 2 tablespoons unsalted butter
- 1/4 cup low‑sodium chicken broth
- 1 tablespoon honey
Seasonings & Garnish
- 1 teaspoon dried oregano
- ½ teaspoon red‑pepper flakes (optional)
- Salt and freshly cracked black pepper, to taste
- 2 tablespoons chopped fresh parsley
Instructions
Searing & Building the Base
- Heat the skillet. Place a large, oven‑safe skillet over medium‑high heat and add the olive oil. When the oil shimmers (about 2 minutes), it’s hot enough for a proper sear.
- Sear the thighs. Lay the chicken skin‑side down, giving each piece space. Cook without moving for 5‑6 minutes, until the skin turns deep golden‑brown and releases easily from the pan. Flip and sear the flesh side for an additional 3‑4 minutes.
- Deglaze with aromatics. Reduce the heat to medium, add butter, minced garlic, and lemon zest. Stir for 30 seconds until fragrant, then pour in lemon juice and chicken broth, scraping the browned bits (fond) from the bottom. These bits are flavor gold.
- Sweeten & season. Stir in honey, red‑pepper flakes (if using), and a pinch more salt. Allow the mixture to simmer for 2‑3 minutes, letting it thicken slightly and meld the flavors.
Similar Recipes
 Dinner
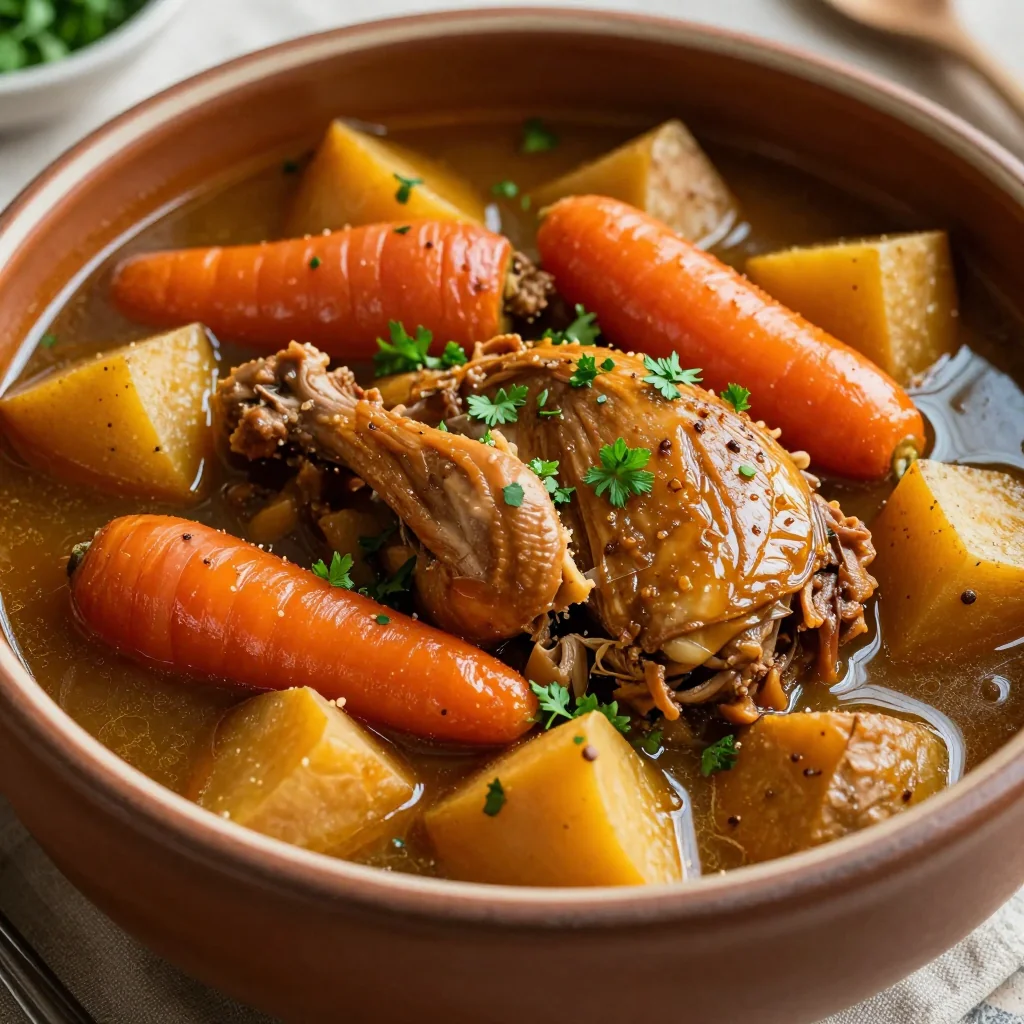
hearty turkey and root vegetable stew with garlic for family meal prep
Learn how to make delicious hearty turkey and root vegetable stew with garlic for family meal…
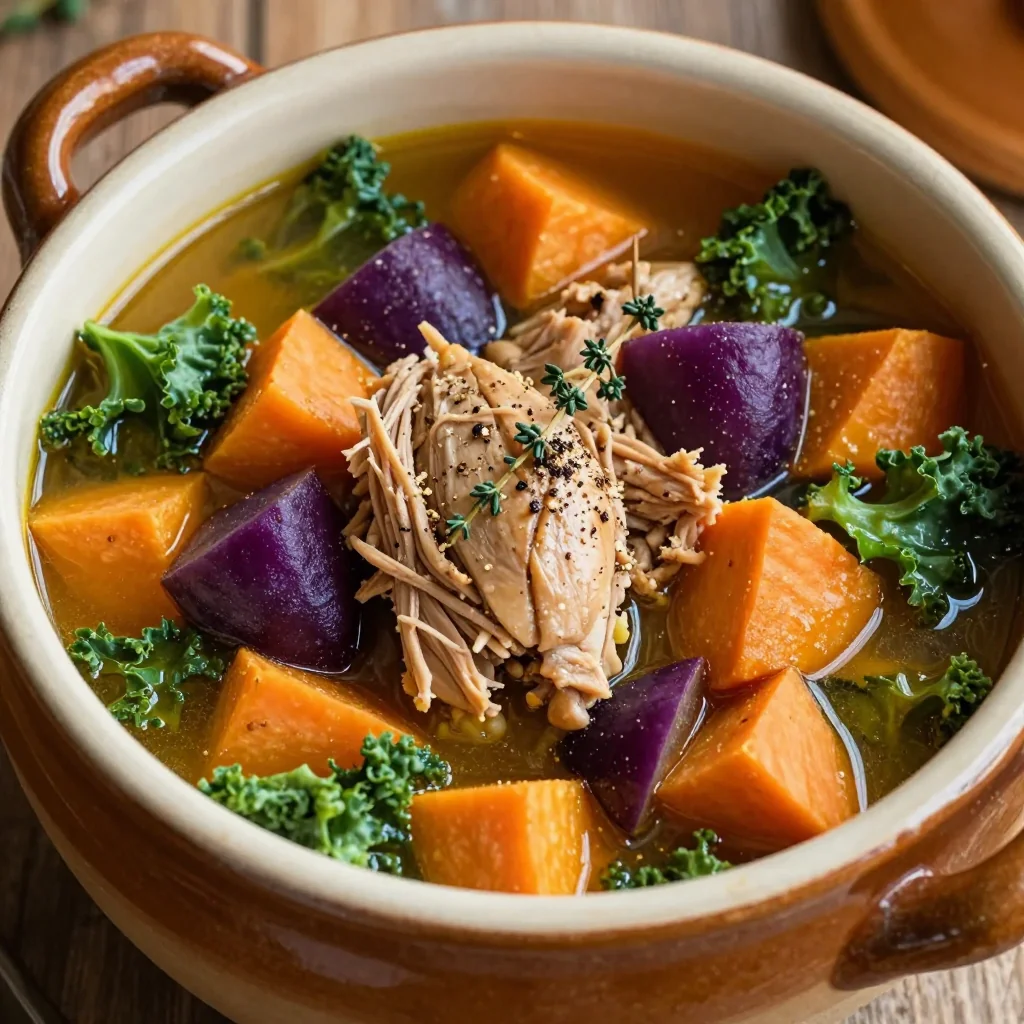 Dinner
healthy slow cooker chicken and root vegetable soup for weeknight dinners
Learn how to make delicious healthy slow cooker chicken and root vegetable soup for weeknight dinners.…
 Dinner
Autumn Bliss Chili Recipe
Delicious Autumn Bliss Chili Recipe
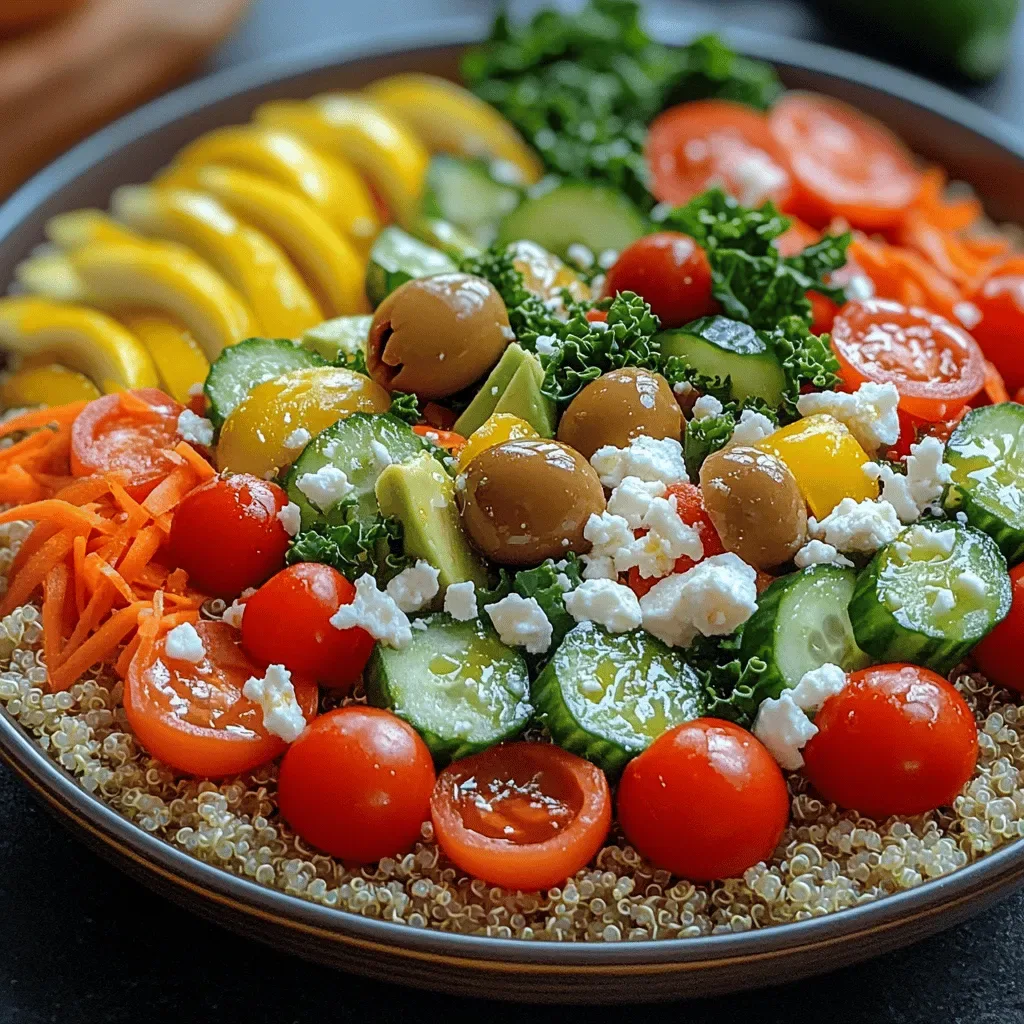 Dinner
Vibrant Veggie Delight Bowl: A Colorful and Nutritious Plant-Based Recipe
Delicious Vibrant Veggie Delight Bowl: A Colorful and Nutritious Plant-Based Recipe
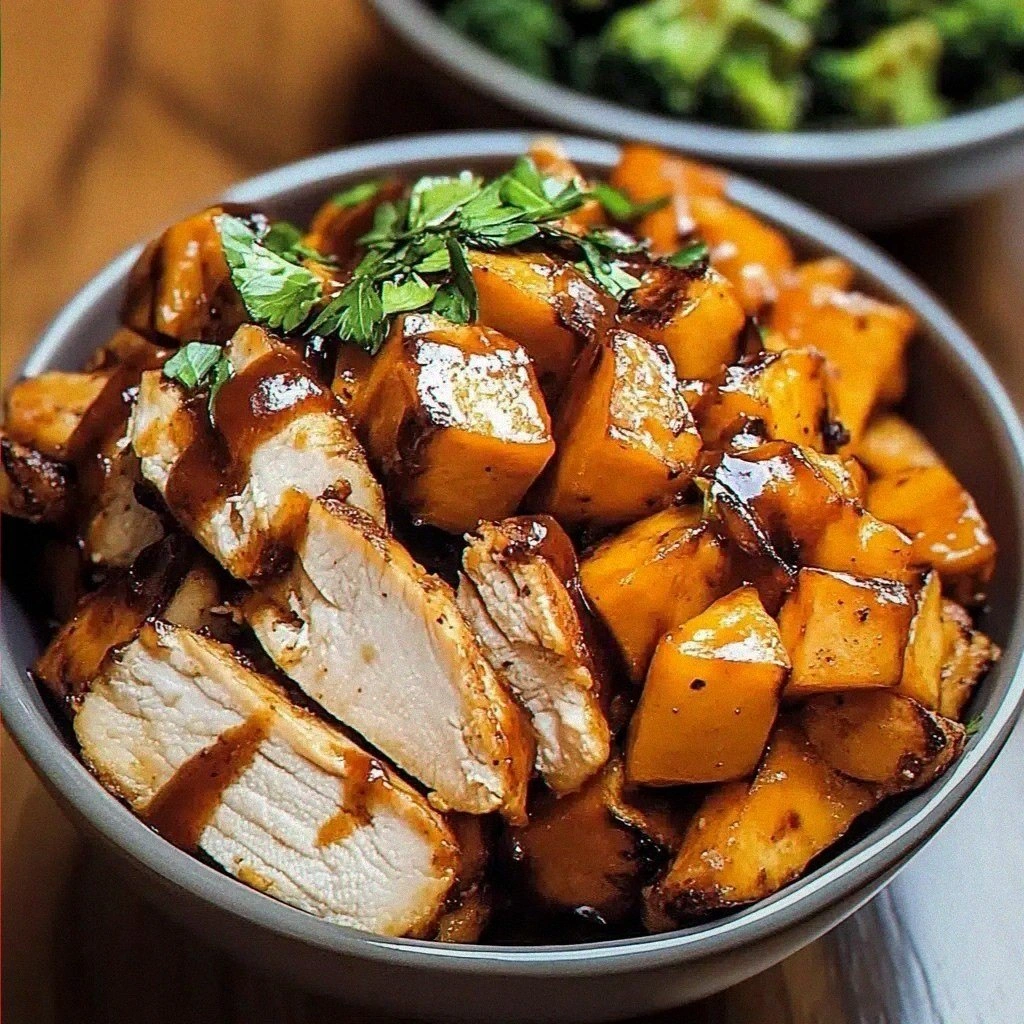 Dinner
BBQ Chicken & Roasted Sweet Potato Bowls: The Amazing Ultimate Recipe
Learn how to make delicious BBQ Chicken & Roasted Sweet Potato Bowls: The Amazing Ultimate Recipe.…
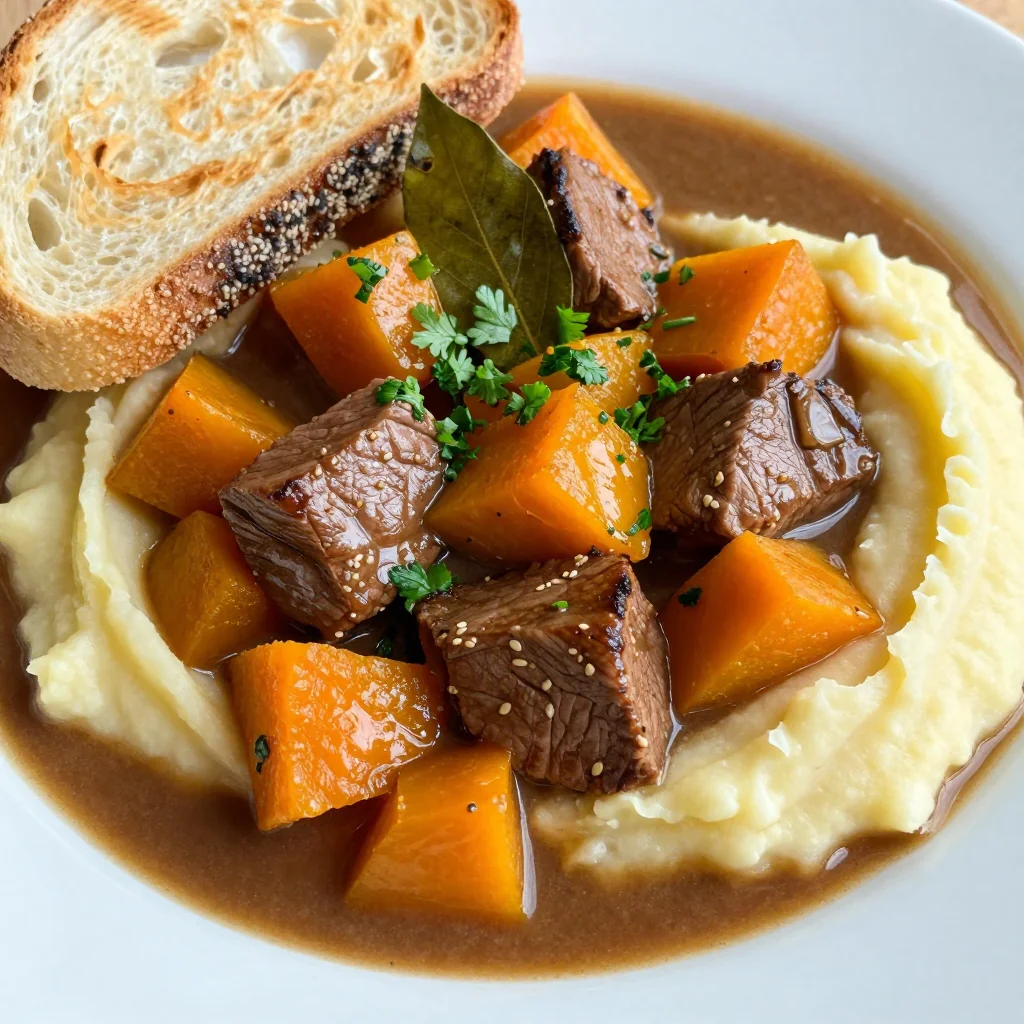 Dinner
budgetfriendly beef and winter squash stew for cozy nights
Learn how to make delicious budgetfriendly beef and winter squash stew for cozy nights. Easy recipe…
 Dinner
Scalloped Corn
Learn how to make delicious Scalloped Corn. Easy recipe with step-by-step instructions.
 Dinner
Cozy Crockpot Turkey Pot Pie Soup
Delicious Cozy Crockpot Turkey Pot Pie Soup

Victoria
I cook these recipes at home before they ever land here — simple ingredients, clear steps.