Spooky Halloween Dirt Cups Recipe
 Save
Save
When the moon is full and the night is crisp, nothing says “Halloween” quite like a creepy, chocolatey dessert that looks like a graveyard of dirt. Our Spooky Halloween Dirt Cups bring that eerie vibe straight to the table, delighting both kids and adults alike.
What makes these cups special is the perfect balance of rich chocolate pudding, crunchy Oreo “soil,” and a surprise gummy worm that wiggles out of every bite. The layered presentation is as fun to assemble as it is to eat.
This treat is ideal for Halloween parties, family movie nights, or any occasion that calls for a little extra frightful flair. Kids will love digging for the hidden worms, while adults appreciate the creamy texture and nostalgic cookie crunch.
Preparing the cups involves a quick pudding base, a simple cookie crumble, and a few minutes of chilling. With just a handful of pantry staples, you’ll have a spooky dessert ready to haunt your guests in under an hour.
Why You'll Love This Recipe
Visually Striking: The layered “dirt” and gummy worms create a miniature graveyard that looks impressive on any dessert table, turning a simple treat into a conversation starter.
Kid‑Friendly Fun: Children love the hands‑on element of digging through chocolate soil to discover hidden worms, making snack time an interactive adventure.
Quick Assembly: All components can be prepared in under 30 minutes, allowing you to focus on decorations and other party details without stress.
Customizable Flavors: Swap pudding flavors, use different cookie crumbs, or add a dash of espresso for an adult twist—making each batch uniquely yours.
Tips & Tricks
Perfecting the Recipe
Chill the pudding thoroughly. A fully set pudding prevents the soil from sinking and keeps each layer distinct.
Don’t over‑mix the Oreo crumbs. Lightly coat with butter; too much mixing makes the soil soggy.
Use a piping bag for whipped cream. This gives a clean, uniform “fog” and looks professional.
Serve immediately after final chill. The whipped cream can soften if left too long.
Flavor Enhancements
Add a pinch of instant espresso powder to the pudding for a deeper chocolate flavor, or swirl in a tablespoon of peanut butter for a nutty twist. A drizzle of caramel sauce over the whipped cream adds a sweet, glossy finish that pairs beautifully with the dark soil.
Common Mistakes to Avoid
Skipping the cooling step for the pudding often results in a runny base that sinks the dirt. Also, avoid using soft or low‑fat butter for the Oreo crumble; it won’t bind the crumbs properly, leading to a crumbly, dry layer.
Pro Tips
Prep in a “spook station.” Set out all components in separate bowls, then assemble quickly to keep the kitchen organized and the workflow smooth.
Use silicone molds. For a more dramatic look, press the pudding and soil into mini silicone tombstone molds before transferring to cups.
Garnish with edible glitter. A light dusting of silver or orange glitter on the whipped cream adds an extra eerie sparkle.
Keep gummy worms refrigerated. This prevents them from becoming sticky when placed on the chilled cups.
Variations
Ingredient Swaps
Replace the classic chocolate pudding with vanilla or salted caramel for a different flavor profile. Use chocolate graham crackers instead of Oreos for a lighter “soil.” For a fruity twist, incorporate crushed strawberry cookies and top with gummy fruit snakes instead of worms.
Dietary Adjustments
For a dairy‑free version, substitute whole milk with almond or oat milk and use coconut whipped cream. Use gluten‑free chocolate sandwich cookies in place of Oreos to keep the dish safe for gluten‑intolerant guests. A sugar‑free pudding mix works well for low‑sugar diets.
Serving Suggestions
Pair the cups with a crisp apple cider or a pumpkin spice latte for a seasonal beverage match. Arrange the cups on a black platter dusted with cocoa powder to enhance the “graveyard” effect. Add mini tombstone candy decorations for an extra festive touch.
Storage Info
Leftover Storage
Allow any remaining cups to cool completely, then seal each one with a tight‑fitting lid or wrap in plastic wrap. Store in the refrigerator for up to 3 days. If you need longer storage, transfer the pudding and whipped cream to separate airtight containers and freeze for up to 2 months; the Oreo “soil” can be kept in a freezer‑safe bag for the same period.
Reheating Instructions
Reheat only the pudding layer if you prefer a warm dessert: microwave a single cup on medium power for 30‑45 seconds, stirring halfway. Avoid reheating the whipped cream and soil, as they will lose texture. For a quick warm‑up, place the cup in a 300°F oven for 5‑7 minutes, uncovered, until the pudding is gently heated.
Frequently Asked Questions
Can I make these dirt cups ahead of time?
What if I don’t have Oreo cookies?
How do I keep the gummy worms from melting?
Can I use a different sweetener for the pudding?
This Spooky Halloween Dirt Cups recipe delivers a perfect blend of creamy chocolate, crunchy “soil,” and mischievous gummy worms—all in a single, easy‑to‑assemble cup. We’ve covered ingredient choices, step‑by‑step assembly, storage tips, and creative variations so you can tailor the treat to any palate or dietary need. Feel free to experiment with flavors, textures, and decorations—making each batch uniquely yours. Gather your friends, dim the lights, and enjoy a hauntingly delicious dessert that’s sure to be the highlight of any Halloween celebration.
Spooky Halloween Dirt Cups Recipe
Delicious Spooky Halloween Dirt Cups Recipe
Ingredients
Chocolate Pudding Base
- 2 cups whole milk
- 1/2 cup granulated sugar
- 1/3 cup unsweetened cocoa powder
- 3 tablespoons cornstarch
- 1/4 teaspoon salt
- 1 teaspoon vanilla extract
Dirt & Garnish
- 24 Oreo cookies (about 1 1/2 cups crushed)
- 1/4 cup melted butter
- 12 gummy worms (optional, for garnish)
- 1 cup heavy whipping cream
- 2 tablespoons powdered sugar
- 1/2 teaspoon vanilla extract (for whipped cream)
Instructions
Assembling the Dirt Cups
- Layer the pudding. Spoon an even layer of chilled chocolate pudding into each serving cup, filling about one‑third of the cup’s height. This creates a solid base for the soil.
- Add the dirt. Sprinkle a generous handful of the butter‑coated Oreo crumbs over the pudding, pressing lightly so the “soil” adheres. The dark color mimics fresh garden earth.
- Insert the worms. Gently push a gummy worm into the center of each cup, allowing it to peek out of the soil. This visual cue makes the dessert instantly recognizable as Halloween‑themed.
- Top with whipped cream. Crown each cup with a dollop of whipped cream, creating a misty “fog” that contrasts with the dark soil. For extra drama, drizzle a thin line of chocolate syrup over the cream.
- Chill before serving. Refrigerate the assembled cups for at least 10 minutes to let the flavors meld and the soil set. Serve chilled for the best texture and visual impact.
Similar Recipes
 Desserts
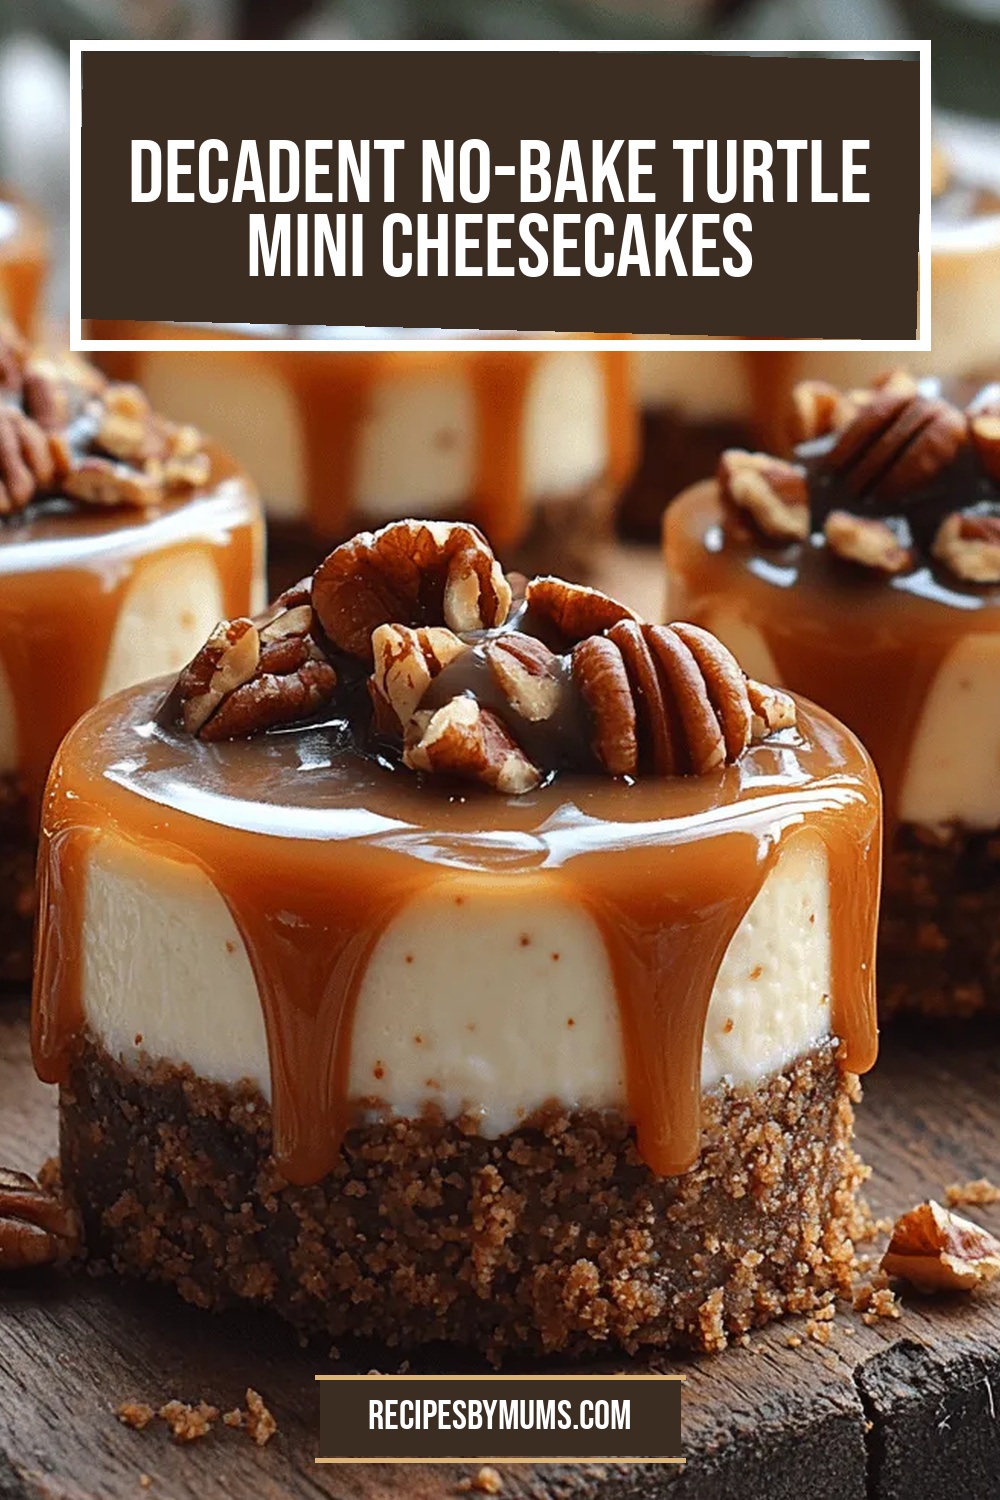
Decadent No-Bake Turtle Mini Cheesecakes
Delicious Decadent No-Bake Turtle Mini Cheesecakes
 Desserts
Velvety Indulgence: Red Velvet Cheesecake Cupcakes
Delicious Velvety Indulgence: Red Velvet Cheesecake Cupcakes
 Desserts
Apple Cinnamon Crepe Cake Recipe
Delicious Apple Cinnamon Crepe Cake Recipe
 Desserts
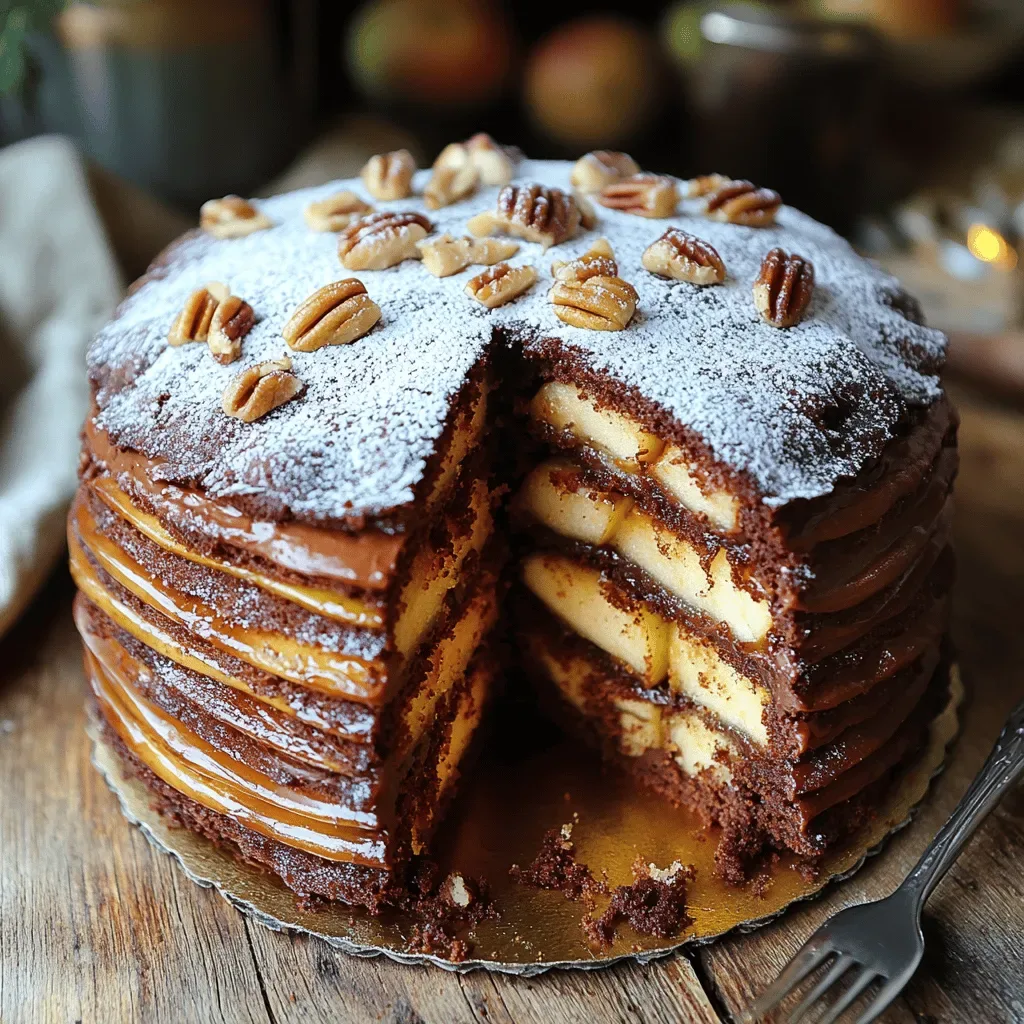
Cocoa Apple Delight Cake Recipe: A Perfect Blend of Chocolate and Tartness
Delicious Cocoa Apple Delight Cake Recipe: A Perfect Blend of Chocolate and Tartness
 Desserts
Mini Lemon Cakes
Learn how to make delicious Mini Lemon Cakes. Easy recipe with step-by-step instructions.
 Desserts
31 Verleidelijke Brownie Valentines Puns voor Liefde & Lach
Learn how to make delicious 31 Verleidelijke Brownie Valentines Puns voor Liefde & Lach. Easy recipe…
 Desserts
Banana Split Cheesecake Recipe
Learn how to make delicious Banana Split Cheesecake Recipe. Easy recipe with step-by-step instructions.
 Desserts
Strawberry Cream Icebox Cups: A Refreshing Delight for Warm Days
Delicious Strawberry Cream Icebox Cups: A Refreshing Delight for Warm Days

Victoria
I cook these recipes at home before they ever land here — simple ingredients, clear steps.