Indulge in Decadent Chocolate Avocado Mousse: Guilt-Free Joy
 Save
Save
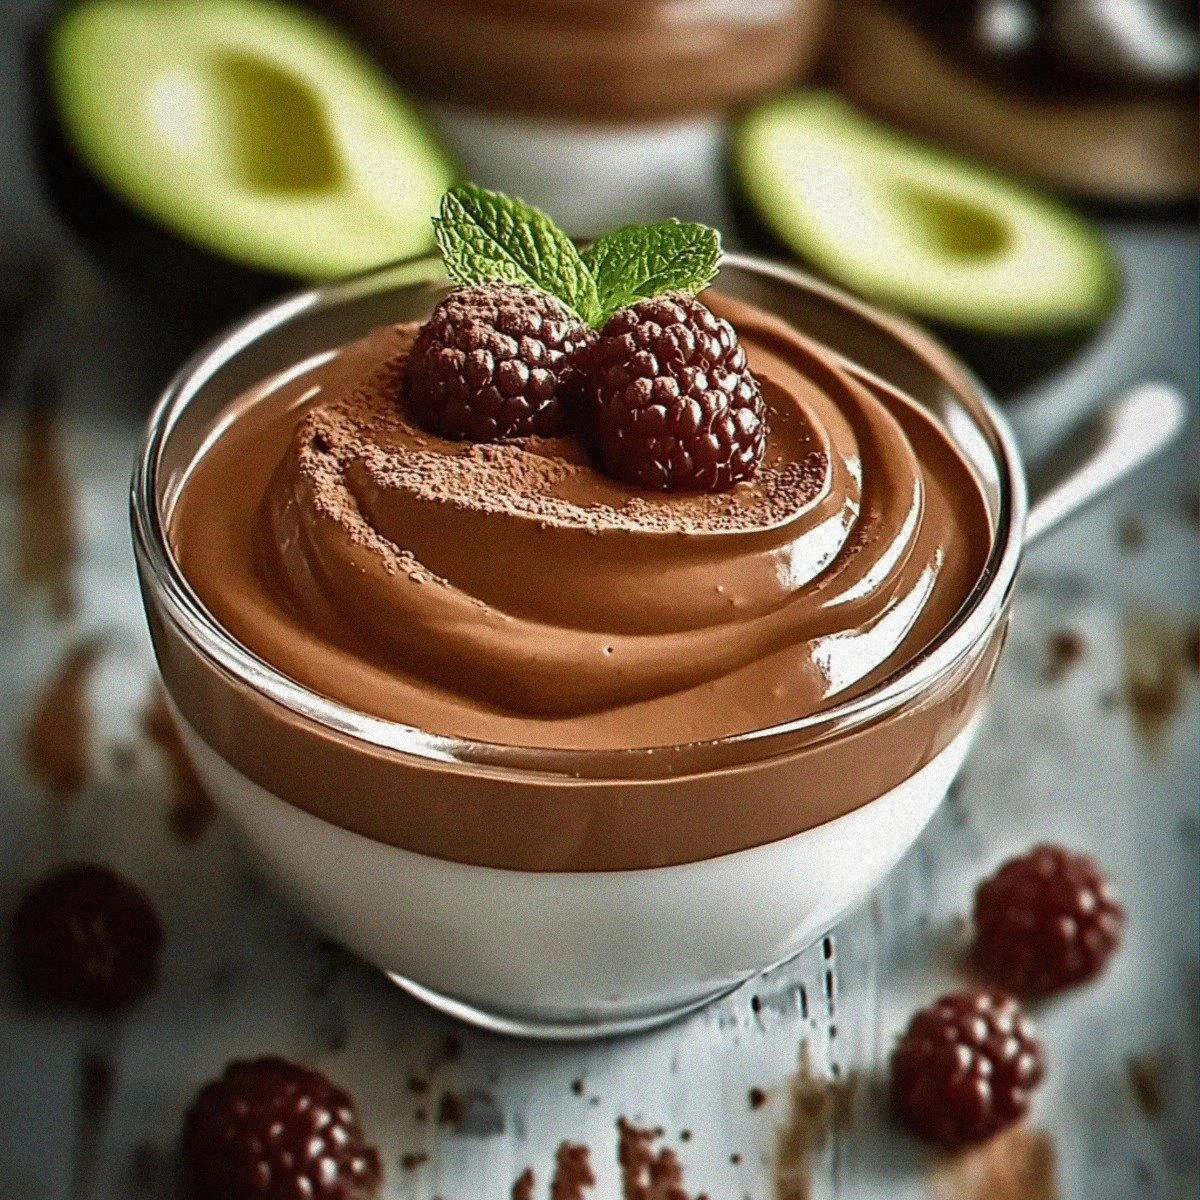
The first time I tasted a chocolate mousse that didn’t scream “heavy dessert” was on a rainy Thursday evening, when I was scrambling to find something that would satisfy my chocolate cravings without derailing my health goals. I remember the kitchen was filled with the warm, earthy scent of ripe avocados being mashed, mingling with the deep, bittersweet perfume of cocoa powder—an aroma that felt like a secret handshake between indulgence and nutrition. As I lifted the lid of the blender, a silky, glossy cloud rose, catching the soft glow of the pendant light and promising a dessert that would melt on the tongue while keeping the guilt at bay. That moment sparked a tiny culinary revolution in my home: a mousse that could be served at a brunch, a dinner party, or a midnight snack, and still feel like a treat.
What makes this chocolate avocado mousse truly special is the way it balances the richness of chocolate with the buttery smoothness of avocado, creating a texture that is both airy and decadently creamy. The avocado provides a natural, healthy fat base that carries the cocoa’s flavor without the need for heavy cream or eggs, which means you can serve it to anyone—whether they’re vegan, dairy‑free, or simply watching their cholesterol. The maple syrup adds just the right amount of natural sweetness, letting the chocolate shine without becoming cloyingly sweet. And the best part? The mousse sets in minutes, so you can go from prep to plating faster than you can say “dessert is ready!”
But wait—there’s a secret ingredient that most people skip, and it makes all the difference. I’m talking about a pinch of salt that awakens the chocolate’s depth, turning a simple mousse into a layered masterpiece that dances on the palate. You’ll also discover a little trick for achieving that ultra‑smooth finish that looks restaurant‑ready, and I promise you’ll want to use it in every mousse you make from now on. Curious? Keep reading, because the journey from avocado to velvety chocolate heaven is about to get even more exciting.
Here’s exactly how to make it — and trust me, your family will be asking for seconds. By the end of this article, you’ll not only have a foolproof recipe but also a toolbox of tips, variations, and storage hacks that will keep this mousse on repeat in your kitchen. So grab your favorite blender, a couple of ripe avocados, and let’s dive into the world of guilt‑free chocolate bliss.
🌟 Why This Recipe Works
- Flavor Depth: The combination of cocoa powder and a pinch of salt creates a complex flavor profile that mimics the richness of traditional mousse made with heavy cream, while still feeling light on the palate.
- Silky Texture: Avocado’s natural creaminess eliminates the need for dairy, delivering a smooth, melt‑in‑your‑mouth mouthfeel that rivals any classic French mousse.
- Ease of Preparation: No stovetop or special equipment required—just a high‑speed blender and a few minutes of your time, making it perfect for busy weeknights.
- Quick Turnaround: The mousse sets in the fridge within 15‑20 minutes, so you can serve it fresh and chilled without any long‑lasting waiting periods.
- Versatility: Serve it plain, top it with fresh berries, granola, or whipped coconut cream, or even fold in a splash of espresso for a mocha twist.
- Nutrition Boost: Avocado provides heart‑healthy monounsaturated fats, while cocoa brings antioxidants, and maple syrup offers a natural sweetener without refined sugars.
- Ingredient Quality: Using ripe, buttery avocados and high‑quality unsweetened cocoa ensures every bite is pure, intense chocolate without any off‑flavors.
- Crowd‑Pleaser: Even the most skeptical chocolate lovers are won over by the mousse’s richness, and the fact that it’s dairy‑free often earns extra points at family gatherings.
🥗 Ingredients Breakdown
The Foundation: Avocado & Cocoa
Ripe avocados are the heart of this mousse, providing a buttery base that carries the chocolate flavor without any graininess. Choose avocados that yield slightly to gentle pressure—this indicates they’re perfectly ripe and will blend into a smooth, lump‑free puree. If you accidentally pick a firmer avocado, you can soften it in a warm spot for 10‑15 minutes, but the texture won’t be quite as luxurious. The cocoa powder, preferably Dutch‑processed, gives the mousse its deep, rich chocolate taste while keeping the color a gorgeous, dark mahogany. If you only have natural cocoa, you might notice a slightly more acidic note, which can be balanced with an extra pinch of salt.
Aromatics & Sweeteners: Maple Syrup & Vanilla
Maple syrup is the sweetener of choice here because it adds a subtle caramel undertone that complements the chocolate without overwhelming it. Look for pure, grade‑A maple syrup; the darker the grade, the richer the flavor, which can be especially nice in a chocolate mousse. Vanilla extract, even just a teaspoon, adds a fragrant backdrop that lifts the entire dessert, making each spoonful feel like a warm hug. If you’re out of vanilla, a dash of almond extract works, but use it sparingly to avoid overpowering the chocolate.
The Secret Weapons: Salt & Whipped Coconut Cream
A pinch of salt may seem tiny, but it’s a flavor enhancer that amplifies the chocolate’s natural bitterness, creating a balanced sweet‑salty profile that feels sophisticated. The whipped coconut cream adds an airy lift and a tropical note that pairs beautifully with the avocado’s richness. For the best whipped coconut cream, chill the can of coconut milk overnight, scoop out the solidified cream, and whip it with a pinch of sugar or maple syrup until soft peaks form. This step is optional but elevates the mousse from good to unforgettable.
Finishing Touches: Berries, Granola, & More
Fresh berries bring a burst of acidity and bright color that cuts through the mousse’s richness, while granola adds a satisfying crunch that contrasts the silky texture. When selecting berries, look for firm, glossy fruits—strawberries, blueberries, or raspberries all work beautifully. If you prefer a nutty crunch, toasted almond slivers or cacao nibs are excellent alternatives. The final drizzle of extra maple syrup or a dusting of cocoa powder can add visual flair and a hint of extra flavor for those who love an extra touch of sweetness.
With your ingredients prepped and ready, let's get cooking. Here's where the fun really begins...
🍳 Step-by-Step Instructions
🔐 Expert Tips for Perfect Results
The Taste Test Trick
Before you seal the mousse in the fridge, always take a tiny spoonful and let it sit on your tongue for a few seconds. This pause lets you feel the balance of sweetness, bitterness, and salt, and gives you a chance to adjust before the flavors settle. I once served a batch that was a touch too bitter because I used a very dark cocoa; a quick addition of a half‑teaspoon of maple syrup saved the day and turned the mousse from “meh” to marvelous.
Why Resting Time Matters More Than You Think
Allowing the mousse to chill for at least 15 minutes isn’t just about firming up; it also gives the avocado’s natural oils time to meld with the cocoa, creating a smoother mouthfeel. If you’re in a hurry, a quick 5‑minute chill will work, but the texture won’t be as velvety. I’ve learned that a longer rest (up to an hour) can make the mousse feel almost melt‑in‑your‑mouth, especially when served on a warm summer evening.
The Seasoning Secret Pros Won’t Tell You
A pinch of sea salt is the secret weapon that professional pastry chefs use to brighten chocolate desserts. It doesn’t just add saltiness; it unlocks hidden flavor notes, making the chocolate taste deeper and more complex. If you want to take it a step further, try a pinch of smoked sea salt for a subtle, smoky undertone that pairs wonderfully with the earthy avocado.
Whipped Coconut Cream Mastery
For the fluffiest coconut cream, chill the can of coconut milk for at least 12 hours, then scoop out only the solidified top layer, leaving the watery bottom behind. Whip the solid cream on medium speed, adding a teaspoon of maple syrup or a dash of vanilla for flavor. Over‑whipping can cause the cream to turn grainy, so stop as soon as soft peaks form—this ensures a light, airy topping that holds its shape on the mousse.
Serving Temperature Secrets
Serve the mousse slightly chilled, not ice‑cold. If the mousse is too cold, the flavors become muted; if it’s too warm, the texture can become overly soft. A good rule of thumb is to let the mousse sit at room temperature for 5 minutes before plating, giving it a gentle warmth that releases the chocolate aroma. Trust me on this one: the difference is night and day.
🌈 Delicious Variations to Try
One of my favorite things about this recipe is how versatile it is. Here are some twists I've tried and loved:
Mocha Madness
Add a tablespoon of finely ground espresso or instant coffee granules to the blender for a deep coffee kick. The bitterness of the coffee pairs beautifully with the avocado’s creaminess, creating a dessert that feels like a café‑style treat. Serve with a dusting of cocoa powder and a few chocolate‑covered espresso beans for extra crunch.
Tropical Sunrise
Swap the maple syrup for a drizzle of pineapple or mango puree, and top with toasted coconut flakes instead of granola. The tropical fruits add a bright, sunny flavor that transforms the mousse into a beach‑vibe dessert perfect for summer gatherings. A splash of lime zest on top adds a zing that balances the richness.
Nutty Delight
Fold in a tablespoon of almond butter or hazelnut spread before chilling for a nutty undertone that deepens the chocolate flavor. Garnish with toasted chopped nuts—almonds, hazelnuts, or pistachios—to add a satisfying crunch. This variation feels like a decadent chocolate‑nut bar in mousse form.
Spiced Autumn
Add a pinch of cinnamon, a dash of ground ginger, and a splash of pumpkin puree to the base for a warm, cozy twist that’s perfect for cooler months. The spices bring an aromatic depth that reminds you of a pumpkin spice latte, while the pumpkin adds a subtle earthiness without altering the mousse’s silky texture.
Berry‑Infused Swirl
Blend a handful of fresh raspberries or strawberries with a teaspoon of maple syrup, then swirl the fruit puree through the chilled mousse just before serving. This creates a beautiful marbled effect and introduces a burst of fruity acidity that cuts through the chocolate richness. It’s an eye‑catching presentation that also adds a fresh flavor layer.
📦 Storage & Reheating Tips
Refrigerator Storage
Store the mousse in an airtight container or keep the individual serving glasses covered with plastic wrap. It will stay fresh for up to 3 days, though the texture is best within the first 48 hours. If you notice the mousse thickening too much, simply stir in a teaspoon of cold water or a splash of almond milk to bring back its silky consistency before serving.
Freezing Instructions
For longer storage, you can freeze the mousse in individual portions. Place the mousse in freezer‑safe containers, leaving a little headspace for expansion, and freeze for up to 2 months. To thaw, move the containers to the refrigerator overnight, then give each portion a gentle stir and a quick blend if needed to restore smoothness.
Reheating Methods
If you need to warm the mousse slightly (for example, to serve on a warm day), place the container in a bowl of warm water for 5‑10 minutes, stirring gently. The trick to reheating without drying it out? A splash of coconut milk or almond milk helps maintain the creamy texture while gently raising the temperature. Avoid microwaving, as it can cause the mousse to separate and lose its silky mouthfeel.
❓ Frequently Asked Questions
Can I use a regular blender instead of a high‑speed one?
Is this mousse suitable for people with nut allergies?
Can I replace maple syrup with another sweetener?
How do I know if my avocados are ripe enough?
Can I add protein powder to boost the nutritional profile?
What if I don’t have fresh berries for topping?
Is this mousse safe for people with soy allergies?
Can I make this mousse in advance for a party?
Similar Recipes
 Desserts
Turtle Caramel Cake: A Decadent Delight
Delicious Turtle Caramel Cake: A Decadent Delight
 Desserts
Homemade Vampire Fudge: The Ultimate Spooky Treat That Disappears Fast
Learn how to make delicious Homemade Vampire Fudge: The Ultimate Spooky Treat That Disappears Fast. Easy…
 Desserts
Best Hawaiian Pineapple Carrot Cream Cake that Delights!
Learn how to make delicious Best Hawaiian Pineapple Carrot Cream Cake that Delights!. Easy recipe with…
 Desserts
5-Minute Molten Lava Mug Cake Recipe
Learn how to make delicious 5-Minute Molten Lava Mug Cake Recipe. Easy recipe with step-by-step instructions.
 Desserts
Peanut Butter Banana Oat Bars: A Nutritious Snack Option
Delicious Peanut Butter Banana Oat Bars: A Nutritious Snack Option
 Desserts
Tropical Paradise Pie: A Refreshing Dessert to Brighten Your Table
Delicious Tropical Paradise Pie: A Refreshing Dessert to Brighten Your Table
 Desserts
Tropical Delight No-Bake Mango Cheesecake Recipe
Delicious Tropical Delight No-Bake Mango Cheesecake Recipe
 Desserts
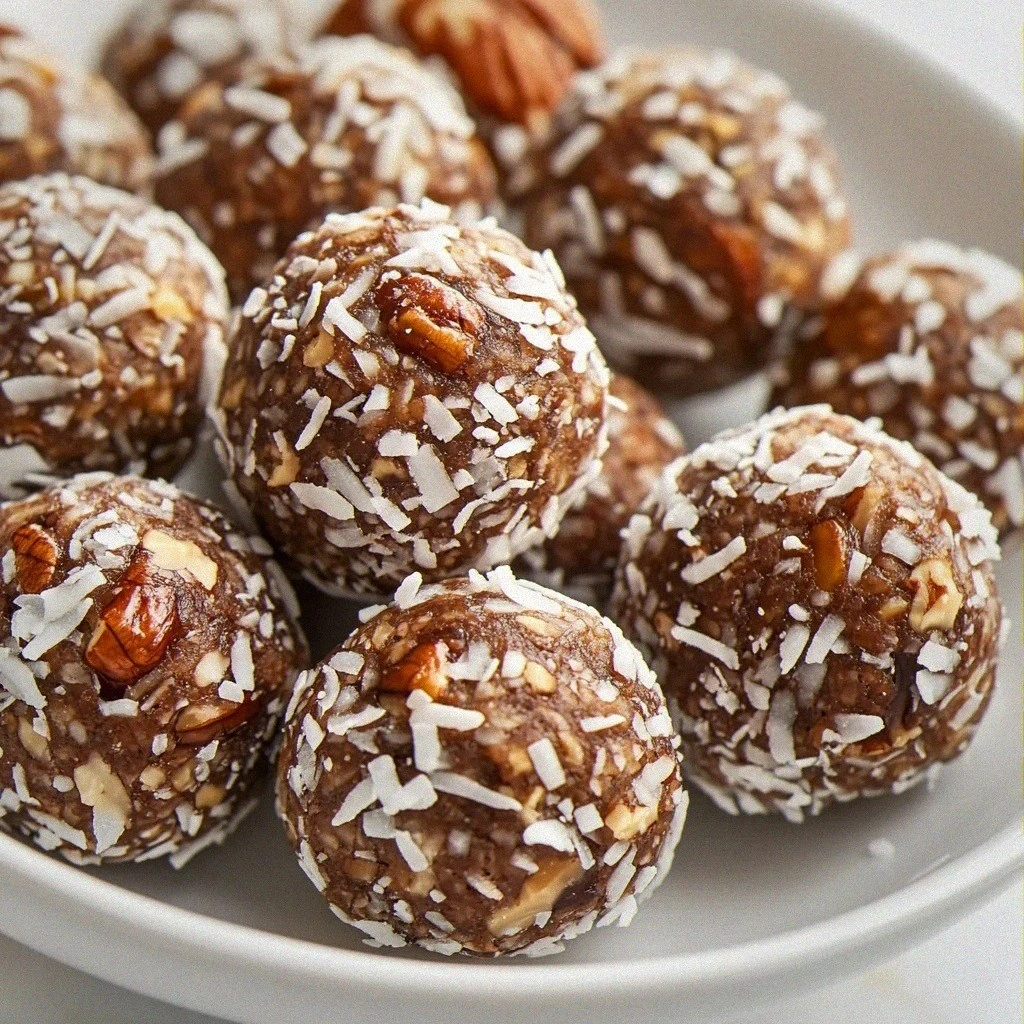
Easy Pecan Bliss Balls Recipe
Learn how to make delicious Easy Pecan Bliss Balls Recipe. Easy recipe with step-by-step instructions.

Victoria
I cook these recipes at home before they ever land here — simple ingredients, clear steps.
Other Reader Favorites
 Breakfast
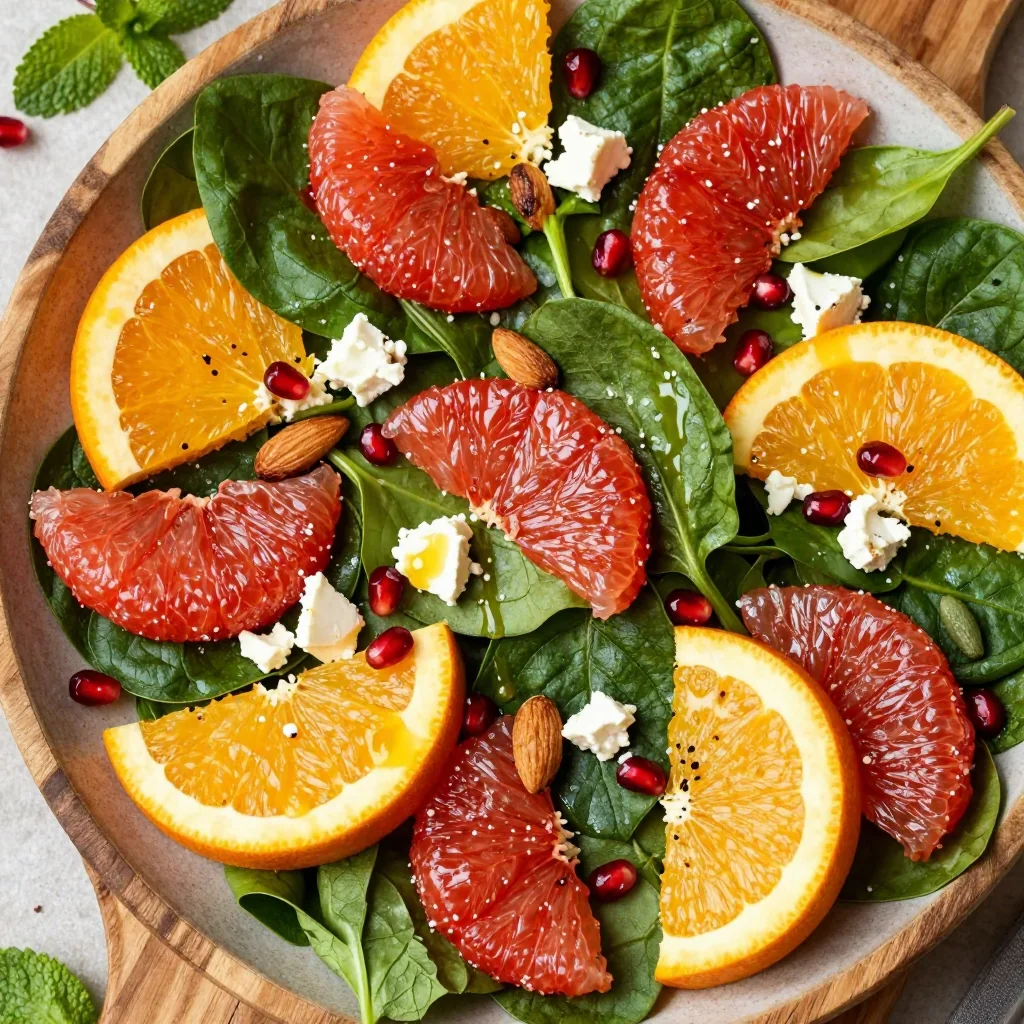
warm citrus salad with spinach and grapefruit for new year family breakfasts
Brighten New Year mornings with a warm citrus-spinach salad featuring grapefruit. Healthy & festive—try this easy…
 Dinner
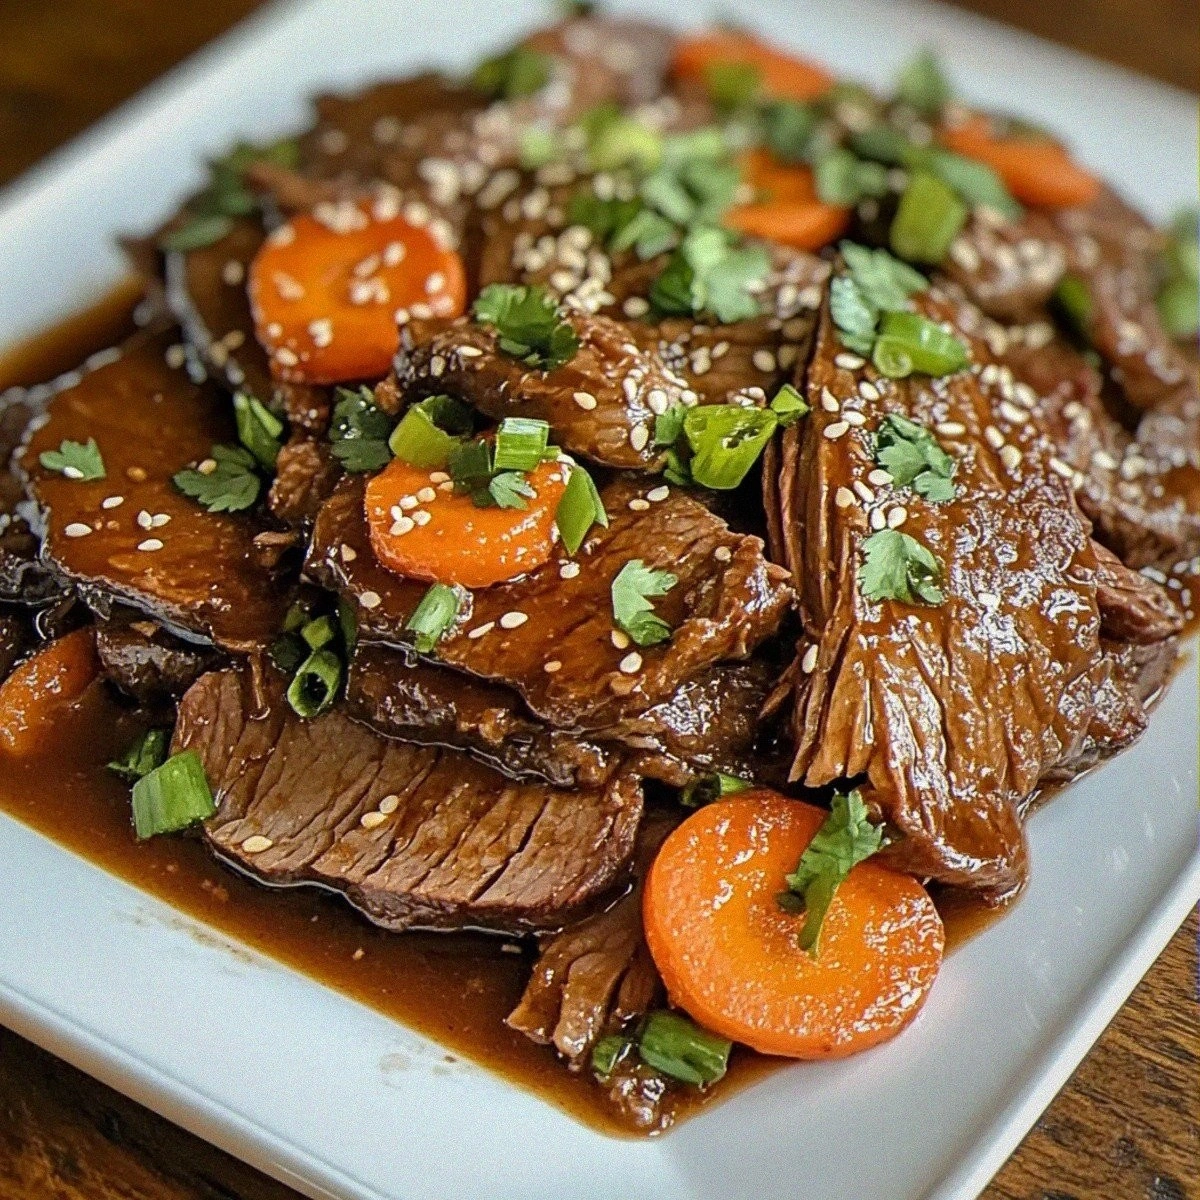
Korean Style Pot Roast: Comforting Flavor in Every Bite
Learn how to make delicious Korean Style Pot Roast: Comforting Flavor in Every Bite. Easy recipe…
 Desserts
Minty Delight Chocolate Chip Bark: A Sweet and Refreshing Treat
Delicious Minty Delight Chocolate Chip Bark: A Sweet and Refreshing Treat
 Dinner
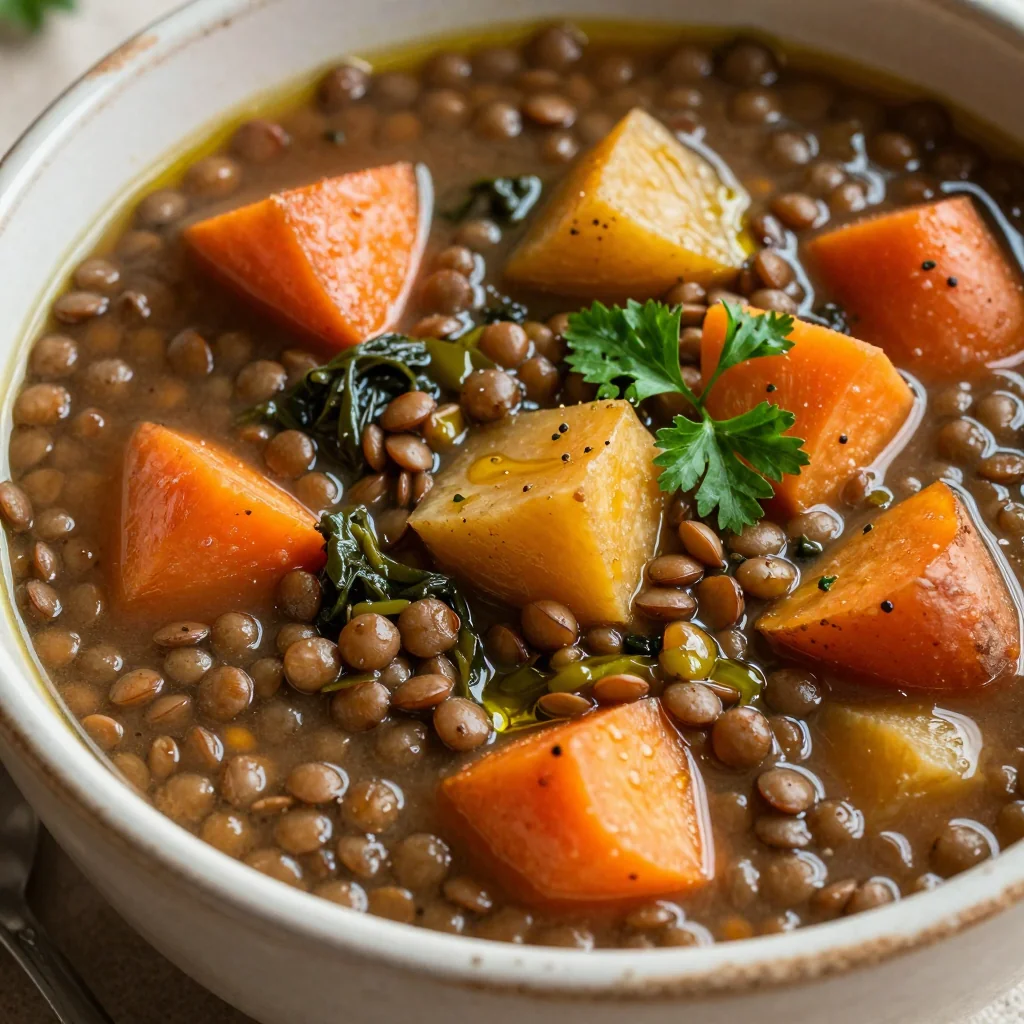
healthy meal prep onepot lentil and root vegetable soup for cold evenings
Learn how to make delicious healthy meal prep onepot lentil and root vegetable soup for cold…