Minty Chocolate Bliss No-Bake Bars: A Deliciously Healthy Treat
 Save
Save
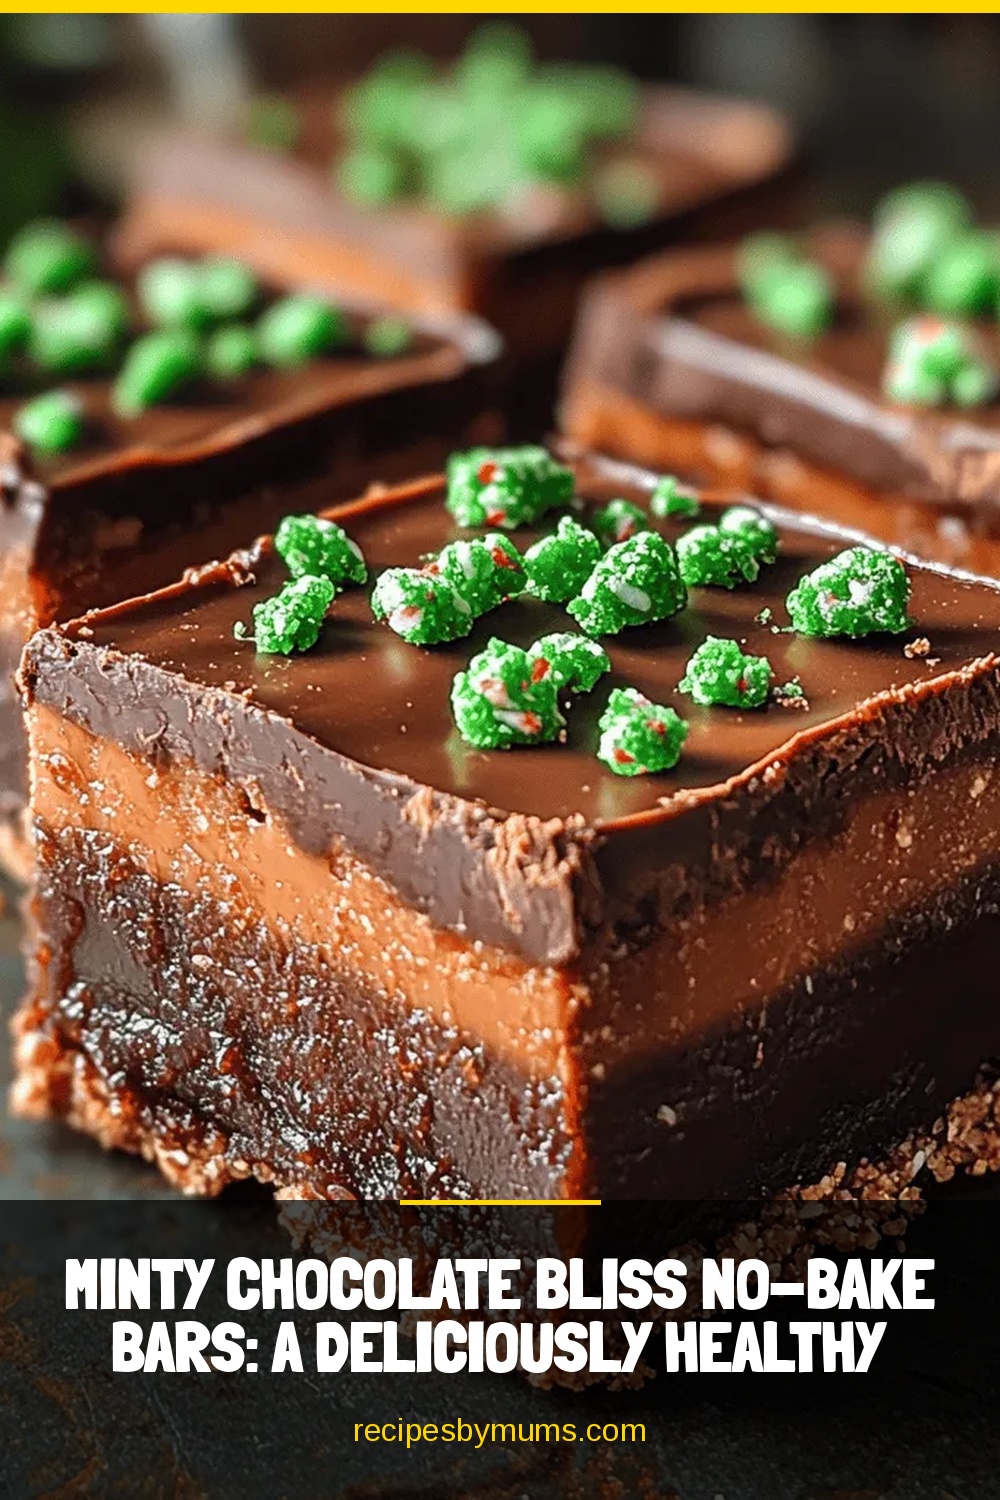
Imagine a dessert that feels indulgent yet keeps the guilt at bay—a silky chocolate bar brightened with fresh mint, all without turning on the oven. Minty Chocolate Bliss No‑Bake Bars deliver that perfect balance of rich cocoa and cool herb, making them an instant crowd‑pleaser for any occasion.
What sets this treat apart is the clever use of wholesome ingredients: almond‑based crust, dark‑cacao paste, and a touch of natural sweetener. The result is a bar that satisfies chocolate cravings while providing healthy fats, antioxidants, and a refreshing burst of mint.
Chocolate lovers, health‑conscious snackers, and busy parents alike will adore these bars. Serve them at brunch, as a post‑workout pick‑me‑up, or as a classy finish to a dinner party. They also travel well for picnics or office lunches.
The process is straightforward—mix a quick crust, whisk a velvety mint‑chocolate filling, spread, and chill. In under an hour you’ll have a polished, slice‑ready dessert that looks as good as it tastes.
Why You'll Love This Recipe
Fresh Mint Flavor: Real peppermint leaves give a bright, natural coolness that cuts through the richness of dark chocolate, creating a perfectly balanced taste sensation.
No Oven Required: The entire bar sets in the refrigerator, saving energy and keeping your kitchen cool—ideal for warm weather or small apartments.
Healthy Fats & Antioxidants: Almond flour and dark cacao provide heart‑healthy fats and powerful antioxidants, making the treat nutritionally smarter than traditional candy bars.
Customizable Sweetness: Using pure maple syrup or a low‑glycemic sweetener lets you control the sugar level, so the bars can suit low‑sugar or keto preferences.
Tips & Tricks
Perfecting the Recipe
Press the Crust Firmly. Use the bottom of a flat glass or a silicone spatula to compact the almond base. A tight crust prevents cracks when you slice the bars.
Don’t Overheat Chocolate. Keep the water bath just below a simmer; overheating can cause chocolate to seize, resulting in a grainy texture.
Flavor Enhancements
Add a teaspoon of finely grated orange zest to the chocolate mixture for a citrusy lift, or sprinkle crushed pistachios on top before chilling for added crunch and visual contrast.
Common Mistakes to Avoid
Skipping the cooling period for the crust can cause it to crumble when the filling is poured. Also, avoid using too much sweetener; the mint flavor can become muted if the chocolate is overly sweet.
Pro Tips
Use High‑Quality Dark Chocolate. Look for chocolate with at least 70 % cocoa to ensure a deep, slightly bitter base that balances the mint.
Chill Your Tools. Place the mixing bowl and spatula in the fridge for 10 minutes before whisking the chocolate; this helps maintain a glossy texture.
Warm the Knife. A warm blade glides through set chocolate without dragging, giving you clean, professional‑looking cuts.
Variations
Ingredient Swaps
Replace almond flour with hazelnut or cashew flour for a different nutty profile. For a dairy‑free white‑chocolate drizzle, swap white chocolate with a blend of coconut cream and vanilla. If you prefer a lower‑fat version, use a light‑spray coconut oil and reduce the amount of sweetener.
Dietary Adjustments
To make the bars vegan, ensure the chocolate and sweetener contain no animal products; most dark chocolates are already vegan. For keto, substitute maple syrup with erythritol or monk fruit blend and keep the total carbs under 5 g per serving. Gluten‑free is inherent, as all ingredients are naturally grain‑free.
Serving Suggestions
Pair a bar with a dollop of coconut‑milk whipped cream and fresh berries for a dessert platter. For a midday snack, crumble a bar over Greek yogurt and drizzle with extra honey. They also work beautifully as a garnish for coffee‑based desserts like tiramisu or affogato.
Storage Info
Leftover Storage
Once cut, place the bars in an airtight container lined with parchment to prevent sticking. Store in the refrigerator for up to 5 days; the texture remains firm and the mint flavor stays bright. For longer keeping, freeze individual bars wrapped tightly in plastic wrap and then in a freezer bag for up to 3 months.
Reheating Instructions
To enjoy a softer bite, let a frozen bar thaw in the fridge for 30 minutes, then warm gently in a 300°F oven for 5‑7 minutes. This restores the melt‑in‑your‑mouth quality without losing the crisp crust. Microwaving for 10‑15 seconds works for a quick treat, but watch closely to avoid melting the chocolate completely.
Frequently Asked Questions
Can I make these bars ahead of time?
What if I don’t have peppermint extract?
How do I keep the bars from sticking to the pan?
This Minty Chocolate Bliss No‑Bake Bar recipe blends indulgent flavor with wholesome ingredients, all while staying simple enough for any skill level. You now have the full roadmap—from a crunchy almond crust to a glossy mint‑chocolate center, plus storage tips, variations, and troubleshooting advice. Feel free to experiment with sweeteners, nuts, or toppings to make the bars truly yours. Enjoy every cool, chocolatey bite and share the bliss with friends and family!
Minty Chocolate Bliss No-Bake Bars: A Deliciously Healthy Treat
Delicious Minty Chocolate Bliss No-Bake Bars: A Deliciously Healthy Treat
Ingredients
Base (Crust)
- 1 ½ cups almond flour
- ¼ cup coconut oil, melted
- 2 Tbsp maple syrup (or agave)
- ¼ tsp sea salt
Mint‑Chocolate Filling
- 200 g dark chocolate (70 % cocoa), chopped
- ¼ cup coconut oil
- 2 Tbsp pure honey (or low‑glycemic sweetener)
- 1 tsp peppermint extract
- ¼ tsp sea salt
Optional Topping
- 50 g white chocolate, melted
- Fresh mint leaves for garnish
Instructions
Creating the Base and Filling
- Combine Wet Ingredients. Add honey, peppermint extract, and a pinch of sea salt to the melted chocolate‑oil mixture. Whisk for 30‑45 seconds until the sweetener fully dissolves and the aroma of mint becomes evident. This step ensures a uniform flavor throughout the bars.
- Cool Slightly. Remove the bowl from the heat and let the chocolate blend sit for 2‑3 minutes. Cooling just enough prevents the filling from melting the crust when poured, while still keeping it fluid enough to spread evenly.
- Spread Over Crust. Pour the glossy mint‑chocolate mixture over the pressed almond base. Use a spatula to smooth the top, making sure the edges are sealed so the bars hold their shape when sliced.
- Optional Drizzle. If using white chocolate, melt it gently and drizzle in a zig‑zag pattern over the surface. This adds visual appeal and a hint of extra sweetness that complements the mint.
- Refrigerate to Set. Place the pan in the refrigerator for 30‑45 minutes, or until the filling is firm to the touch. The cold environment solidifies the coconut oil, giving the bars a clean snap when cut.
Similar Recipes
 Desserts
31 Verleidelijke Brownie Valentines Puns voor Liefde & Lach
Learn how to make delicious 31 Verleidelijke Brownie Valentines Puns voor Liefde & Lach. Easy recipe…
 Desserts
Choco-Berry Frozen Yogurt Sandwiches
Delicious Choco-Berry Frozen Yogurt Sandwiches
 Desserts
Moist and Crunchy Banana Bread Snack Cake Recipe to Savor
Learn how to make delicious Moist and Crunchy Banana Bread Snack Cake Recipe to Savor. Easy…
 Desserts
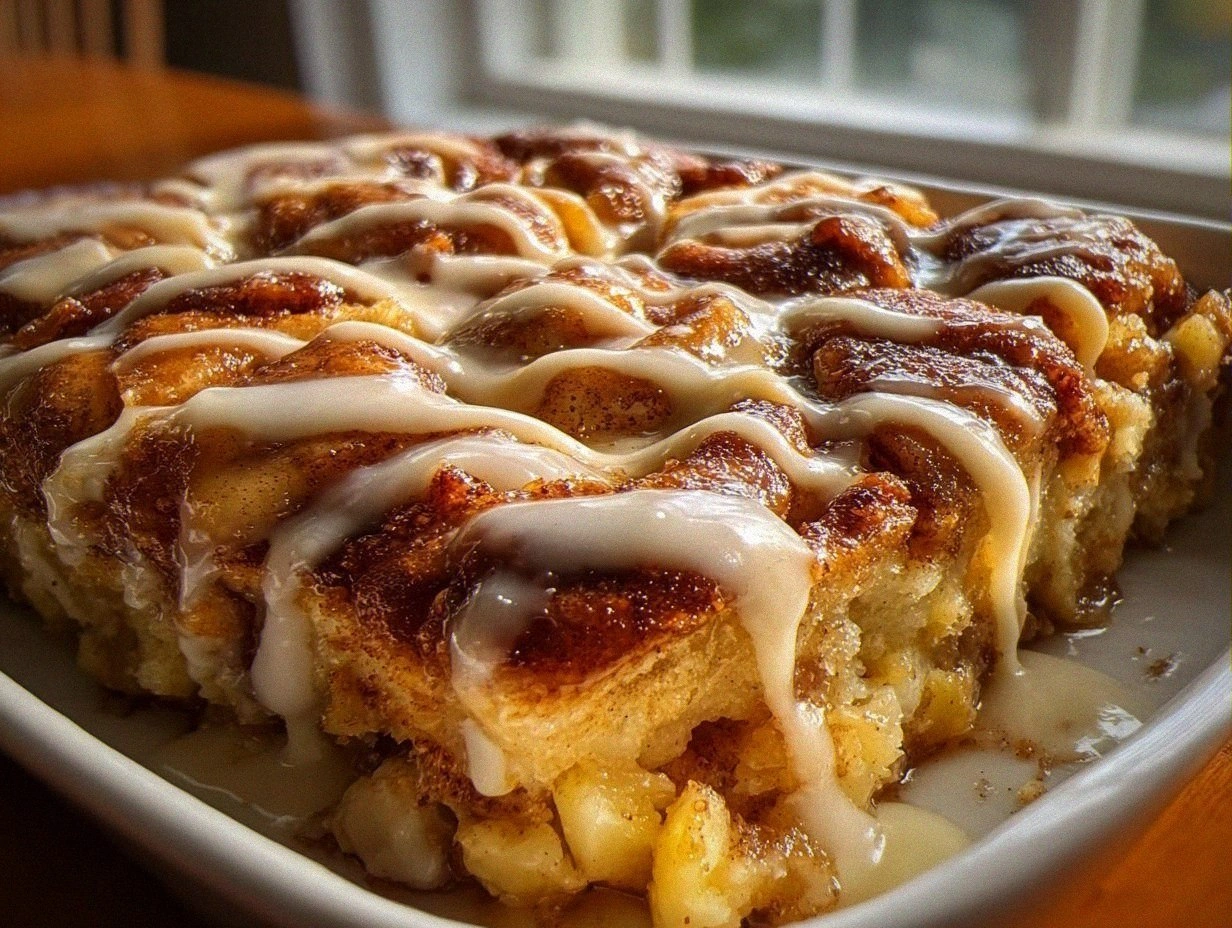
Apple Pie Cinnamon Roll Casserole Delight
Learn how to make delicious Apple Pie Cinnamon Roll Casserole Delight. Easy recipe with step-by-step instructions.
 Desserts
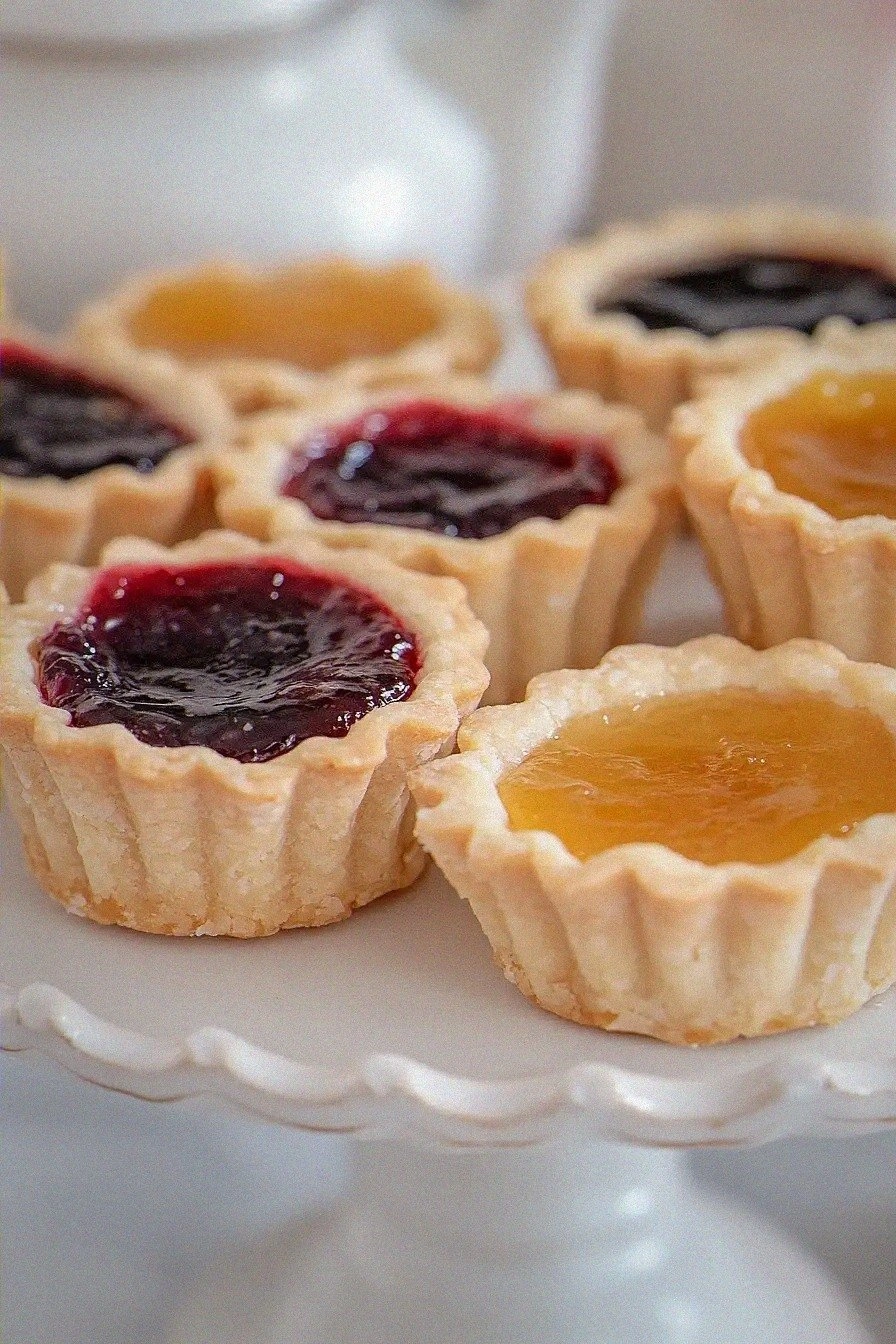
Easy Fruit Jam Tart
Learn how to make delicious Easy Fruit Jam Tart. Easy recipe with step-by-step instructions.
 Desserts
Pumpkin Cinnamon Sugar Cake Bars
Enjoy a fall treat with Pumpkin Cinnamon Sugar Cake Bars – moist pumpkin cake topped with…
 Desserts
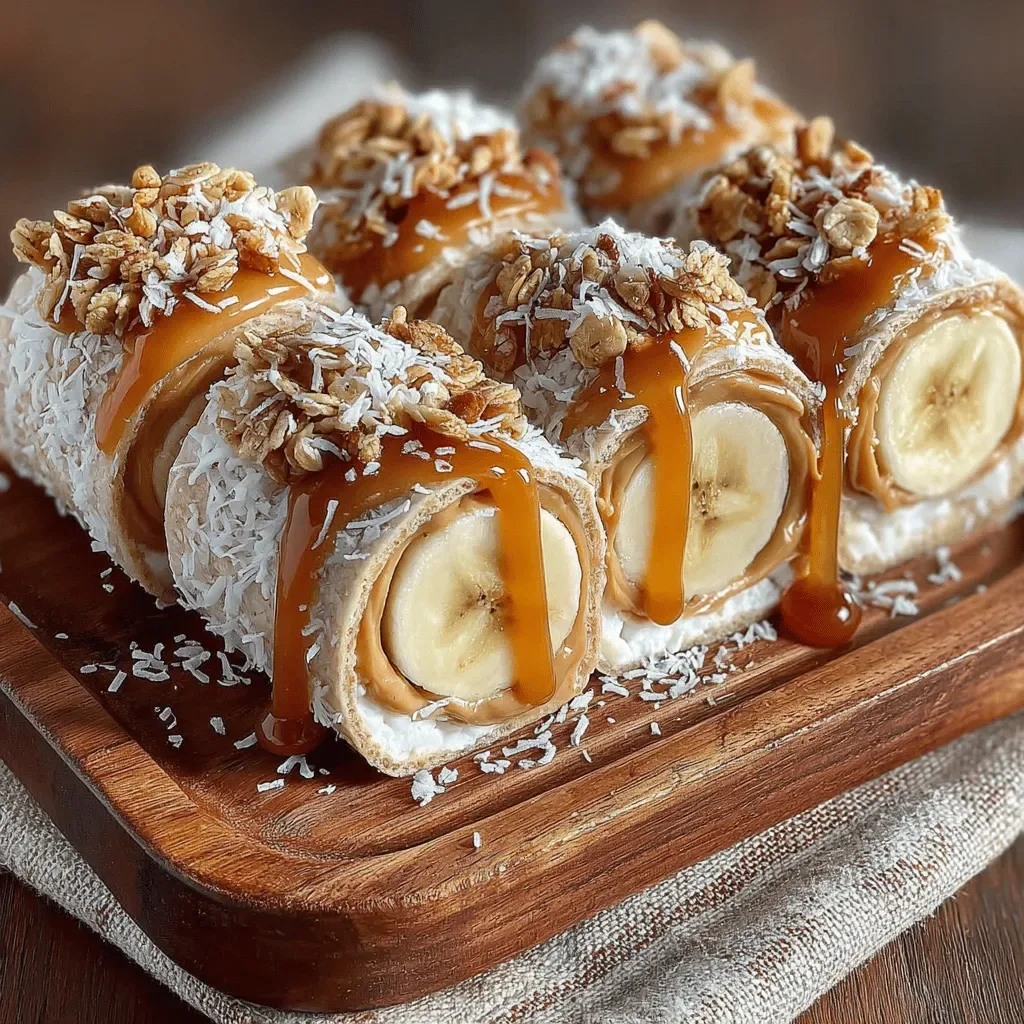
Peanut Butter Banana Sushi Rolls: A Delicious and Nutritious Snack
Delicious Peanut Butter Banana Sushi Rolls: A Delicious and Nutritious Snack
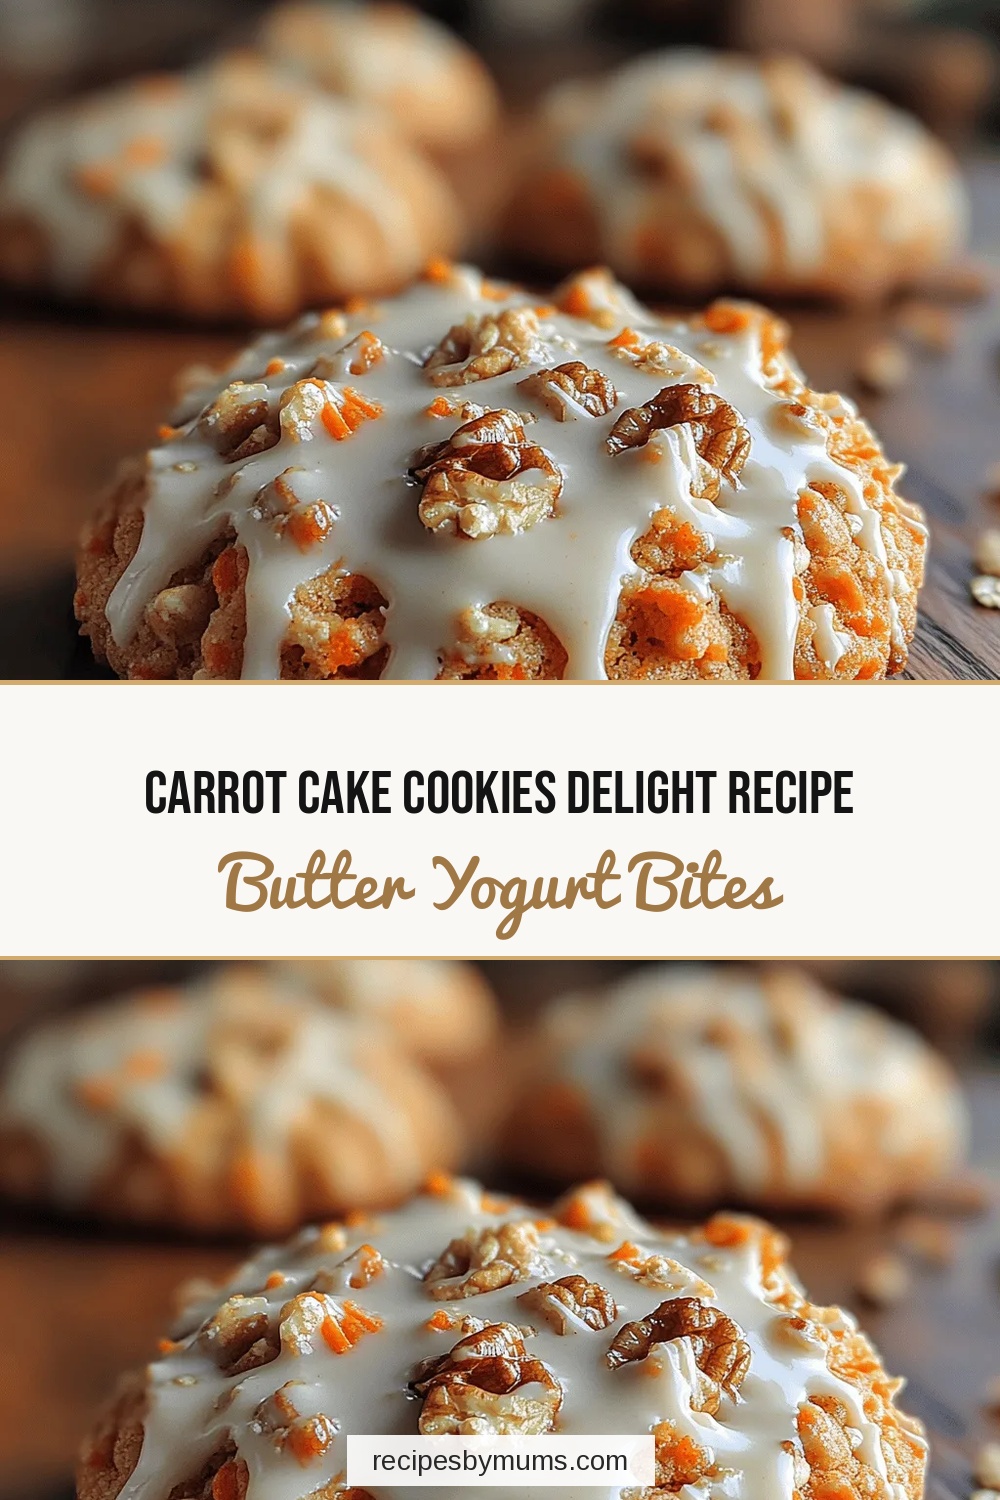 Desserts
Carrot Cake Cookies Delight Recipe
Delicious Carrot Cake Cookies Delight Recipe

Victoria
I cook these recipes at home before they ever land here — simple ingredients, clear steps.