Crispy Chicken Caesar Wraps: A Detailed Guide to Preparation and Enjoyment
 Save
Save
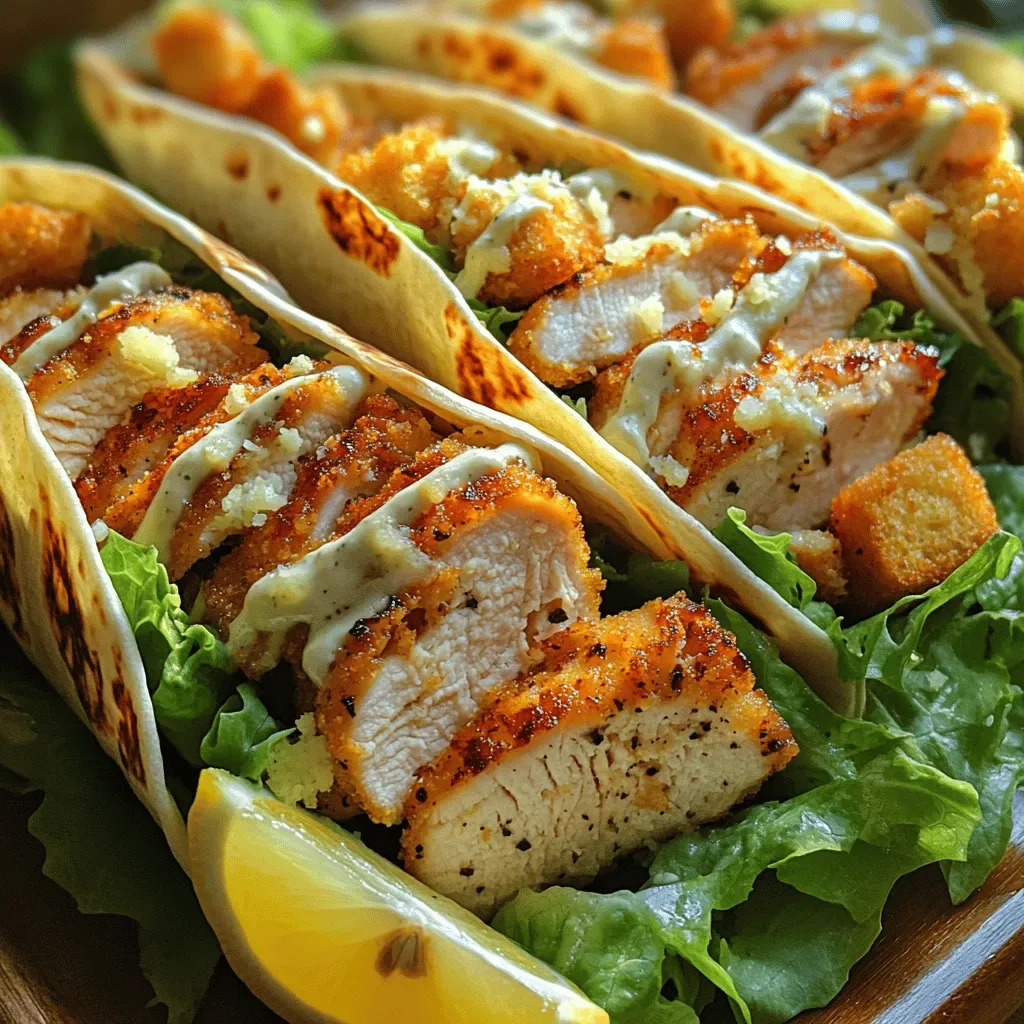
Imagine biting into a warm tortilla that cradles tender, golden‑crisp chicken, crisp romaine, and a creamy Caesar‑style dressing that clings to every bite. That’s the magic of Crispy Chicken Caesar Wraps—a handheld masterpiece that feels both indulgent and fresh.
What makes this wrap special is the double‑layer of crunch: a quick pan‑sear followed by a brief oven finish locks in juices while creating a satisfyingly crisp exterior. The classic Caesar flavors are brightened with lemon and anchovy‑infused mayo, turning a familiar salad into a portable feast.
This dish is perfect for busy professionals, active families, or anyone craving a flavorful lunch that doesn’t require a fork. Serve it for a quick weekday dinner, a picnic lunch, or a game‑day snack that everyone will reach for again and again.
The process is straightforward: season and sear the chicken, whisk together a tangy Caesar sauce, toss the greens, then assemble everything in a soft tortilla. In just 45 minutes you’ll have a restaurant‑quality wrap ready to devour.
Why You'll Love This Recipe
Ultimate Crunch: Two stages of cooking give the chicken a buttery‑gold crust while keeping the interior juicy, delivering texture contrast that’s hard to beat.
Fresh Caesar Twist: A homemade Caesar dressing made with anchovy paste, lemon zest, and Parmesan adds depth without the heaviness of store‑bought sauces.
Quick Assembly: Once the chicken is cooked, the wrap comes together in under five minutes, making it ideal for weeknight meals.
Portable Perfection: All the flavors are neatly packaged in a tortilla, so you can eat at the table or on the go without sacrificing taste.
Tips & Tricks
Perfecting the Recipe
Room‑Temperature Chicken: Allow the cutlets to sit for 10‑15 minutes before cooking. This prevents a cold center and yields an even golden crust.
Don’t Overcrowd the Pan: Cook in batches if necessary. Overcrowding traps steam, which stops the chicken from developing that coveted crispness.
Use a Meat Thermometer: Check for 165°F at the thickest point; this guarantees safety without overcooking.
Flavor Enhancements
Stir a teaspoon of capers into the dressing for briny depth, or add a pinch of red‑pepper flakes for subtle heat. A drizzle of extra‑virgin olive oil just before serving adds silkiness and richness.
Common Mistakes to Avoid
Skipping the rest period results in dry chicken, as juices spill out when sliced. Also, avoid using high heat for the entire cooking time; a quick sear followed by a brief oven finish preserves moisture while still delivering crunch.
Pro Tips
Prep Dressing Early: The flavors meld beautifully when the dressing sits for 15 minutes, so you can whisk it ahead of time.
Warm the Tortillas: Lightly toast each tortilla in a dry skillet for 20 seconds per side. Warm tortillas are pliable and prevent tearing.
Slice Against the Grain: Cutting the chicken across the muscle fibers keeps each bite tender and easy to bite through the wrap.
Variations
Ingredient Swaps
Swap the chicken for grilled shrimp, thinly sliced steak, or firm tofu for a vegetarian twist. Replace romaine with kale or butter lettuce for a different texture. If you prefer a sweeter note, drizzle a teaspoon of honey into the dressing.
Dietary Adjustments
Use gluten‑free tortillas and ensure the mayonnaise is certified gluten‑free for a safe option. For dairy‑free diners, substitute Parmesan with a vegan “nut‑based” cheese and use a plant‑based mayo. Keto lovers can replace the tortillas with low‑carb lettuce leaves.
Serving Suggestions
Pair the wraps with a side of quinoa salad, roasted sweet‑potato wedges, or a light cucumber‑mint water. A crisp glass of chilled Sauvignon Blanc balances the richness, while a simple fruit salad offers a sweet finish.
Storage Info
Leftover Storage
Allow the chicken and dressing to cool completely, then store each component in separate airtight containers. Keep the wraps unassembled in the fridge for up to 3 days. If you need longer storage, freeze the cooked chicken strips in a zip‑top bag for up to 2 months.
Reheating Instructions
Reheat chicken strips in a 350°F oven for 8‑10 minutes, or briefly in a skillet over medium heat. Warm the tortillas in the same pan for 20 seconds per side. Mix a spoonful of fresh dressing with the reheated chicken to restore creaminess before assembling a fresh wrap.
Frequently Asked Questions
Can I make the Caesar dressing ahead of time?
What if I don’t have anchovy paste?
Can I use a grill instead of a skillet?
What side dish works best with these wraps?
These Crispy Chicken Caesar Wraps deliver restaurant‑level flavor with a fraction of the effort. By following the step‑by‑step guide, mastering the seasoning, and using the suggested tips, you’ll create a consistently delicious, portable meal. Feel free to experiment with protein swaps or extra veggies—cooking is a playground. Gather your ingredients, roll up a wrap, and enjoy the satisfying crunch and tangy creaminess in every bite!
Crispy Chicken Caesar Wraps: A Detailed Guide to Preparation and Enjoyment
Delicious Crispy Chicken Caesar Wraps: A Detailed Guide to Preparation and Enjoyment
Ingredients
Main Ingredients
- 4 boneless, skinless chicken breasts (about 1½ lb)
- 1 tablespoon olive oil
- 4 large whole‑wheat tortillas (10‑inch)
- 3 cups romaine lettuce, chopped
Caesar Dressing
- ½ cup mayonnaise
- 2 teaspoons anchovy paste
- 1 clove garlic, minced
- 2 teaspoons Dijon mustard
- 2 tablespoons freshly squeezed lemon juice
- ¼ cup grated Parmesan cheese
- Salt and freshly ground black pepper, to taste
Seasonings & Garnish
- ½ teaspoon smoked paprika
- ¼ teaspoon garlic powder
- Fresh lemon wedges, for serving
Instructions
Cooking Process
- Heat the Skillet. Place a large cast‑iron or non‑stick skillet over medium‑high heat. Add the olive oil and swirl until it coats the surface and begins to shimmer, about 2 minutes.
- Sear the Cutlets. Lay the chicken cutlets in a single layer, making sure they’re not touching. Cook undisturbed for 3‑4 minutes until a deep golden crust forms. Flip and sear the other side for another 3‑4 minutes.
- Finish in the Oven. Transfer the skillet to a pre‑heated 375°F oven. Bake for 8‑10 minutes, or until the internal temperature reaches 165°F. This gentle finish keeps the meat juicy while ensuring thorough cooking.
- Rest the Chicken. Remove from the oven and let the cutlets rest on a cutting board for 5 minutes. Resting allows the juices to redistribute, preventing a dry bite.
- Slice Thinly. Using a sharp knife, slice each rested cutlet against the grain into thin strips. Thin strips wrap more easily and create a tender bite in every wrap.
Similar Recipes
 Appetizers
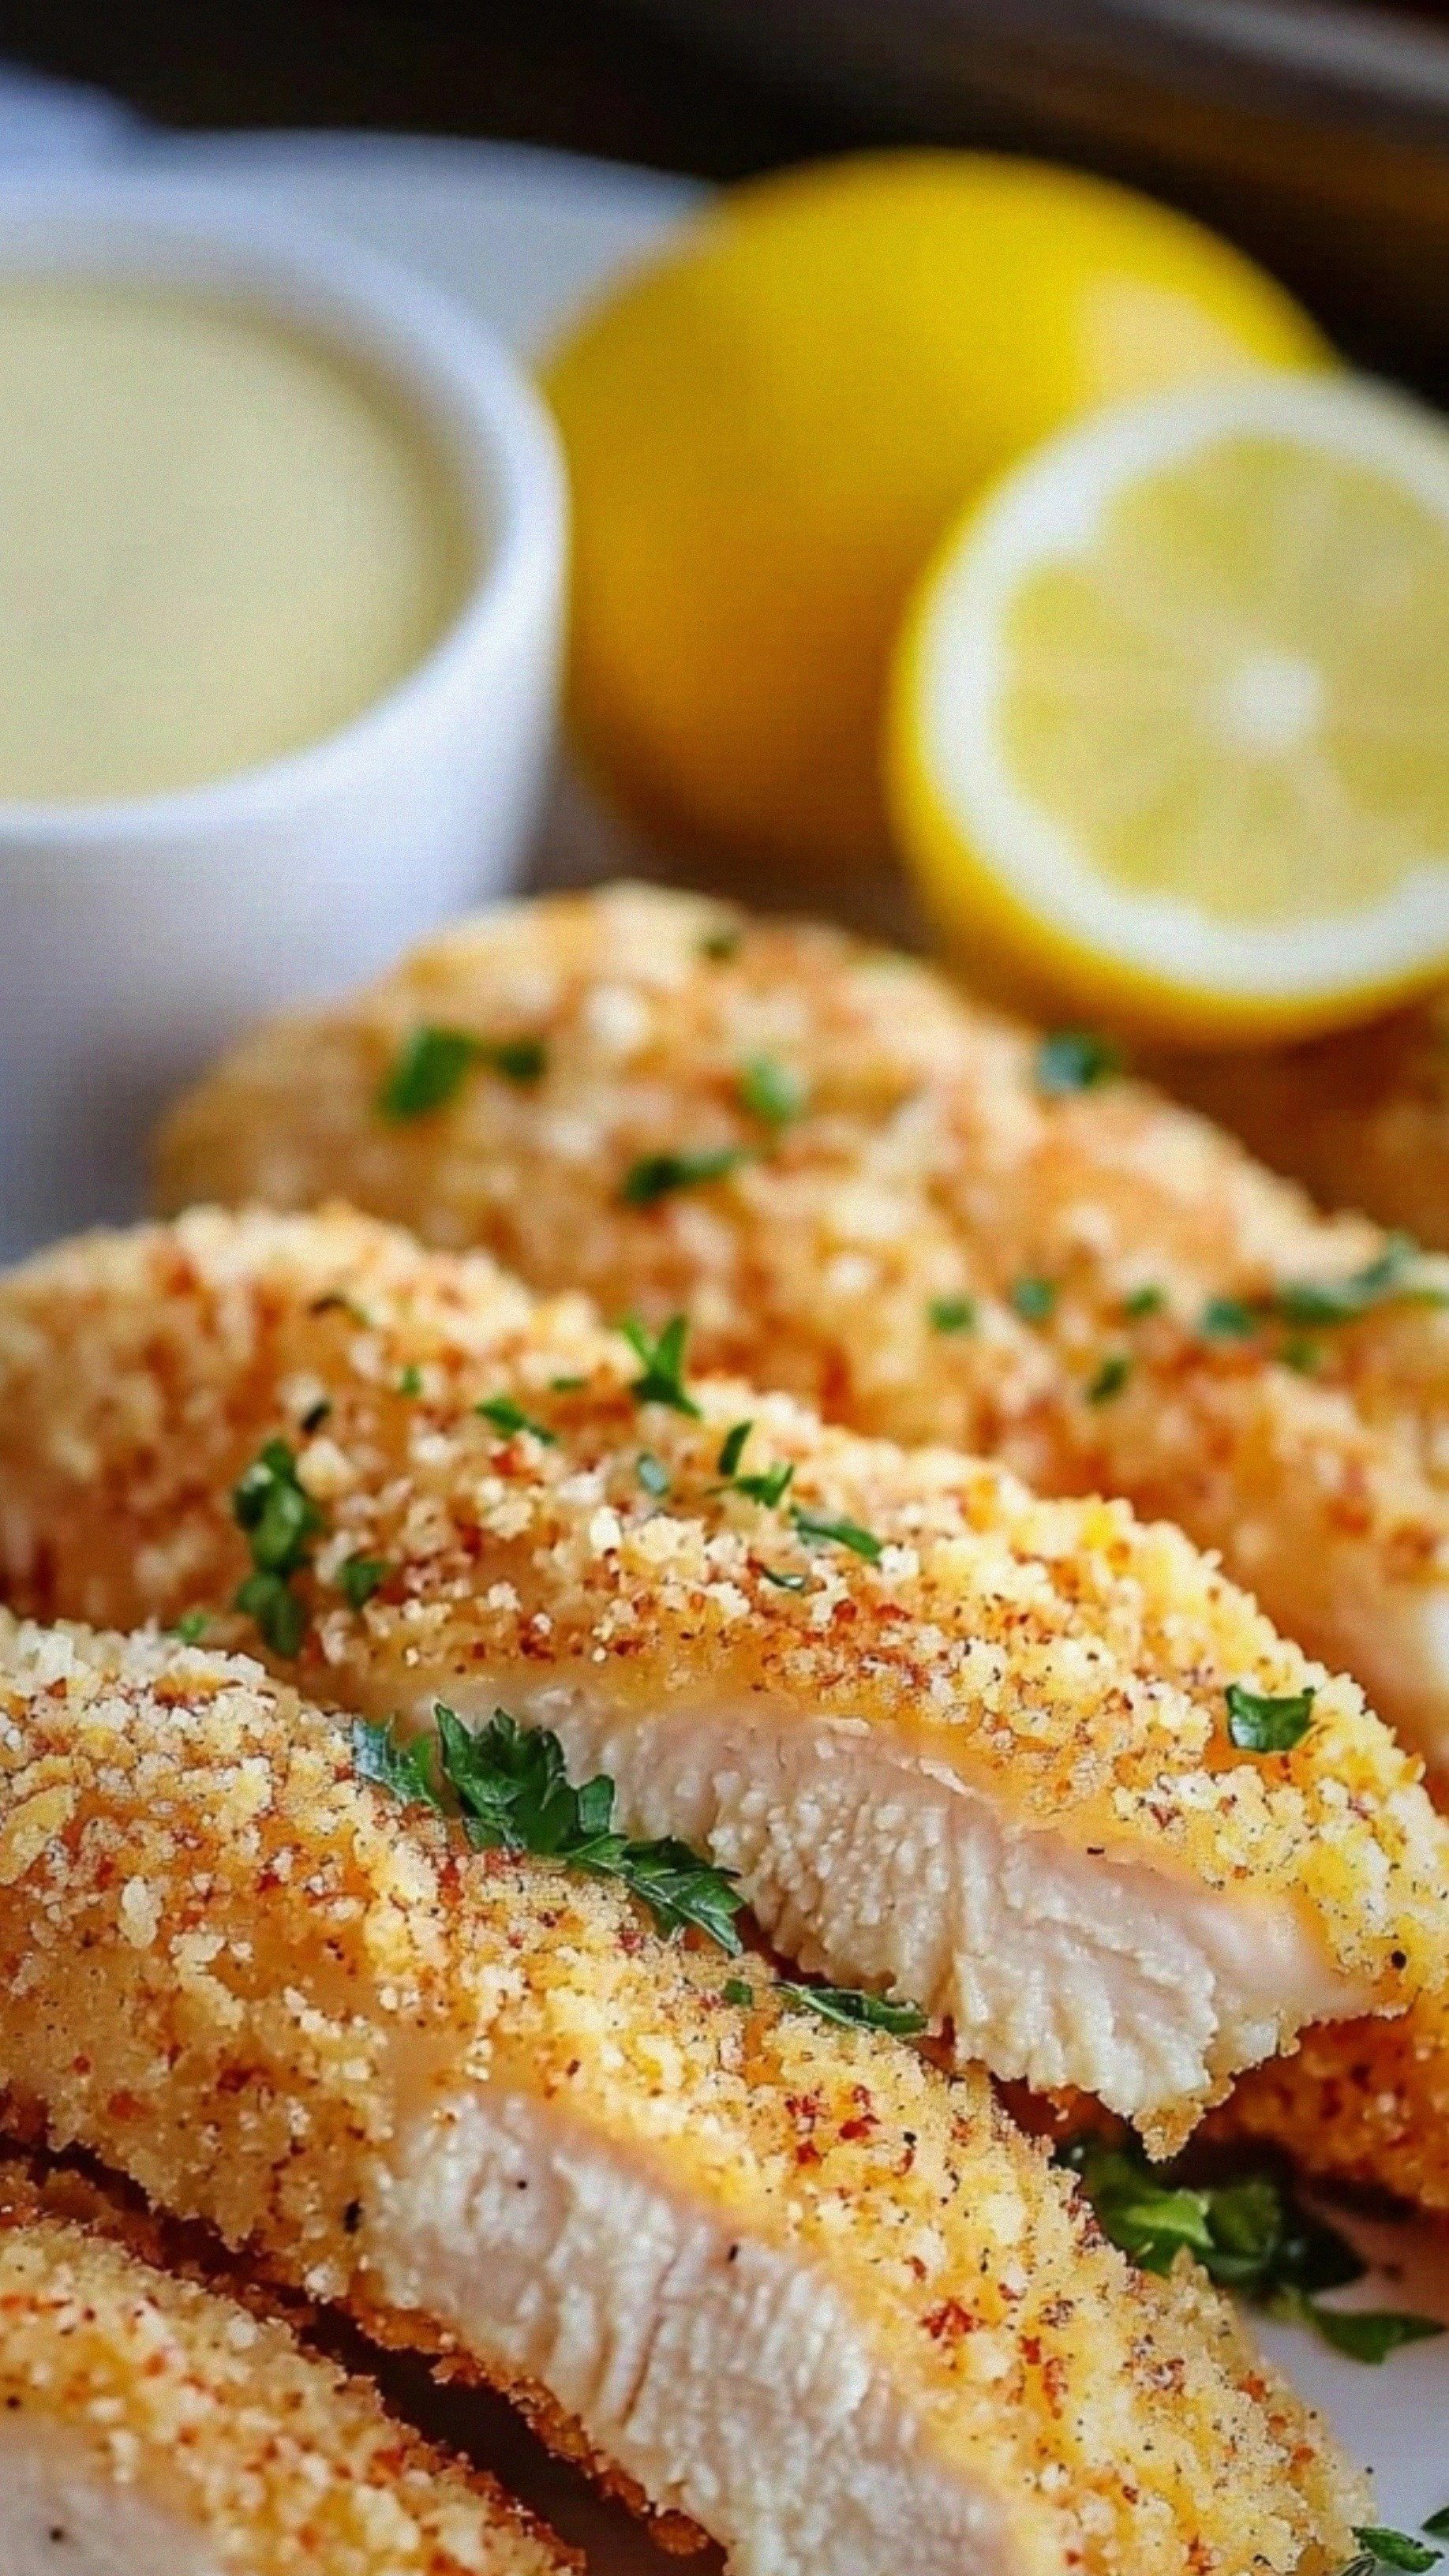
Lemon Garlic Parmesan Chicken Tenders: A Crispy, Flavorful Delight
Learn how to make delicious Lemon Garlic Parmesan Chicken Tenders: A Crispy, Flavorful Delight. Easy recipe…
 Appetizers
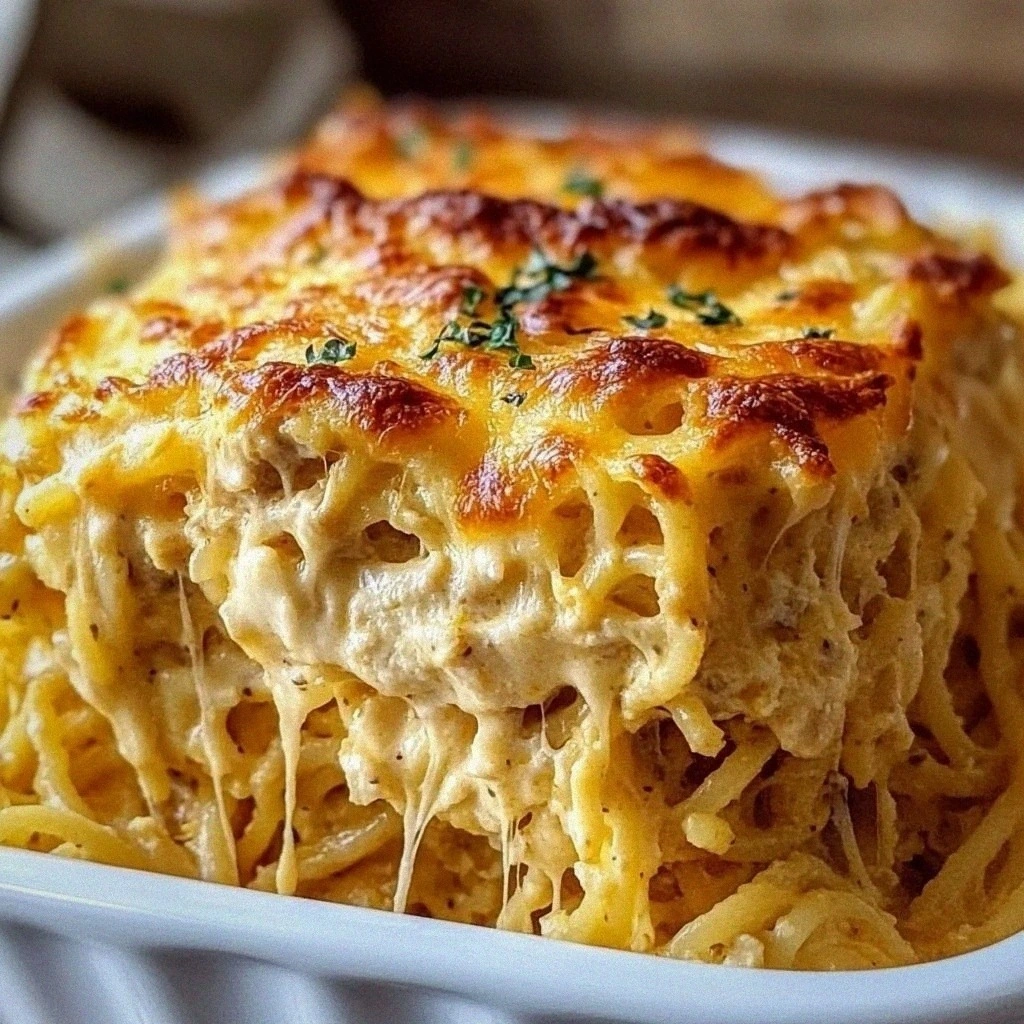
Creamy Cheesy Chicken Spaghetti Casserole
Learn how to make delicious Creamy Cheesy Chicken Spaghetti Casserole. Easy recipe with step-by-step instructions.
 Appetizers
Sweet and Savory Peach Feta Couscous Salad: A Refreshing Summer Delight
Delicious Sweet and Savory Peach Feta Couscous Salad: A Refreshing Summer Delight
 Appetizers
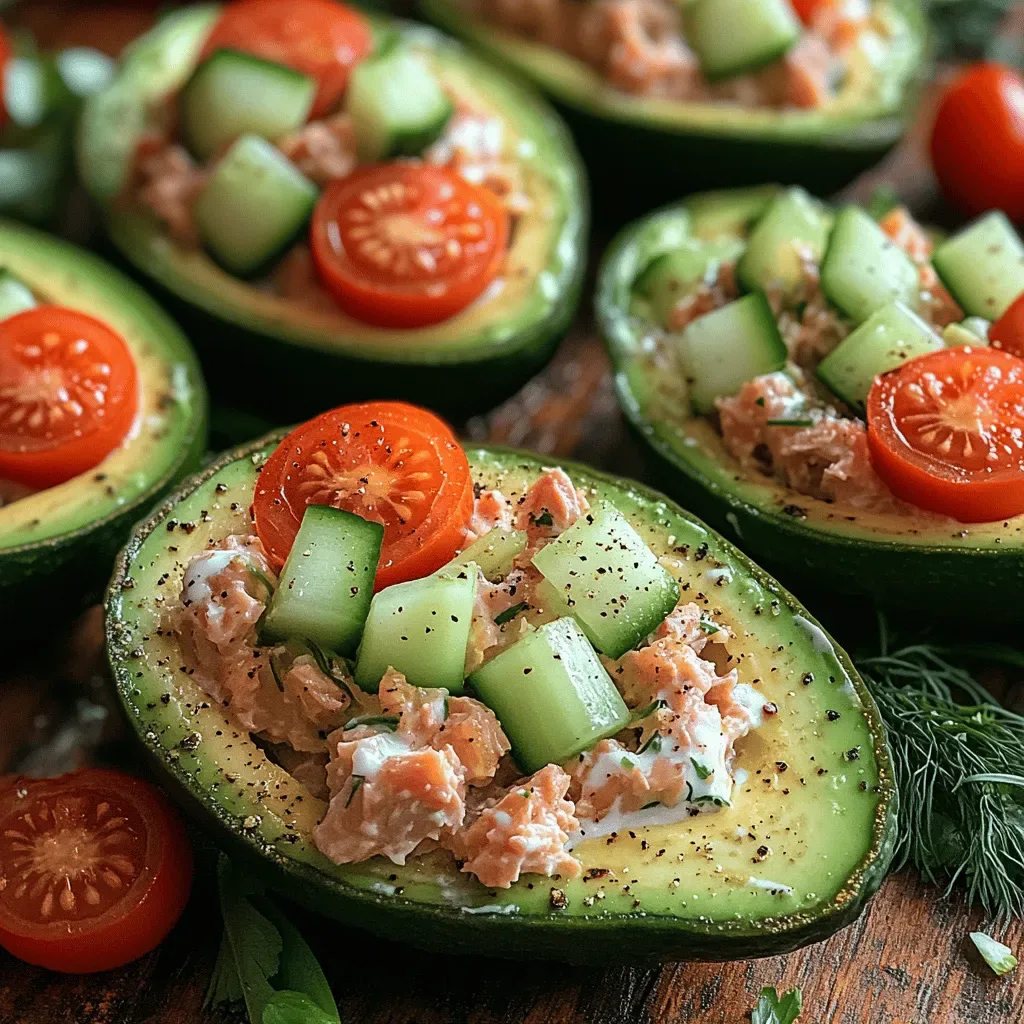
Avocado Tuna Lettuce Boats Delight: A Healthy and Refreshing Recipe
Delicious Avocado Tuna Lettuce Boats Delight: A Healthy and Refreshing Recipe
 Appetizers
Golden Cheddar Jalapeño Muffin Melt Sliders
Delicious Golden Cheddar Jalapeño Muffin Melt Sliders
 Appetizers
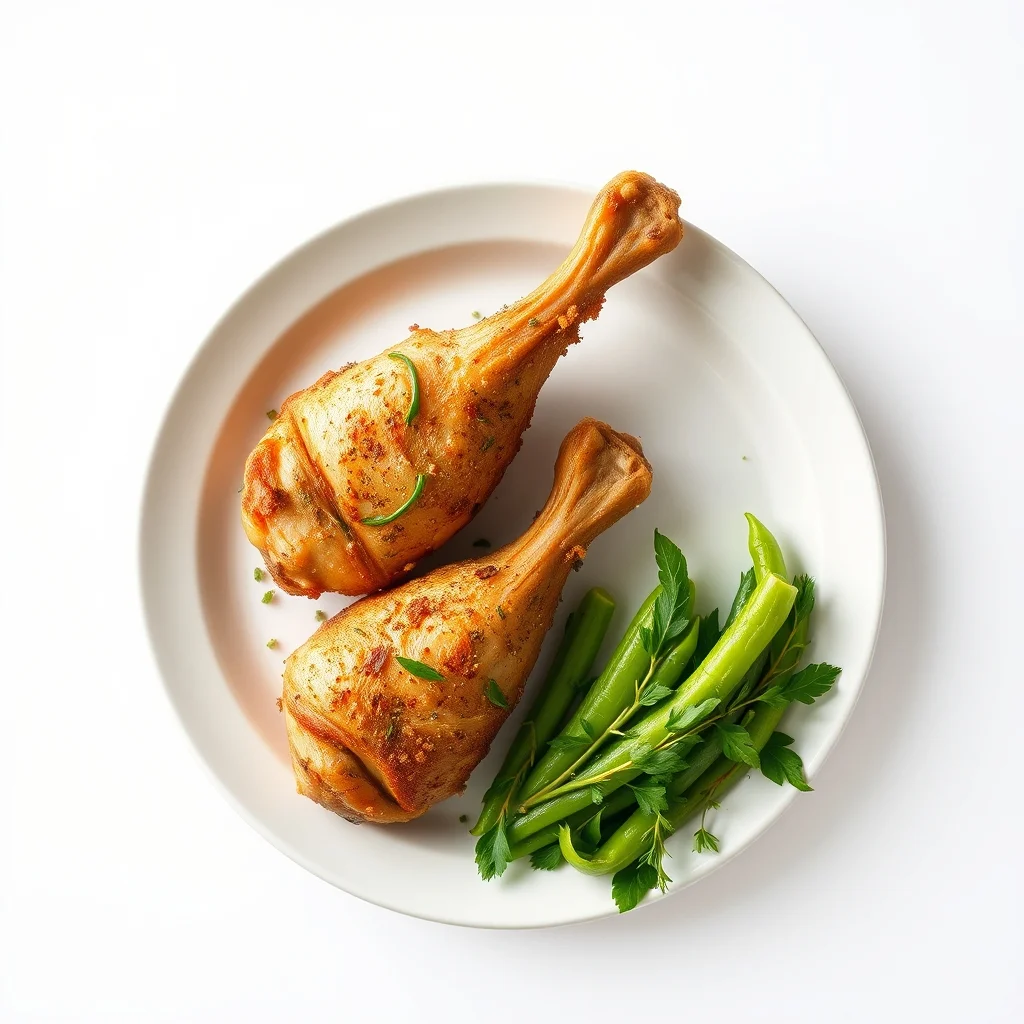
Crispy Herb Baked Chicken Drumsticks
Delicious Crispy Herb Baked Chicken Drumsticks
 Appetizers
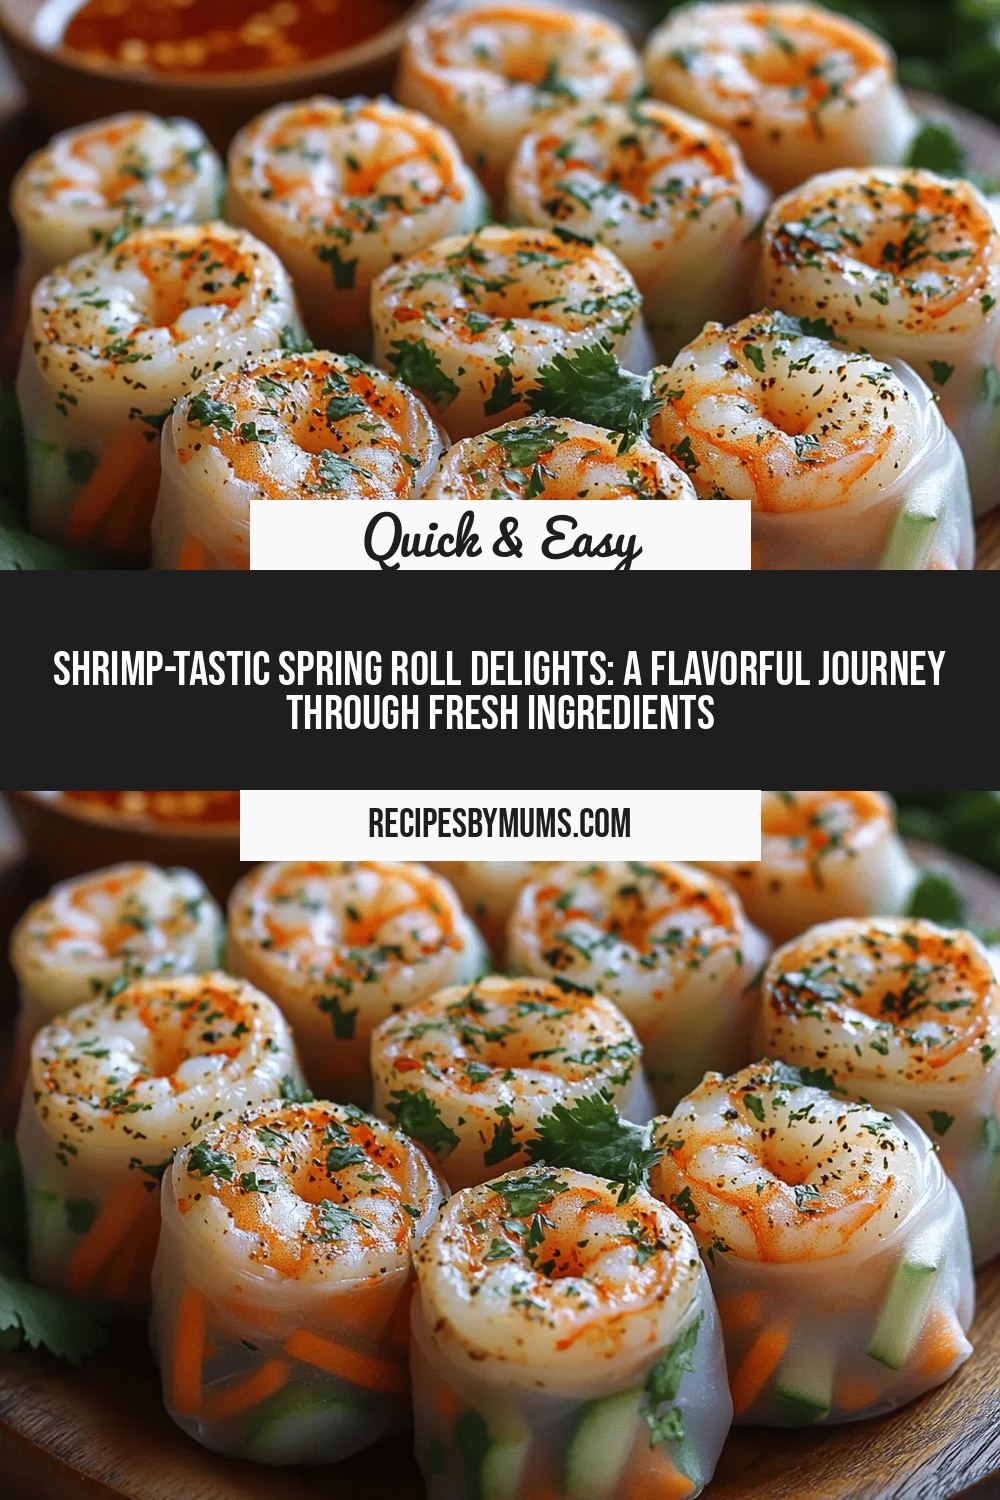
Shrimp-tastic Spring Roll Delights: A Flavorful Journey Through Fresh Ingredients
Delicious Shrimp-tastic Spring Roll Delights: A Flavorful Journey Through Fresh Ingredients
 Appetizers
Spicy Hatch Chili Chicken Snack Wraps: Step-by-Step Guide and Tips
Delicious Spicy Hatch Chili Chicken Snack Wraps: Step-by-Step Guide and Tips

Victoria
I cook these recipes at home before they ever land here — simple ingredients, clear steps.