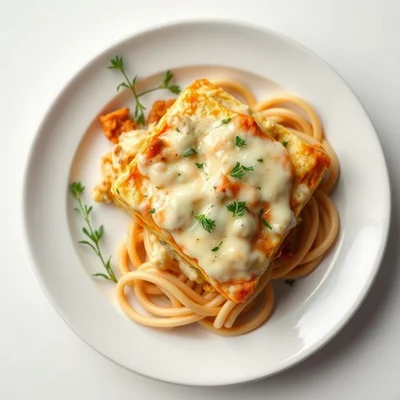
Crispy Pita Parmesan Chips: The Ultimate Snack Experience
 Save
Save
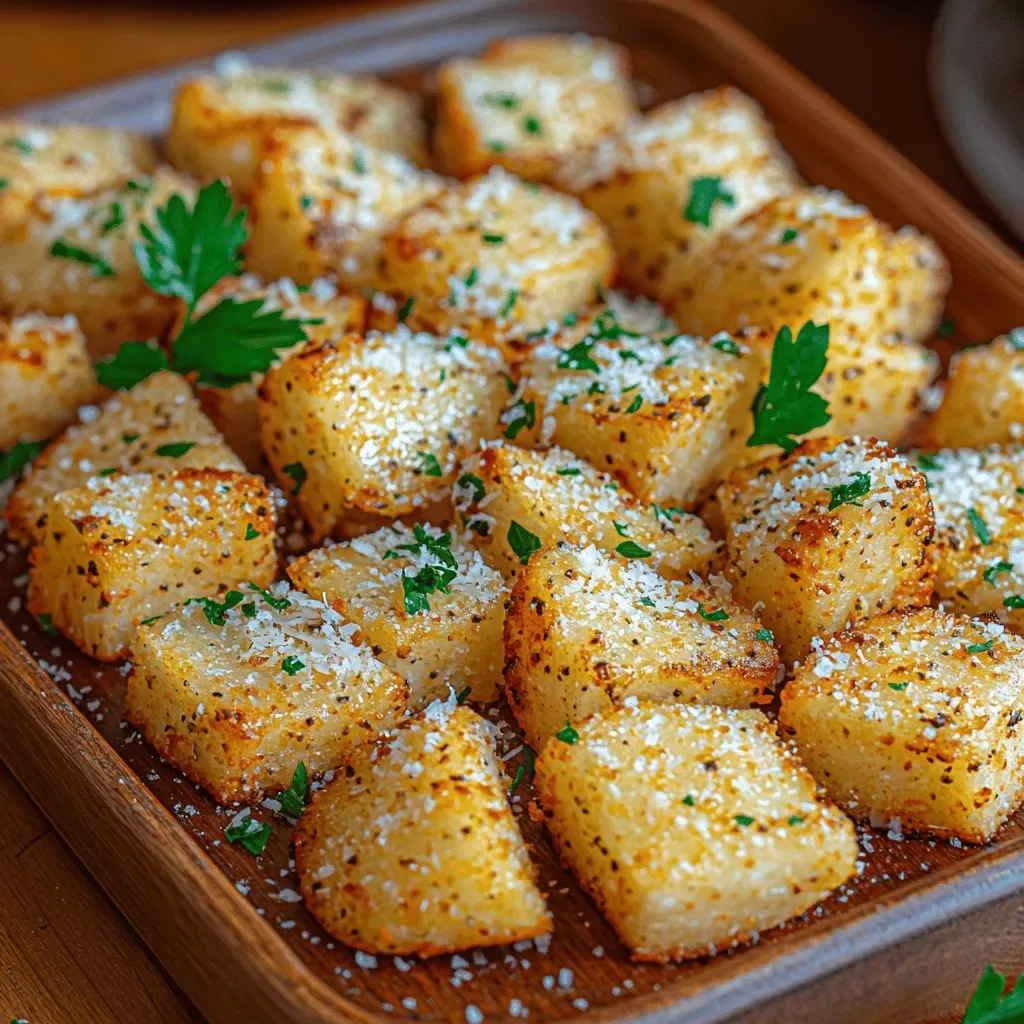
Imagine biting into a golden‑crisp chip that shatters with a satisfying snap, while a buttery Parmesan perfume fills the room. That’s the magic of Crispy Pita Parmesan Chips, a snack that turns humble pita bread into a gourmet experience.
What makes these chips truly special is the perfect marriage of thinly sliced pita, olive oil, and a generous coating of aged Parmesan, garlic, and herbs. The quick bake locks in flavor and creates an irresistible crunch you’ll crave.
Snack lovers, party planners, and anyone craving a low‑effort yet impressive bite will adore this recipe. Serve them at movie nights, cocktail parties, or as a crunchy side to soups and salads.
The process is straightforward: slice, coat, bake, and cool. In just twenty minutes you’ll have a tray of chips that look restaurant‑ready and taste even better.
Why You'll Love This Recipe
Irresistible Crunch: The thin pita slices turn ultra‑crisp in the oven, delivering a satisfying snap that rivals any commercial chip.
Bold Parmesan Flavor: Freshly grated Parmesan creates a rich, nutty coating that deepens with each bite, making the snack feel indulgent.
Simple Ingredients: Only pantry staples are needed—pita, olive oil, cheese, and herbs—so you won’t run to the store.
Versatile Serving: Perfect on their own, paired with dips, or crumbled over salads for an extra crunch boost.
Tips & Tricks
Perfecting the Recipe
Uniform slices. Aim for triangles of the same thickness; this prevents some chips from burning while others stay soggy.
Don’t skip the oil. A light brush ensures the Parmesan adheres and the chips bake evenly without drying out.
Use parchment paper. It prevents sticking and makes cleanup a breeze, especially when the cheese melts onto the tray.
Flavor Enhancements
Add a squeeze of fresh lemon juice just before serving for bright acidity, or sprinkle a dusting of smoked paprika for a subtle smoky note. Mixing in a tablespoon of finely chopped rosemary with the Parmesan adds an aromatic depth that elevates the snack.
Common Mistakes to Avoid
Avoid overcrowding the baking sheet; chips need space to release steam and crisp. Also, don’t over‑bake—once the edges turn deep gold, they’re done; a few extra minutes will make them bitter.
Pro Tips
Season while hot. Sprinkle a pinch of extra sea salt the moment the chips exit the oven for a burst of flavor.
Batch bake. If you need more than one tray, rotate the trays halfway through baking to keep color consistent across all chips.
Store with paper. Layer chips between parchment sheets when storing; this absorbs excess moisture and preserves crunch.
Variations
Ingredient Swaps
Swap whole‑wheat pita for plain pita if you prefer a milder base, or use naan for a slightly thicker chip. Replace Parmesan with Pecorino Romano for a sharper bite, or blend in a tablespoon of nutritional yeast for a cheesy vegan twist.
Dietary Adjustments
For gluten‑free snacks, choose certified gluten‑free pita or use crisped rice crackers as the base. To make the chips dairy‑free, substitute the Parmesan with a vegan hard‑cheese shreds and keep the olive oil as the binding fat.
Serving Suggestions
Pair the chips with a cool tzatziki dip, roasted red‑pepper hummus, or a simple garlic aioli. They also make a crunchy topping for soups, salads, or even as a garnish for baked mac and cheese.
Storage Info
Leftover Storage
Allow the chips to cool completely, then transfer them to an airtight container layered with a sheet of parchment paper. Store in the refrigerator for up to 3 days. For longer keeping, freeze in a single‑layer bag for up to 2 months; the chips retain their flavor and texture when reheated properly.
Reheating Instructions
Reheat in a pre‑heated 350°F (175°C) oven on a wire rack for 5‑7 minutes until crisp again. Avoid microwaving, as it will make the chips soggy. If reheating from frozen, add an extra 2‑3 minutes to restore crunch.
Frequently Asked Questions
Can I make these chips ahead of time?
What dip pairs best with Crispy Pita Parmesan Chips?
How can I make the chips extra crunchy?
These Crispy Pita Parmesan Chips deliver big flavor with minimal effort, turning everyday pita into a gourmet‑level snack. By following the precise slicing, coating, and baking steps, you’ll achieve a perfect crunch every time. Feel free to experiment with herbs, cheeses, or dips to make the recipe truly yours. Gather a bowl, share with friends, and enjoy the ultimate snack experience!
Crispy Pita Parmesan Chips: The Ultimate Snack Experience
Delicious Crispy Pita Parmesan Chips: The Ultimate Snack Experience
Ingredients
Main Ingredients
- 4 whole‑wheat pita breads
- 3 tablespoons extra‑virgin olive oil
Cheese & Flavor Mix
- ½ cup finely grated Parmesan cheese
- 1 teaspoon garlic powder
- 1 teaspoon dried Italian herbs
Seasoning & Finishing
- ½ teaspoon flaky sea salt
- Optional: pinch of red‑pepper flakes for heat
Instructions
Seasoning the Chips
- Mix the coating. In a shallow bowl combine the grated Parmesan, garlic powder, dried Italian herbs, and flaky sea salt. Toss the bowl gently so the dry ingredients blend evenly, ensuring each bite receives the same burst of flavor.
- Apply the coating. While the pita wedges are still oiled, sprinkle the cheese‑herb mixture over them. Use your fingers or a small spoon to press the mixture onto the surface; the oil acts as a binder, helping the Parmesan adhere without clumping.
- Optional heat boost. If you enjoy a subtle kick, scatter a pinch of red‑pepper flakes over the wedges now. This step is entirely optional but adds a pleasant contrast to the cheesy richness.
- Bake to perfection. Slide the sheet into the preheated oven and bake for 10‑12 minutes, watching closely. The edges should turn golden‑brown and the cheese should melt, then lightly brown. If a chip looks too dark, rotate the pan halfway through to ensure uniform coloring.
- Cool and crisp. Remove the tray and let the chips rest on a wire rack for 3‑4 minutes. As they cool, they continue to firm up, achieving that signature snap. Serve immediately or store as described below.
Similar Recipes
 Appetizers
Sizzling Spicy Korean BBQ Meatballs: A Flavorful Journey
Delicious Sizzling Spicy Korean BBQ Meatballs: A Flavorful Journey
 Appetizers
Garlic Butter Chickpea & Spinach Toasts: A Flavorful Delight
Delicious Garlic Butter Chickpea & Spinach Toasts: A Flavorful Delight
 Appetizers
Savory Chinese Hamburger-Braised Pork Belly Buns to Savor
Learn how to make delicious Savory Chinese Hamburger-Braised Pork Belly Buns to Savor. Easy recipe with…
 Appetizers
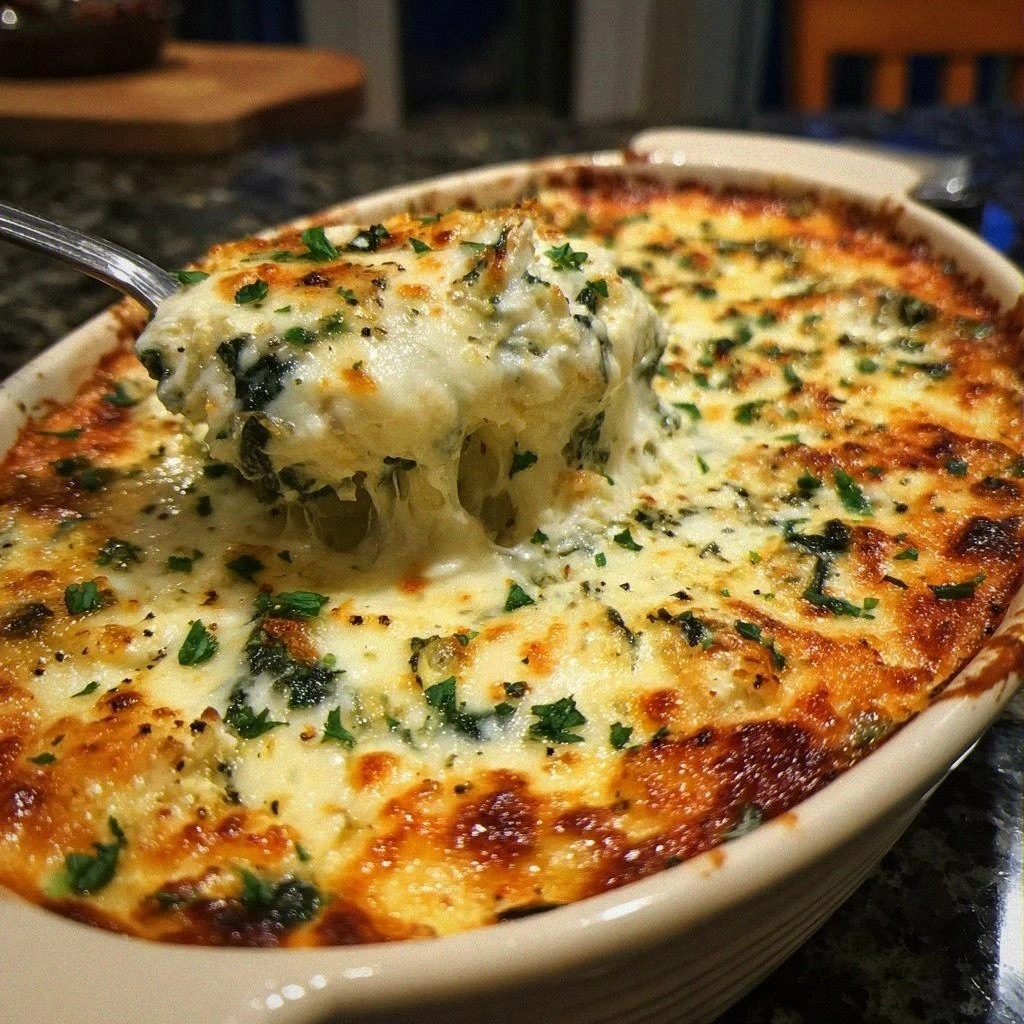
Spinach Artichoke Chicken Dip: 7 Reasons You’ll Love It
Learn how to make delicious Spinach Artichoke Chicken Dip: 7 Reasons You’ll Love It. Easy recipe…
 Appetizers
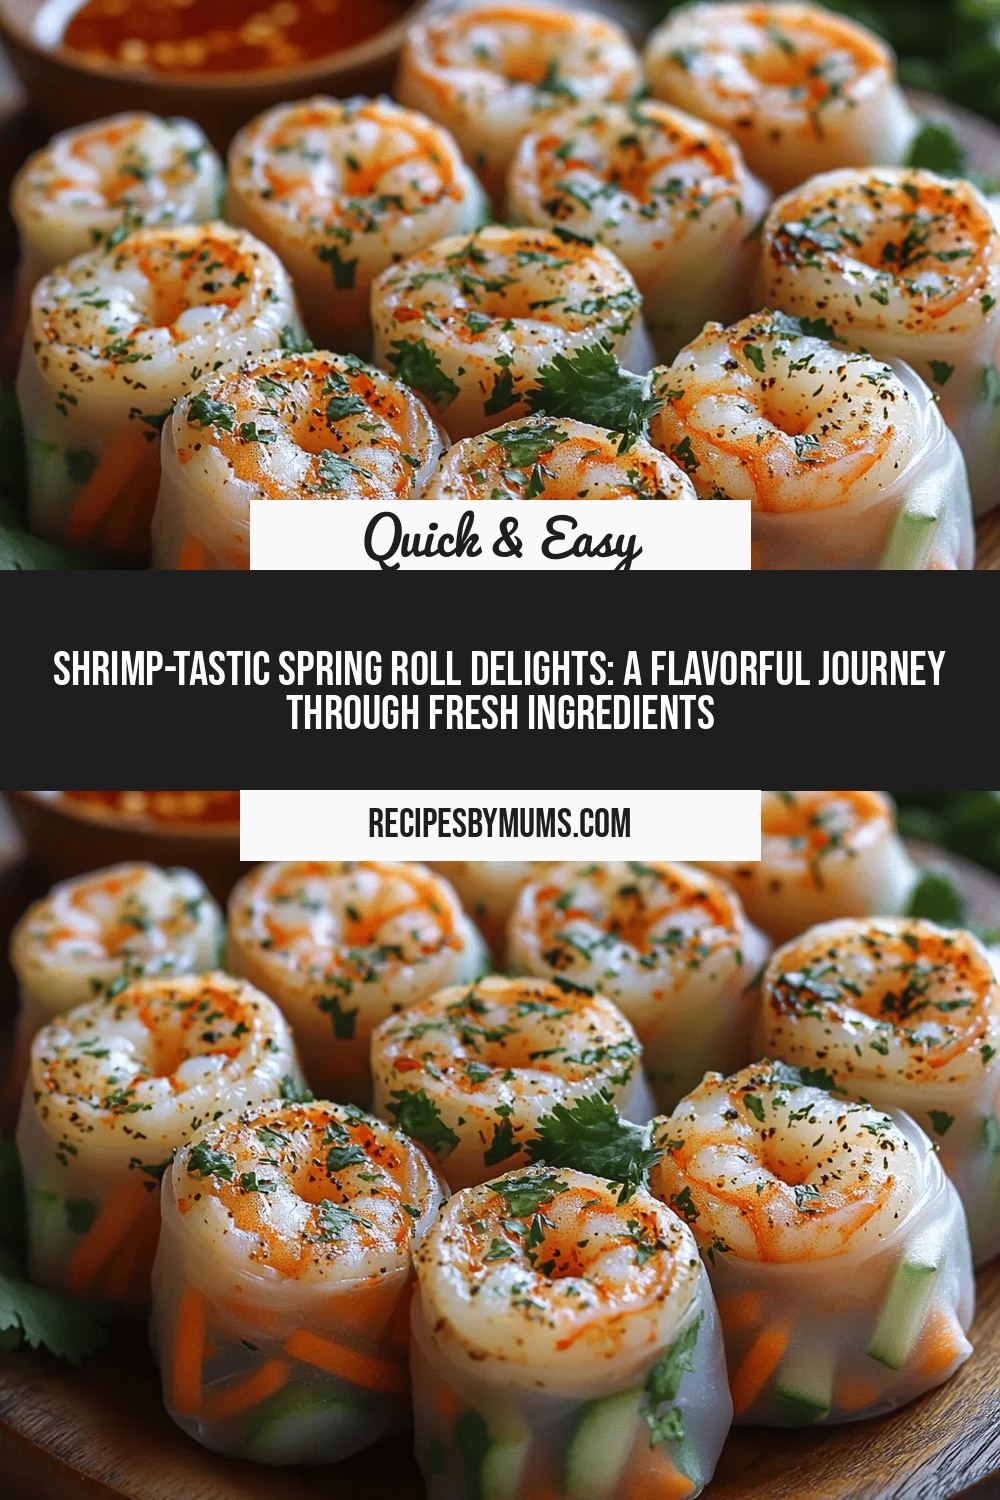
Shrimp-tastic Spring Roll Delights: A Flavorful Journey Through Fresh Ingredients
Delicious Shrimp-tastic Spring Roll Delights: A Flavorful Journey Through Fresh Ingredients
 Appetizers
Tex-Mex Chicken Quesadilla Rollups: A Flavorful Delight
Delicious Tex-Mex Chicken Quesadilla Rollups: A Flavorful Delight
 Appetizers
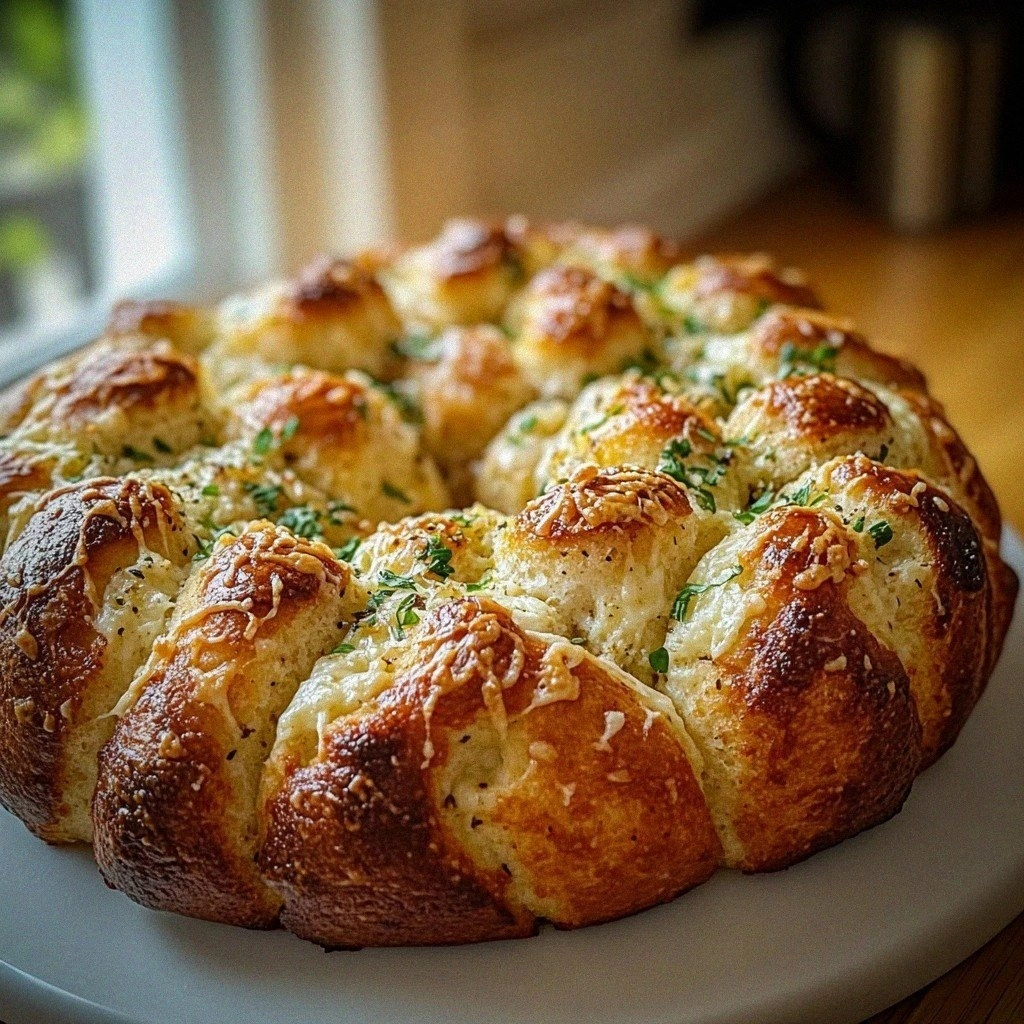
Garlic Parmesan Monkey Bread
Learn how to make delicious Garlic Parmesan Monkey Bread. Easy recipe with step-by-step instructions.
 Appetizers
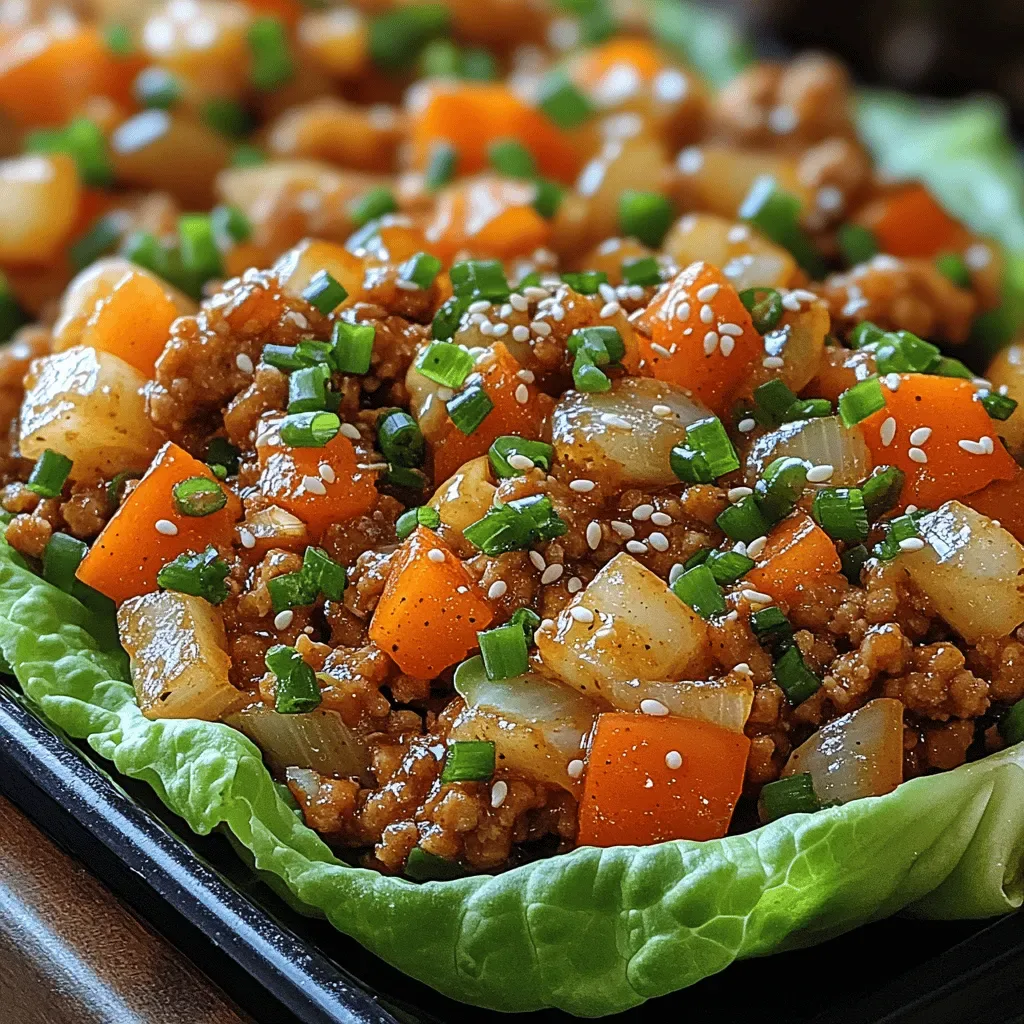
Luscious Low-Carb Chicken Lettuce Wraps
Delicious Luscious Low-Carb Chicken Lettuce Wraps

Victoria
I cook these recipes at home before they ever land here — simple ingredients, clear steps.