Salt and Pepper Crispy Shrimp Recipe
 Save
Save
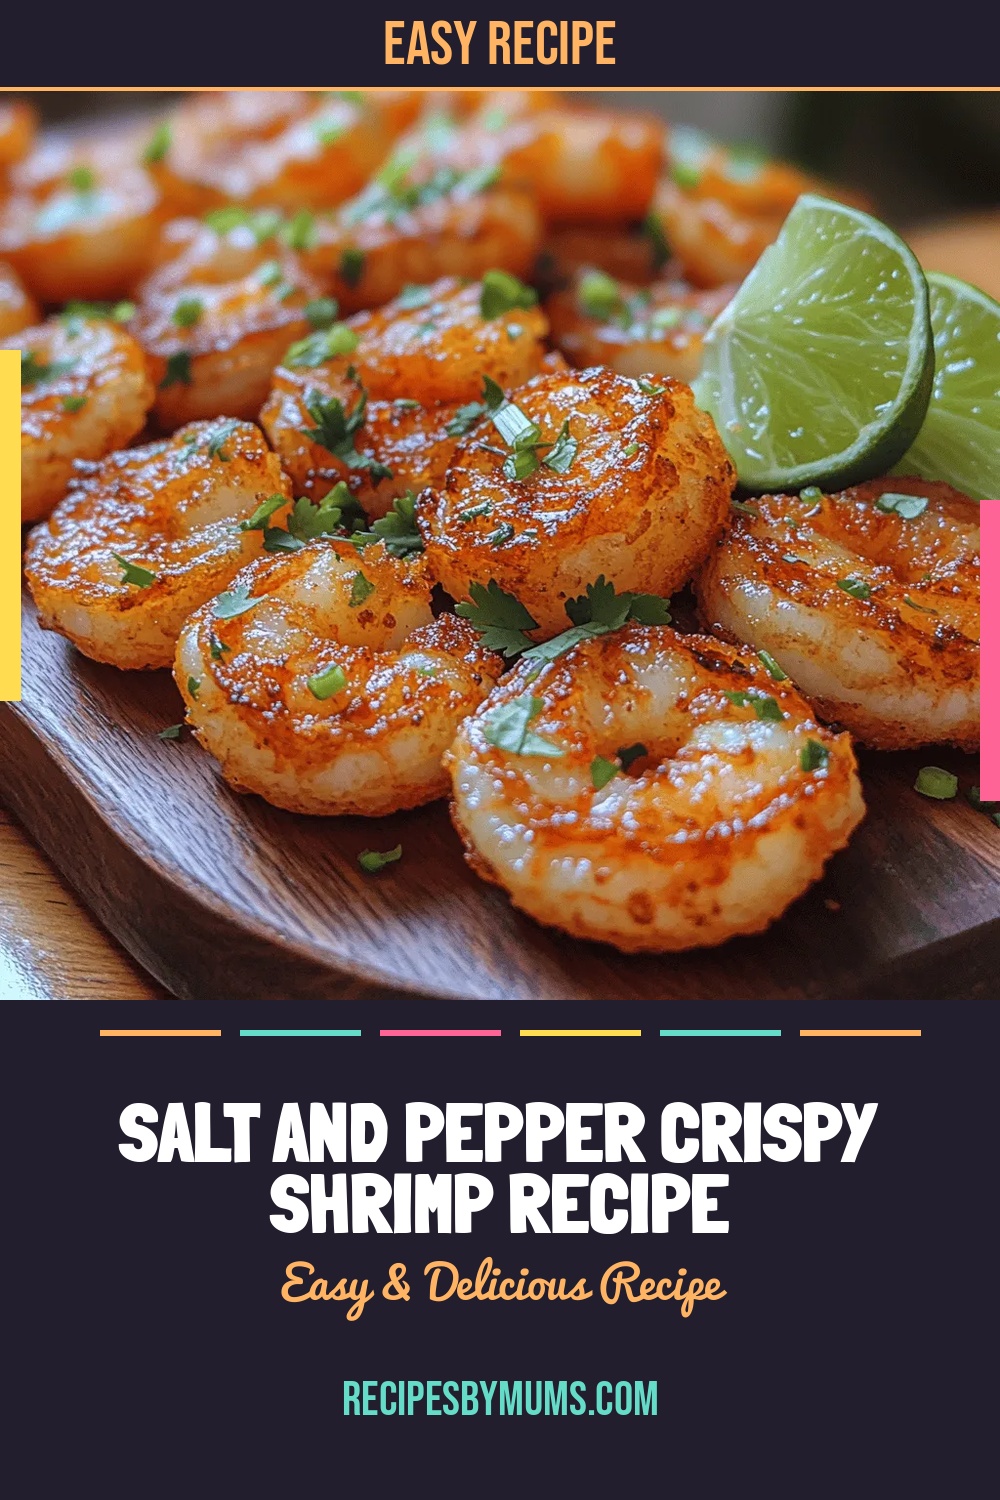
Imagine a bite that crackles with golden‑brown perfection, then bursts with the classic combo of sea‑salt brine and peppery heat. That’s exactly what our Salt and Pepper Crispy Shrimp delivers—an instant crowd‑pleaser that feels both indulgent and effortless.
What makes this recipe stand out is the light, airy coating that stays crisp even after a quick toss in a savory butter‑pepper glaze. No heavy batters, just a simple dust of flour, cornstarch, and aromatics that lock in the shrimp’s natural sweetness.
This dish is perfect for anyone who loves seafood, from casual snack seekers to seasoned home chefs. Serve it as an appetizer at a party, a side for a family dinner, or even a protein‑packed lunch on the go.
The cooking process is straightforward: season, coat, fry, and finish with a quick pan‑sauce. In under half an hour you’ll have a plate of shrimp that’s crunchy on the outside, tender inside, and seasoned to perfection.
Why You'll Love This Recipe
Irresistible Crunch: A light flour‑cornstarch dust creates a delicate crust that stays crispy, giving each shrimp a satisfying snap with every bite.
Bold Salt‑Pepper Balance: The classic duo of sea‑salt and freshly cracked pepper delivers a savory punch that highlights the shrimp’s natural sweetness.
Fast & Friendly: From prep to plate in about 25 minutes, this recipe fits perfectly into busy weeknights without sacrificing flavor.
Versatile Presentation: Serve it on a platter with a dipping sauce, toss it into a salad, or pair it with rice—endless serving ideas keep it fresh.
Tips & Tricks
Perfecting the Recipe
Pat Shrimp Dry. Moisture is the enemy of crispness; a thorough pat‑dry ensures the coating adheres and fries properly.
Use High Smoke‑Point Oil. Oils like vegetable, canola, or peanut allow a hotter pan without burning, giving a true golden crust.
Don't Overcrowd the Pan. Fry in small batches; crowding drops the oil temperature and creates steam, which softens the coating.
Rest After Frying. A brief 2‑minute rest on a warm oven keeps the crust crisp while the interior stays juicy.
Flavor Enhancements
Finish with a squeeze of fresh lime for bright acidity, or add a pinch of smoked paprika for subtle depth. A drizzle of chili oil adds a gentle heat without overpowering the salt‑pepper foundation.
Common Mistakes to Avoid
Skipping the drying step results in soggy shrimp. Also, using too much flour creates a gummy coating; keep the dust thin. Finally, adding the glaze too early can make the crust soggy—apply it at the very end.
Pro Tips
Season in Layers. Lightly salt the shrimp, then add a second pinch of pepper in the glaze for depth without overwhelming salt.
Use a Thermometer. A quick check that the oil is around 180 °C (350 °F) guarantees consistent crispness every time.
Finish on High Heat. After adding the glaze, give the pan a quick burst of high heat to evaporate excess liquid and re‑crisp the coating.
Serve Immediately. The longer the shrimp sit, the more steam they generate, softening the crust. Plate right away for peak texture.
Variations
Ingredient Swaps
Replace shrimp with bite‑size pieces of scallops or firm tofu for a different protein. Swap cornstarch for rice flour for an even lighter crunch. Try adding a teaspoon of five‑spice powder to the dry coating for an Asian‑inspired twist.
Dietary Adjustments
For gluten‑free diners, ensure the flour is certified gluten‑free and use tamari instead of soy sauce. To make it dairy‑free, substitute butter with a high‑smoke‑point coconut oil and add a splash of lemon juice for acidity. Keto lovers can replace the honey‑sweetener in the glaze with erythritol or monk fruit.
Serving Suggestions
Pair the shrimp with jasmine rice or cauliflower rice to soak up the buttery glaze. A crisp Asian slaw (cabbage, carrots, rice‑vinegar dressing) adds freshness. For a party platter, arrange on a bed of shredded lettuce with a side of spicy sriracha mayo.
Storage Info
Leftover Storage
Allow leftovers to cool to room temperature, then transfer to an airtight container. Refrigerate for up to 3 days. For longer keeping, portion into freezer‑safe bags, squeeze out excess air, and freeze for up to 2 months. Thaw in the refrigerator before reheating.
Reheating Instructions
To retain crispness, reheat in a preheated 375 °F oven on a wire rack for 8‑10 minutes, covering loosely with foil to prevent drying. If using a microwave, add a splash of broth, cover, and heat in 30‑second bursts, stirring gently, then finish under a broiler for 1‑2 minutes to re‑crisp.
Frequently Asked Questions
Can I make this recipe ahead of time?
Can I use frozen shrimp instead of fresh?
What side dishes pair best with these shrimp?
How do I make the dish less spicy?
This Salt and Pepper Crispy Shrimp brings together a satisfying crunch, bold seasoning, and a buttery glaze that’s both simple and unforgettable. With clear steps, handy tips, and flexible variations, you’re equipped to nail the perfect bite every time. Feel free to experiment with proteins, sauces, or side dishes—cooking is your playground. Serve hot, enjoy the crunch, and let the flavors speak for themselves.
Salt and Pepper Crispy Shrimp Recipe
Delicious Salt and Pepper Crispy Shrimp Recipe
Ingredients
Main Ingredients
- 1 pound large shrimp, peeled and deveined
- ¼ cup all‑purpose flour
- ¼ cup cornstarch
Seasonings & Aromatics
- 1 teaspoon sea salt
- ½ teaspoon freshly ground black pepper
- ½ teaspoon white pepper (optional for extra heat)
- 2 cloves garlic, minced
- 1 teaspoon freshly grated ginger
- 2 scallions, thinly sliced (white and green parts separated)
Finishing Butter‑Pepper Glaze
- 3 tablespoons unsalted butter
- 1 tablespoon soy sauce (or tamari for gluten‑free)
- 1 teaspoon rice vinegar
Instructions
Coating & Frying
- Mix Dry Coating. In a separate bowl combine the flour, cornstarch, and a pinch of extra salt. Whisk until uniform; this blend ensures a light, airy crust that adheres evenly to each shrimp.
- Dredge the Shrimp. Lightly toss each seasoned shrimp in the dry mixture, shaking off excess. The coating should be a thin veil—too much will create a doughy exterior, too little will miss the crisp.
- Heat the Oil. Add 2‑3 tablespoons of neutral oil (such as vegetable or canola) to a large skillet. Heat over medium‑high until the oil shimmers but does not smoke, roughly 180 °C (350 °F). This temperature is ideal for rapid browning.
- Fry the Shrimp. Working in batches, lay the coated shrimp in a single layer, ensuring they do not touch. Fry for 1‑2 minutes per side, or until the coating turns golden‑brown and the shrimp turn opaque. Use a slotted spoon to transfer them to a paper‑towel‑lined plate.
- Set Aside. Keep the fried shrimp warm on a low oven (about 200 °F) while you finish the glaze. This prevents them from cooling and losing their crispness.
Similar Recipes
 Appetizers
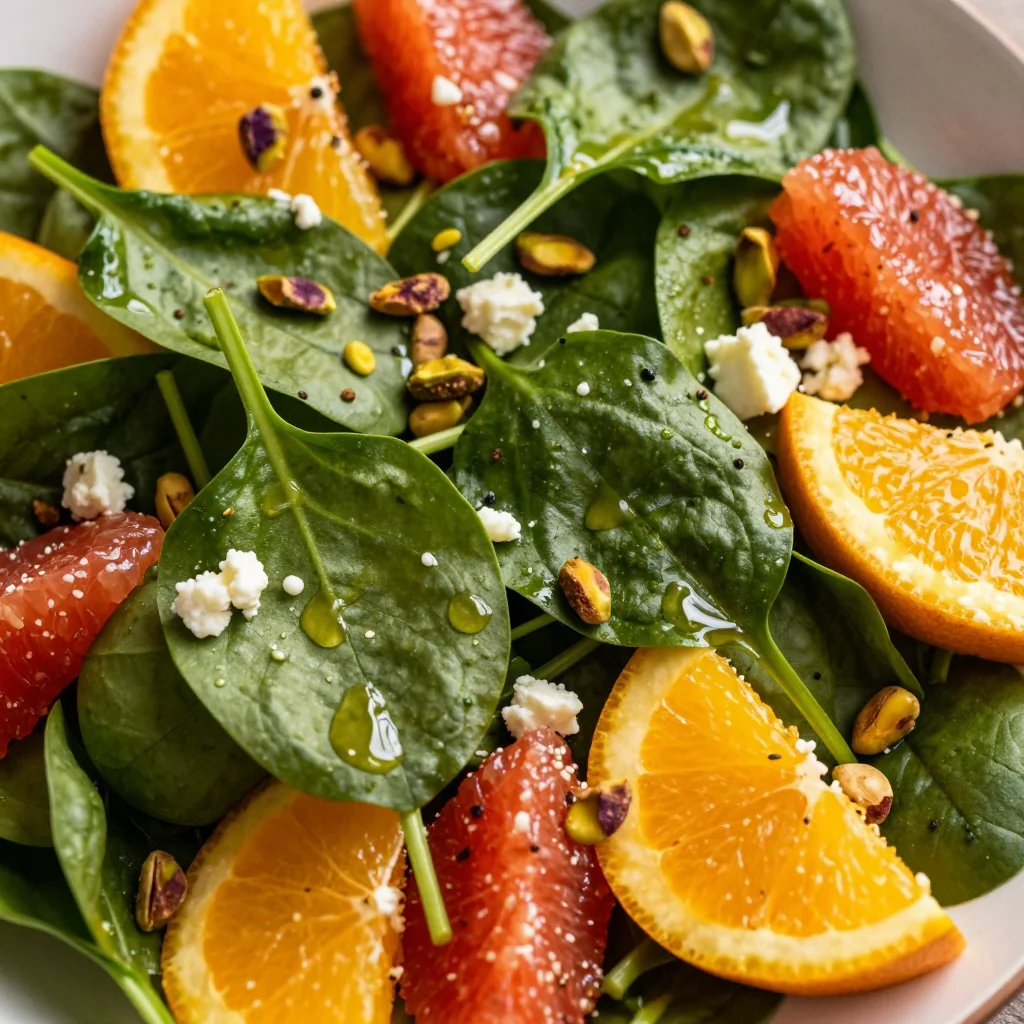
warm spinach and orange salad with lemon dressing for new year reset
Learn how to make delicious warm spinach and orange salad with lemon dressing for new year…
 Appetizers
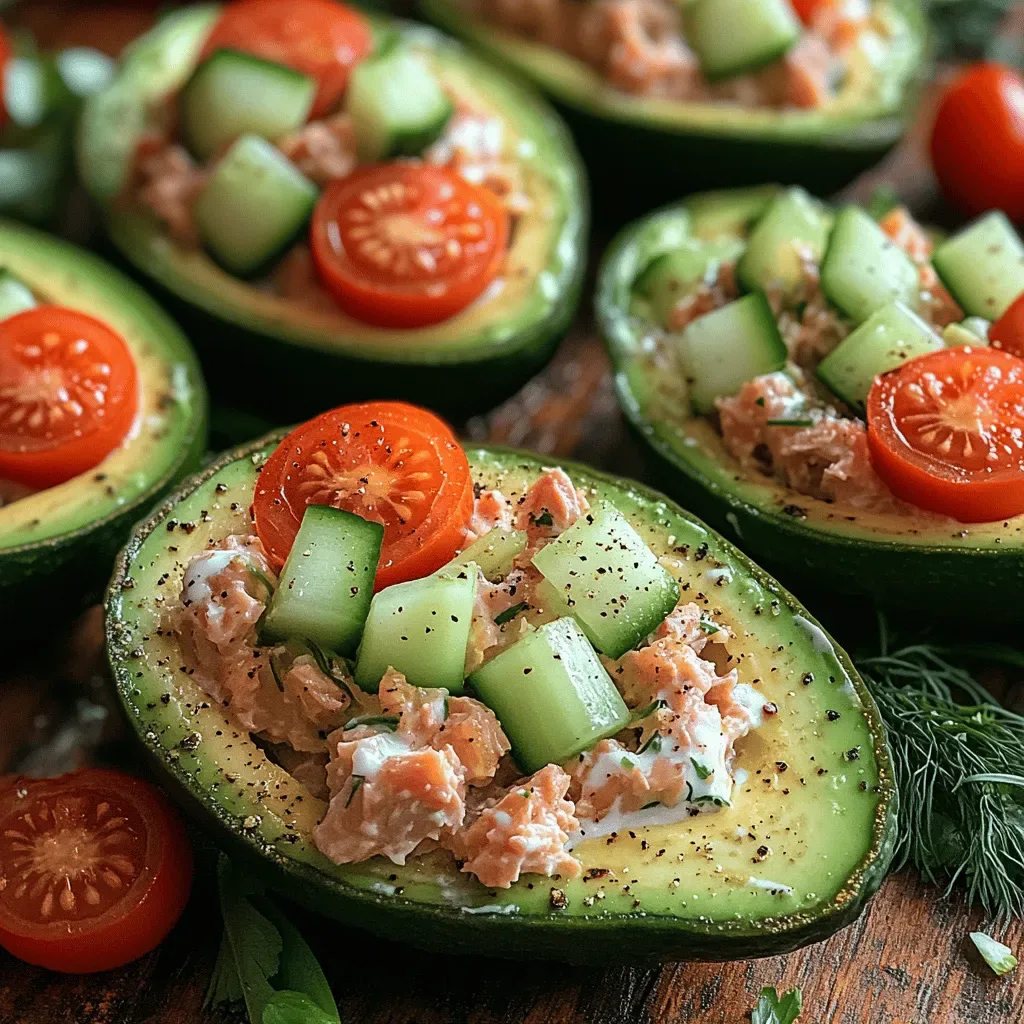
Avocado Tuna Lettuce Boats Delight: A Healthy and Refreshing Recipe
Delicious Avocado Tuna Lettuce Boats Delight: A Healthy and Refreshing Recipe
 Appetizers
Southern Fried Green Tomatoes with Pimento Cheese for Appetizer
Learn how to make delicious Southern Fried Green Tomatoes with Pimento Cheese for Appetizer. Easy recipe…
 Appetizers
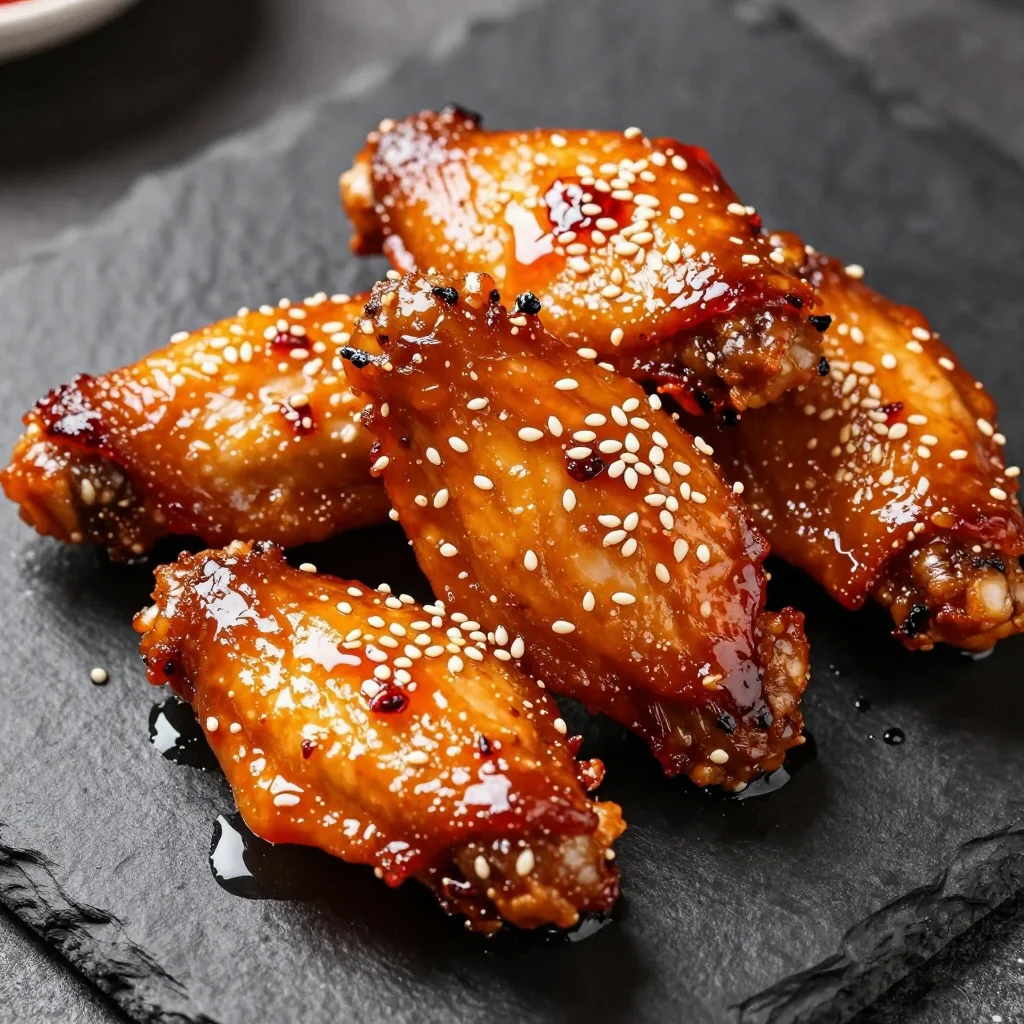
Spicy Honey Garlic Chicken Wings With Sesame Seeds
Learn how to make delicious Spicy Honey Garlic Chicken Wings With Sesame Seeds. Easy recipe with…
 Appetizers
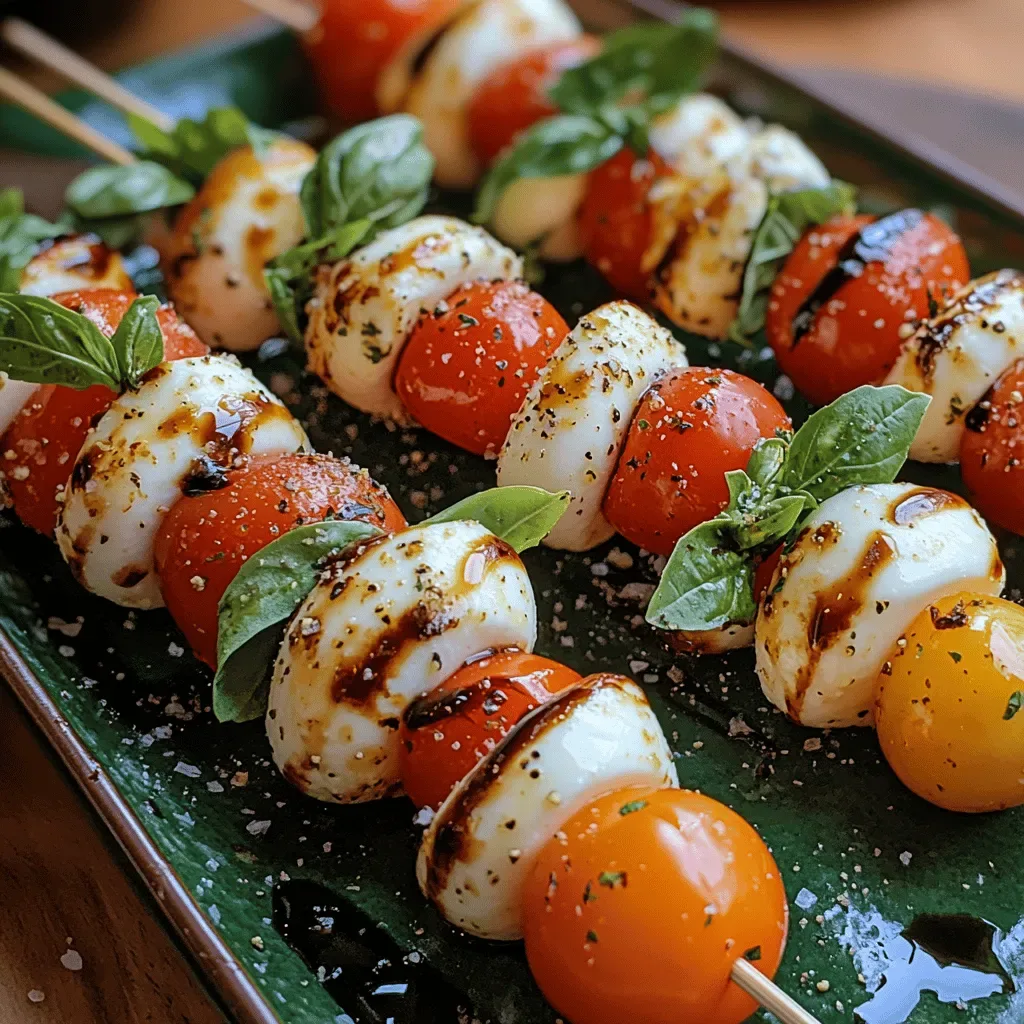
Cheesy Caprese Skewers with Balsamic Bliss
Delicious Cheesy Caprese Skewers with Balsamic Bliss
 Appetizers
Sausage, Gravy, and Biscuit Pie: A Comforting Delight!
Learn how to make delicious Sausage, Gravy, and Biscuit Pie: A Comforting Delight!. Easy recipe with…
 Appetizers
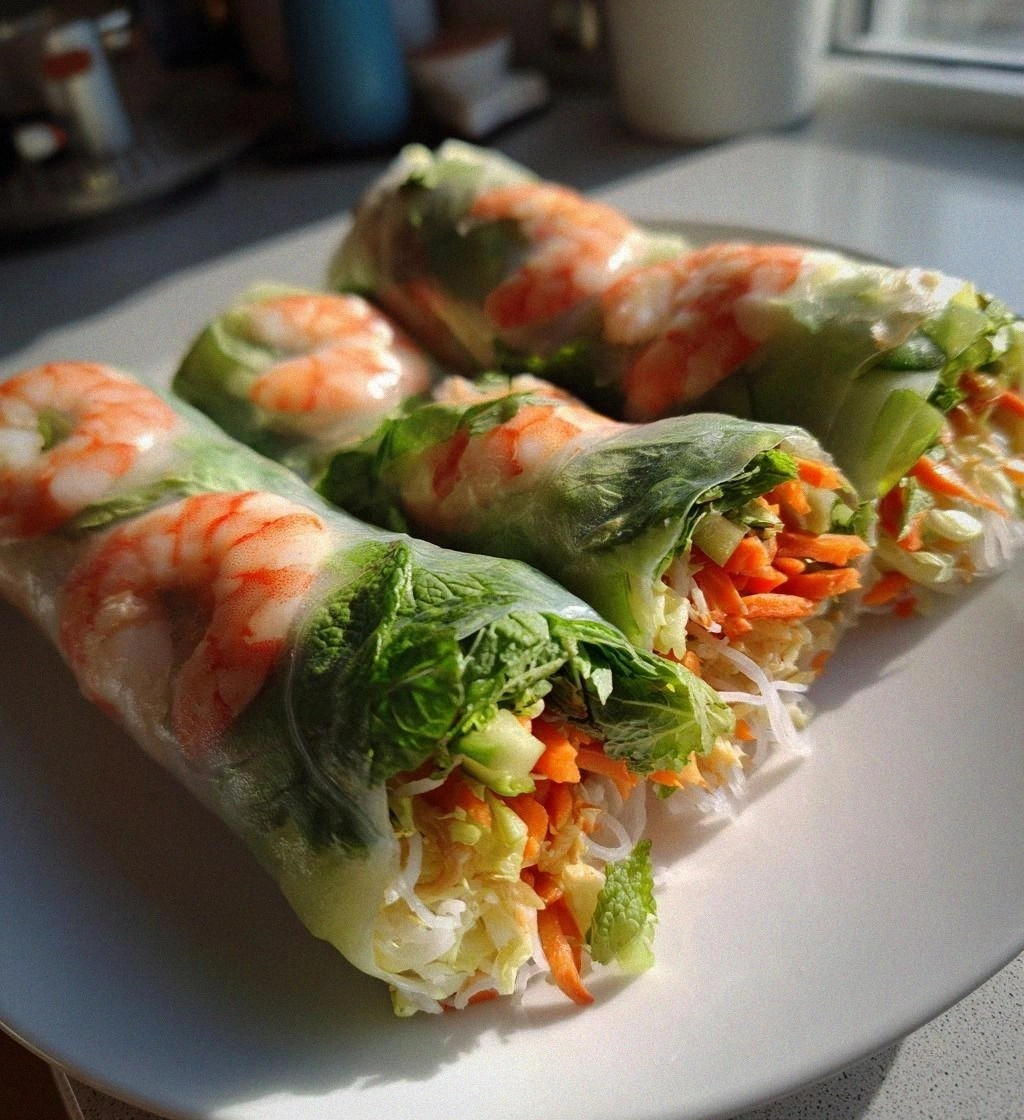
Vietnamese Spring Rolls Recipe: 7 Steps to Pure Bliss
Learn how to make delicious Vietnamese Spring Rolls Recipe: 7 Steps to Pure Bliss. Easy recipe…
 Appetizers
Mozzarella Pepperoni Croissant Rolls You’ll Crave Every Time 🥐🧀🍕
Learn how to make delicious Mozzarella Pepperoni Croissant Rolls You’ll Crave Every Time 🥐🧀🍕. Easy recipe…

Victoria
I cook these recipes at home before they ever land here — simple ingredients, clear steps.