Elegant No-Bake Oreo Cheesecake: A Delightful Dessert for Every Occasion
 Save
Save
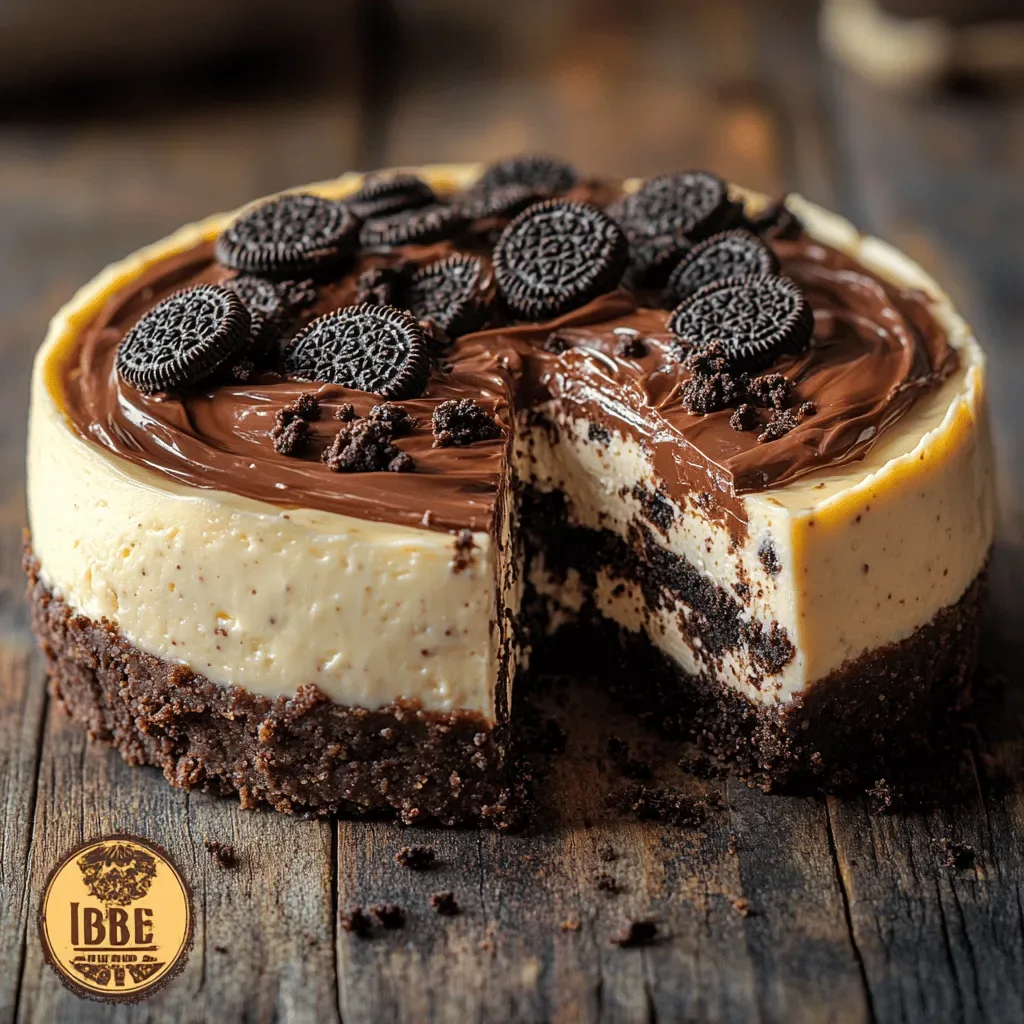
Imagine a dessert that looks as stunning as it tastes—creamy, velvety cheesecake layered with crunchy, chocolate‑cookie goodness, all without ever touching the oven. This Elegant No‑Bake Oreo Cheesecake delivers that wow factor in a fraction of the time, making it the perfect show‑stopper for any gathering.
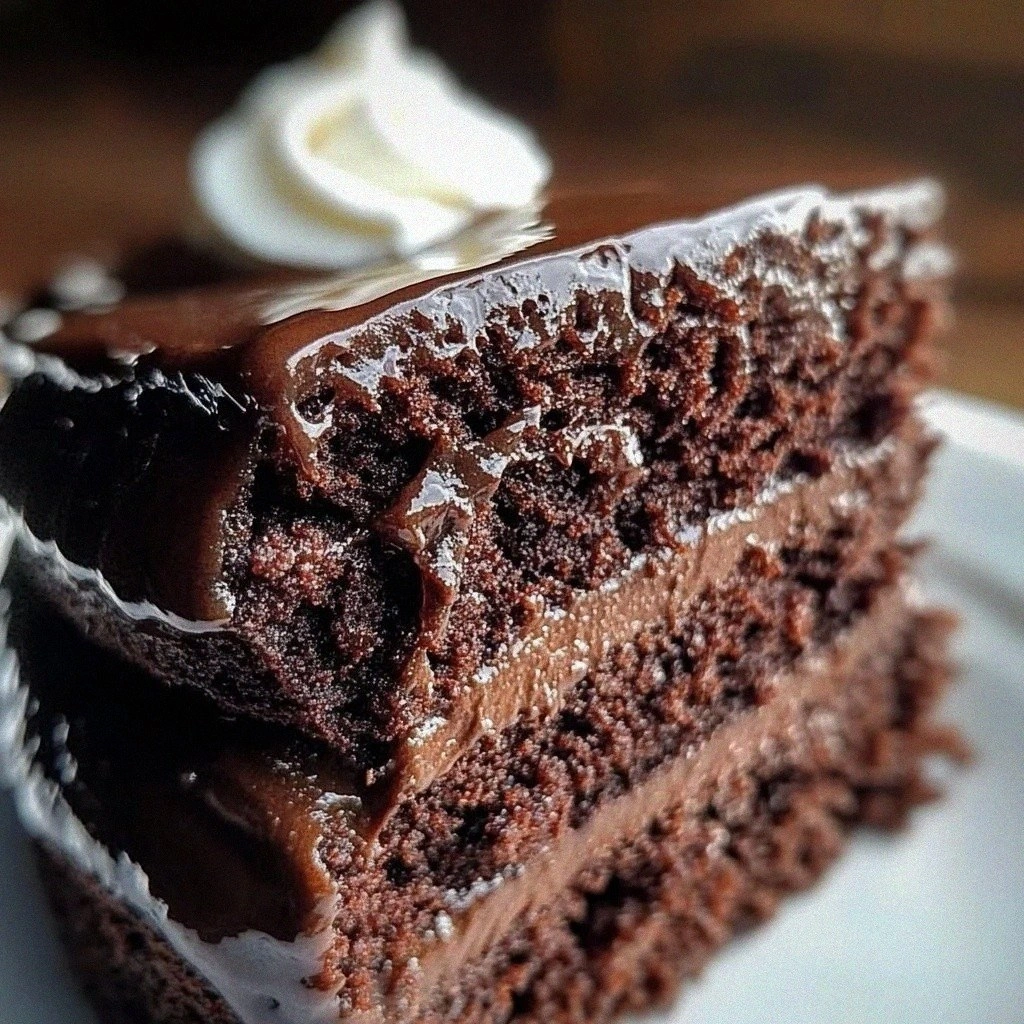
What sets this cheesecake apart is the harmony between a buttery Oreo crust, a light mascarpone‑cream filling, and a glossy chocolate ganache topping. Each bite offers a contrasting texture that feels luxurious yet comforting, proving that no‑bake desserts can be just as impressive as their baked counterparts.
Chocolate lovers, party planners, and anyone craving a fuss‑free sweet treat will adore this recipe. Serve it at birthdays, holiday brunches, or a simple family dinner—its elegant appearance fits every occasion, from casual to formal.
The process is straightforward: crush the cookies, blend the crust, whisk the filling, pour, chill, and finish with a silky ganache. No fancy equipment is needed, just a few minutes of prep and a few hours of patience for the perfect set.
Why You'll Love This Recipe
Zero Oven Required: Skipping the oven means no heating up the kitchen, making it ideal for summer gatherings or when you simply want a quick, stress‑free dessert.
Texture Play: The buttery Oreo base, airy mascarpone filling, and glossy chocolate glaze create a delightful contrast that keeps every bite interesting.
Customizable Layers: Add fruit purées, caramel swirls, or espresso‑infused cream for a personalized twist without altering the core technique.
Make‑Ahead Friendly: Once set, the cheesecake stays fresh in the fridge for several days, allowing you to prepare it ahead of time and focus on other party details.
Tips & Tricks
Perfecting the Recipe
Room‑Temperature Ingredients. Ensure mascarpone, butter, and cream are at room temperature before mixing; this prevents lumps and guarantees a silky filling.
Even Crust Pressure. Use the bottom of a flat glass to press the crust evenly; a compact base stops cracks when you slice.
Chill the Pan. Refrigerate the springform pan for 10 minutes before adding the crust to help it set faster.
Flavor Enhancements
For an extra layer of flavor, stir a tablespoon of espresso powder into the ganache or fold a handful of mini chocolate chips into the filling. A pinch of sea salt sprinkled over the ganache right before it sets adds a sophisticated contrast to the sweetness.
Common Mistakes to Avoid
Avoid over‑whipping the cream; once stiff peaks form, stop immediately to keep the texture light. Also, never skip the chilling step—rushing this will cause the filling to melt and the ganache to slide off the slices.
Pro Tips
Use a Water Bath for Ganache. Placing the chocolate bowl over simmering water gives a gentle melt, preventing scorching and ensuring a smooth finish.
Slice with a Warm Knife. Dip the knife in hot water, wipe dry, and slice; this yields clean, untouched edges.
Store in the Springform. Keep the cheesecake in its pan, covered with plastic wrap, to protect it from absorbing fridge odors.
Variations
Ingredient Swaps
Replace the classic Oreo crust with chocolate graham crackers for a slightly lighter base. Swap mascarpone for a blend of cream cheese and Greek yogurt to add a tangier note. For a fruity twist, swirl raspberry puree into the filling before chilling.
Dietary Adjustments
Use gluten‑free chocolate cookies for a safe crust, and choose a plant‑based heavy cream (coconut or oat) with a dairy‑free mascarpone substitute for a vegan version. For a low‑sugar option, replace powdered sugar with a monk‑fruit blend and use sugar‑free dark chocolate in the ganache.
Serving Suggestions
Pair each slice with a dollop of lightly sweetened whipped cream and fresh berries for color. A drizzle of caramel sauce adds buttery depth, while a sprinkle of toasted almond slivers introduces a pleasant crunch. Serve on a chilled plate to keep the ganache glossy longer.
Storage Info
Leftover Storage
Once the cheesecake has set, cover the springform pan tightly with plastic wrap. Store in the refrigerator for up to four days. For longer keeping, wrap the entire pan in a double layer of foil and freeze for up to three months; the texture remains silky after thawing.
Reheating Instructions
This dessert is best served cold, but if you prefer a softer bite, let a slice sit at room temperature for 15 minutes before plating. To warm the ganache slightly, microwave a small portion for 10‑15 seconds, stirring gently; avoid overheating to keep the chocolate smooth.
Frequently Asked Questions
Can I make this cheesecake a day ahead?
What if I don’t have a springform pan?
How can I make the ganache smoother?
This Elegant No‑Bake Oreo Cheesecake proves that sophisticated desserts don’t need an oven or endless hours. By following the detailed steps, using quality ingredients, and applying a few pro tips, you’ll create a show‑stopping treat that’s as beautiful as it is delicious. Feel free to experiment with flavor twists or dietary swaps—making it truly yours. Slice, serve, and savor every creamy, chocolatey bite!
Elegant No-Bake Oreo Cheesecake: A Delightful Dessert for Every Occasion
Delicious Elegant No-Bake Oreo Cheesecake: A Delightful Dessert for Every Occasion
Ingredients
Crust
- 24 Oreo cookies (about 1 ½ cups crushed)
- 5 tablespoons unsalted butter, melted
Cheesecake Filling
- 8 ounces mascarpone cheese, softened
- ½ cup powdered sugar
- 1 teaspoon vanilla extract
- 1 cup heavy cream, chilled
Chocolate Ganache Topping
- 6 ounces dark chocolate (70% cacao), chopped
- ⅔ cup heavy cream
- 1 tablespoon unsalted butter
Instructions
Making the Filling
- Blend Mascarpone. In a large bowl, whisk the softened mascarpone with powdered sugar and vanilla until smooth and pale. This creates a stable base that won’t separate during chilling.
- Whip the Cream. Using a handheld mixer, whip the chilled heavy cream on medium‑high speed until stiff peaks form. The aerated cream lightens the filling, giving it that signature cheesecake fluffiness.
- Combine Gently. Fold the whipped cream into the mascarpone mixture in two additions, using a spatula and a gentle lifting motion. Over‑mixing can deflate the air, resulting in a dense texture.
- Spread Over Crust. Pour the filling onto the chilled crust, smoothing the top with an offset spatula. Tap the pan lightly on the counter to release any trapped air bubbles.
Similar Recipes
 Desserts
Delightfully Moist Almond Flour Zucchini Cake: Steps, Tips, and Serving Suggestions
Delicious Delightfully Moist Almond Flour Zucchini Cake: Steps, Tips, and Serving Suggestions
 Desserts
Berrylicious No-Churn Blueberry Ice Cream
Delicious Berrylicious No-Churn Blueberry Ice Cream
 Desserts
cranberry walnut biscotti with orange zest for christmas cookie gifts
Learn how to make delicious cranberry walnut biscotti with orange zest for christmas cookie gifts. Easy…
 Desserts
Indulge in Tropical Bliss: A Delightful Mango Chia Pudding Recipe
Delicious Indulge in Tropical Bliss: A Delightful Mango Chia Pudding Recipe
 Desserts
Frozen Yogurt Peanut Butter Cups Recipe: A Guilt-Free Indulgence
Delicious Frozen Yogurt Peanut Butter Cups Recipe: A Guilt-Free Indulgence
 Desserts
Creating Chewy Banana Blueberry Oatmeal Cookies: A Delightful Recipe for Health-Conscious Indulgence
Delicious Creating Chewy Banana Blueberry Oatmeal Cookies: A Delightful Recipe for Health-Conscious Indulgence
 Desserts
5-Minute Peach Cobbler Delight
Delicious 5-Minute Peach Cobbler Delight
 Desserts
Tropical Bliss Pineapple Condensed Milk Cake Recipe
Delicious Tropical Bliss Pineapple Condensed Milk Cake Recipe

Victoria
I cook these recipes at home before they ever land here — simple ingredients, clear steps.