Strawberry Cheesecake Icebox Bars Recipe
Introduction
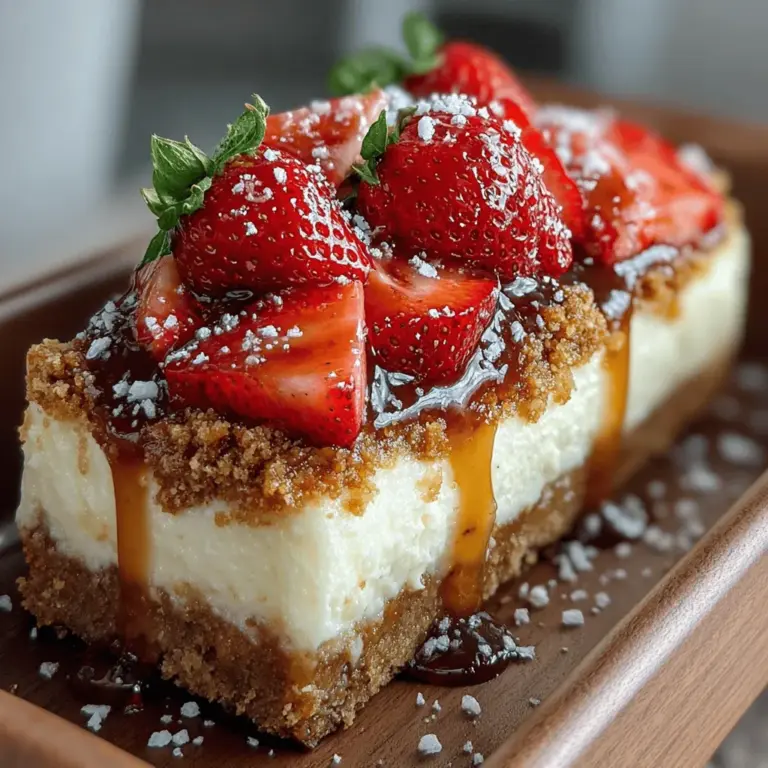
Cheesecake desserts have long held a special place in the hearts of dessert lovers around the world. Their rich, creamy texture combined with an array of flavors makes them a go-to choice for celebrations, gatherings, or simply satisfying a sweet tooth. Among the various cheesecake creations, strawberry cheesecake stands out, particularly for those who enjoy the delightful contrast of tangy cream cheese and sweet, succulent strawberries. As the weather warms up, a no-bake dessert like Strawberry Cheesecake Icebox Bars becomes an appealing option. These bars are not only refreshing but also incredibly easy to prepare, making them perfect for picnics, potlucks, or a simple treat at home.
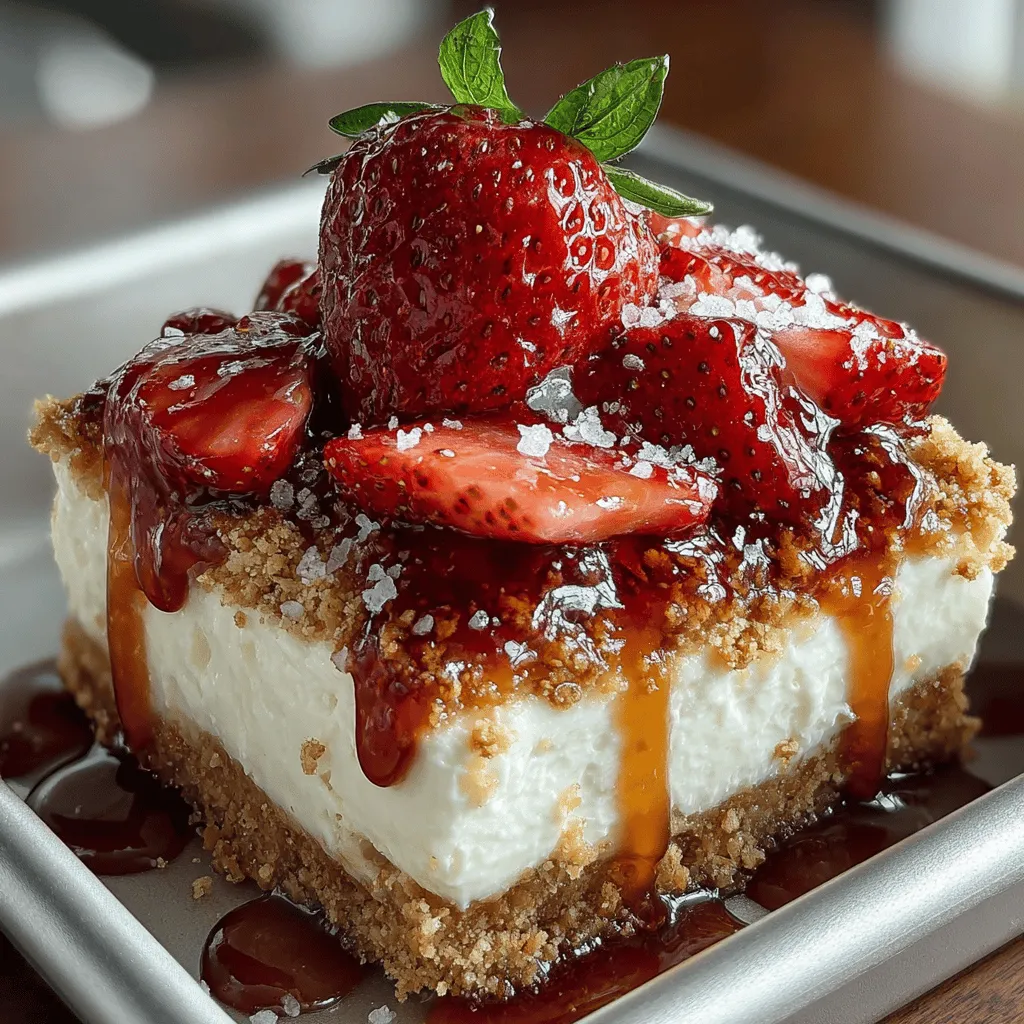
What sets Strawberry Cheesecake Icebox Bars apart is their delightful combination of creamy filling, buttery crust, and vibrant strawberry topping. The cool, chilled bars are an indulgence that is light yet satisfying, allowing you to enjoy the flavors of traditional cheesecake without the need for baking. This recipe offers a unique take on a classic favorite, providing a perfect dessert that embodies the essence of summer.
Understanding the Appeal of Icebox Bars
Icebox bars are an innovative twist on traditional desserts. Unlike baked goods that require time in the oven, icebox bars are assembled and then chilled in the refrigerator, which promotes ease of preparation and allows for maximum flavor development. This method not only saves time but also minimizes the heat in your kitchen—an important consideration during warm summer months.
The convenience of icebox bars makes them an excellent choice for gatherings and special occasions. They can be prepared in advance, allowing hosts to focus on other aspects of their events without worrying about last-minute baking. Additionally, icebox bars are highly versatile; they can be customized with various flavors and toppings to suit different preferences. Whether you opt for a classic chocolate layer, a fruity berry mix, or even seasonal flavors, the possibilities are endless.
Ingredients Breakdown
Before diving into the step-by-step instructions, let’s take a closer look at the key components that make up the Strawberry Cheesecake Icebox Bars.
Crust
The foundation of these bars is a graham cracker crust, which provides a flavorful and slightly sweet base. Graham cracker crumbs are an essential ingredient, as they lend a delightful crunch and a hint of cinnamon that perfectly complements the cheesecake filling. The butter plays a crucial role in achieving the ideal texture, binding the crumbs together and adding richness to the crust. When combined, these ingredients create a base that is both sturdy and delicious, ensuring that each bite is packed with flavor.
Cheesecake Filling
At the heart of the Strawberry Cheesecake Icebox Bars is the creamy cheesecake filling. Cream cheese serves as the main ingredient, providing that signature smooth texture that cheesecake lovers crave. When softened and blended, cream cheese becomes airy and light, contributing to the overall richness of the dessert. To enhance the lightness and fluffiness of the filling, heavy whipping cream is incorporated, resulting in a decadent yet refreshing cheesecake experience. This combination ensures that the filling is not only creamy but also has a satisfying lightness that balances the richness of the crust.
Strawberry Topping
No strawberry cheesecake would be complete without its star ingredient: fresh strawberries. The natural sweetness of ripe strawberries elevates the dessert, providing a burst of flavor that contrasts beautifully with the creamy filling. For those looking to achieve a thicker consistency in the topping, a cornstarch thickening method can be employed, which helps create a luscious layer that holds its shape while still showcasing the strawberries’ vibrant color and taste.
Step-by-Step Instructions
Now that we’ve explored the ingredients, let’s begin the exciting process of preparing your Strawberry Cheesecake Icebox Bars. The first step involves making the crust, which sets the groundwork for the bars.
Preparing the Crust
To start, gather your graham cracker crumbs and melted butter. It’s crucial to ensure that the crumbs are finely crushed to achieve a cohesive crust that holds together well. You can either use a food processor for this task or place the graham crackers in a zip-top bag and crush them with a rolling pin.
In a mixing bowl, combine the graham cracker crumbs with the melted butter. The key here is to mix the ingredients thoroughly until they are fully incorporated. The mixture should resemble wet sand, allowing it to be easily pressed into the bottom of your baking pan. Once combined, transfer the crumb mixture into a lined baking dish and press it firmly to create an even layer. This step is vital for maintaining the structure of the bars, so take your time to ensure the crust is compact and well-formed.
After pressing the crust into the dish, place it in the refrigerator to chill while you prepare the cheesecake filling. This will help the crust set and make it easier to spread the filling later on.
Stay tuned for the next part of the article where we will dive into creating the luscious cheesecake filling and topping your bars with fresh strawberries!
Tips for Pressing the Crust Evenly
Creating a solid foundation for your strawberry cheesecake icebox bars begins with the crust. The key to a stable, evenly-pressed crust lies in technique. Here are some tips to ensure your crust is perfectly pressed into the baking pan:
1. Use the Right Tools: A flat-bottomed measuring cup or a small flat spatula works wonders for pressing the crust mixture firmly and evenly. Alternatively, you can use your fingers, but ensure they are clean and dry.
2. Start from the Center: Begin pressing the crust mixture from the center of the pan and work your way out to the edges. This method helps distribute the pressure evenly and prevents the crust from being thicker in some areas than others.
3. Apply Even Pressure: Use consistent pressure while pressing down the crust. This ensures that it adheres together well and forms a solid base once baked. If the crust is too crumbly, it may not hold together when you cut the bars.
4. Chill for Best Results: After pressing the crust into the pan, consider chilling it in the refrigerator for about 30 minutes before adding the filling. This helps to set the crust, making it even more stable and easier to cut later.
Making the Cheesecake Filling
The cheesecake filling is arguably the star of the show in this dessert. A smooth and creamy filling complements the strawberry topping beautifully. Follow these steps to achieve the best results:
Importance of Softening Cream Cheese
Softening the cream cheese is crucial for a smooth cheesecake filling. Cold cream cheese can create lumps that are hard to mix out. Here’s how to soften it:
– Room Temperature Method: Remove the cream cheese from the fridge and let it sit at room temperature for about 30 minutes to an hour before you begin making your filling.
– Microwave Method: If you’re short on time, you can microwave the cream cheese in 10-second intervals until it is softened. Be careful not to melt it, as this can affect the texture.
Techniques for Folding Whipped Cream
Once your cream cheese is soft and creamy, you’ll want to fold in the whipped cream to create a light, airy texture. Here’s how to do it without deflating the whipped cream:
1. Use a Rubber Spatula: Opt for a rubber spatula instead of a whisk or electric mixer for folding. The spatula helps to gently combine the ingredients without losing volume.
2. Add Whipped Cream Gradually: Start by adding a small amount of the whipped cream to the cream cheese mixture. Stir it in to lighten the mixture, making it easier to fold in the rest.
3. Fold, Don’t Stir: Incorporate the remaining whipped cream by gently lifting the mixture from the bottom and folding it over the top. Rotate the bowl as you go to ensure all ingredients are mixed without overworking the whipped cream.
Assembling the Bars
Now that you have your crust and filling ready, it’s time to assemble the strawberry cheesecake icebox bars.
Tips for Spreading the Filling Evenly
To achieve an aesthetically pleasing finish, spreading the cheesecake filling evenly is essential. Here are some tips:
– Use an Offset Spatula: This tool allows for smooth and even spreading. Start from the center and work your way out to the edges, ensuring an even layer.
– Level the Surface: Once spread, use the spatula to gently tap the filling down, ensuring there are no air pockets. This helps create a uniform surface that will freeze nicely.
Importance of Freezing Thoroughly
After assembling, it’s crucial to allow the cheesecake to freeze thoroughly. This step not only helps the bars set properly but also enhances the overall texture. Aim for at least 4-6 hours of freezing time, or overnight if possible, to ensure the cheesecake is firm enough for cutting.
Preparing the Strawberry Topping
The final touch to your strawberry cheesecake icebox bars is the delicious strawberry topping. Here’s how to prepare it for the best flavor:
Step-by-Step Guide for Macerating Strawberries
Macerating strawberries enhances their natural sweetness and flavor, making them the perfect topping for your cheesecake bars. Here’s how to do it:
1. Slice the Strawberries: Start by washing and hulling the strawberries. Slice them into quarters or halves, depending on their size.
2. Add Sugar: Place the sliced strawberries in a bowl and sprinkle with sugar. Use about 1-2 tablespoons of sugar per cup of strawberries. The sugar helps draw out the juices.
3. Let Them Rest: Allow the strawberries to sit for about 15-30 minutes at room temperature. You’ll notice the sugar dissolving and creating a delicious syrup.
Instructions for Thickening the Sauce
If you desire a thicker strawberry sauce, you can easily achieve this by:
– Using Cornstarch: Mix 1 tablespoon of cornstarch with 1 tablespoon of water to create a slurry. Add this mixture to the macerated strawberries and heat on the stove over medium heat until it thickens, stirring occasionally.
– Cooling Properly: Once thickened, allow the sauce to cool completely before drizzling over your cheesecake bars. This prevents the heat from melting the cream cheese filling.
Serving the Bars
Presentation is key when serving your strawberry cheesecake icebox bars. Here are some techniques to make your dessert shine:
Techniques for Cutting Neatly
To cut your bars neatly and maintain their shape:
– Use a Hot Knife: Dip a sharp knife in hot water, then wipe it dry before cutting. The heat helps to glide through the filling without creating a messy edge.
– Cut into Even Portions: Aim for uniform squares or rectangles to ensure each bar looks appealing. This can be done by marking the cutting lines lightly on the surface before slicing.
Suggestions for Serving
When it comes to serving your bars, consider these ideas for an attractive presentation:
– Garnish: Top each bar with a dollop of whipped cream and a fresh mint leaf for a pop of color.
– Serve with Complementary Beverages: Pair your dessert with a refreshing iced tea or a rich coffee to balance the sweetness of the bars.
Nutritional Information
Understanding the nutritional benefits of your ingredients can enhance your culinary experience. Here’s a brief overview:
– Cream Cheese: Provides a rich source of calcium and protein, essential for bone health.
– Strawberries: Packed with vitamins C and K, as well as antioxidants, strawberries contribute to a heart-healthy diet and can boost immunity.
– Graham Crackers: A source of carbohydrates, graham crackers provide energy and fiber, contributing to digestive health.
While strawberry cheesecake icebox bars are a delightful treat, moderation is key. Enjoying these bars in appropriate portions can help you savor the flavors without overindulging.
Storing and Serving Suggestions
Proper storage of your cheesecake bars ensures that they maintain their freshness and flavor. Here are best practices for storing leftovers:
– Wrap and Refrigerate: Store any leftover bars in an airtight container in the refrigerator. If you won’t be consuming them within a few days, consider wrapping them tightly in plastic wrap and then aluminum foil to prevent freezer burn if storing in the freezer.
– Best Consumed Fresh: For optimal taste and texture, consume the bars within a week if stored in the refrigerator. If frozen, they can last up to three months.
Ideas for Pairing Beverages
Enhance your dessert experience by pairing these bars with beverages:
– Tea: A cup of herbal or green tea complements the sweetness of the bars, providing a refreshing contrast.
– Coffee: The rich flavors of coffee pair beautifully with the creamy cheesecake, making for a perfect afternoon treat.
Garnishing Suggestions
Consider adding garnishes to elevate the presentation of your dessert:
– Whipped Cream: A dollop of freshly whipped cream adds a creamy texture that balances the tartness of the strawberries.
– Mint Leaves: Fresh mint not only adds color but also a refreshing flavor that brightens the dish.
Conclusion
Making strawberry cheesecake icebox bars is a delightful culinary experience that combines the creamy richness of cheesecake with the refreshing taste of strawberries. Whether you’re preparing them for family gatherings, summer picnics, or special celebrations, these bars are sure to impress.
The joy of sharing homemade desserts is truly unparalleled, and there’s something satisfying about creating a delicious treat from scratch. So gather your ingredients, follow the steps outlined, and enjoy the process of making these delectable strawberry cheesecake icebox bars. You won’t just be creating a dessert; you’ll be crafting a memorable experience for yourself and your loved ones.
