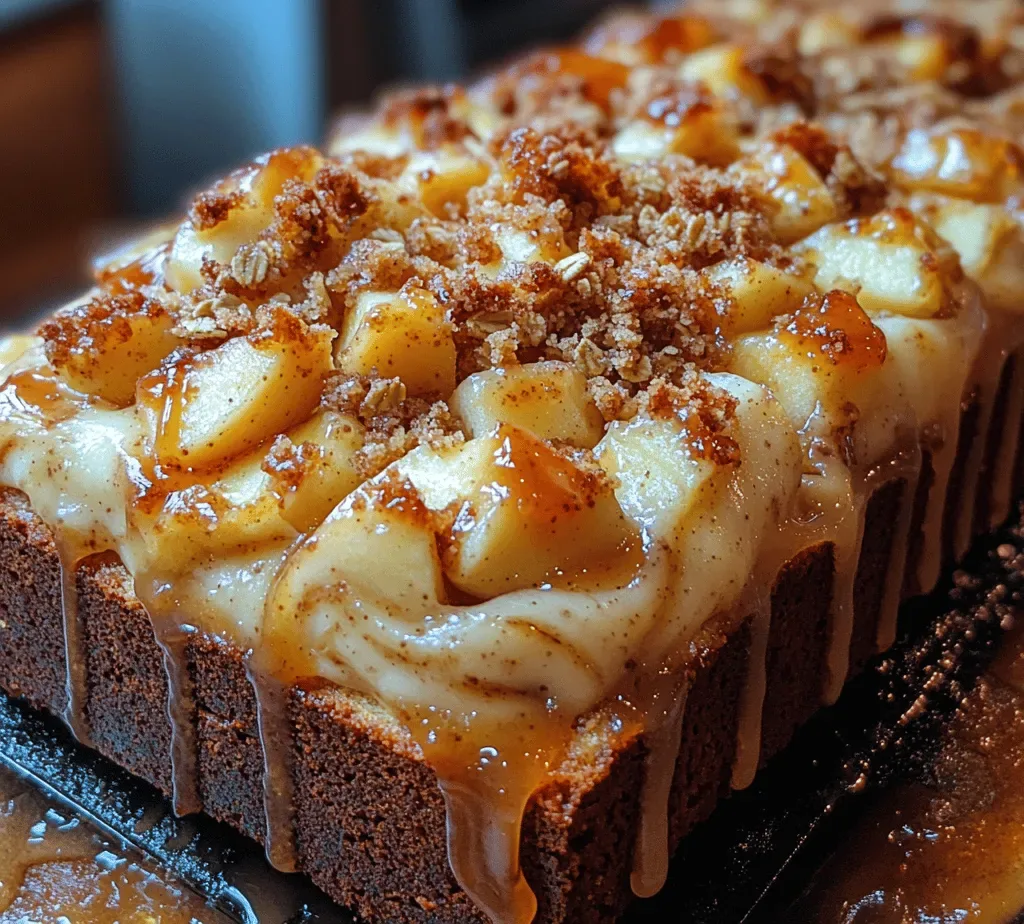
It was a cold December afternoon, the kind where the wind whistles through the cracked windows and the scent of pine needles drifts in from the yard. I was hunched over the kitchen counter, butter melting in a saucepan, when the first whiff of ginger and molasses hit me like a warm hug from an old friend. The moment I lifted the lid, a cloud of fragrant steam rose, swirling with notes of cinnamon, cloves, and that unmistakable gingerbread aroma that instantly transports you to holiday markets and cozy living rooms. I could almost hear the crackle of a fireplace and see the glow of twinkling lights reflected in the frosting of a nearby cookie tray.
I’ve been making whoopie pies for years, but the gingerbread version is a revelation that took a few experiments to perfect. The soft, cake‑like cookies hug a velvety cream cheese filling that’s sweet enough to please the kids yet sophisticated enough for the adults who secretly sip mulled wine while they nibble. Imagine biting into a pillow of spice‑infused dough, the edges slightly crisp, the center melting into a cloud of vanilla‑kissed frosting – it’s a texture symphony that makes you pause, smile, and reach for another. The best part? This recipe is forgiving enough for beginners yet nuanced enough that seasoned bakers will keep tweaking it.
What makes these gingerbread whoopie pies truly special is the balance between the deep, caramel‑rich molasses and the bright, zingy ginger that dances on the palate. The cookies stay tender for days, thanks to the buttermilk’s acidity and the gentle lift from baking soda. And the filling? It’s a silky blend of cream cheese, powdered sugar, and vanilla that never overpowers but always complements the spice. Have you ever wondered why store‑bought versions feel flat? The secret lies in the quality of each ingredient and a few pro tricks that I’ll share later in this post.
But wait – there’s a hidden technique in step four that will turn your ordinary gingerbread whoopie pies into a show‑stopping centerpiece. Trust me, once you master that, you’ll hear your family chanting “again, again!” as you pull the tray out of the oven. Ready to dive in? Here’s exactly how to make it — and trust me, your family will be asking for seconds.
🌟 Why This Recipe Works
- Flavor Depth: The combination of brown sugar and molasses creates a layered sweetness that’s both caramel‑rich and slightly earthy, giving each bite a depth you won’t find in plain sugar cookies. The molasses also adds that deep, dark hue that signals holiday comfort.
- Texture Harmony: The use of buttermilk and baking soda creates a tender, cake‑like crumb that stays soft for days, while the butter adds just enough richness to keep the cookies from feeling dry.
- Ease of Execution: All the steps are straightforward, with no fancy equipment required – a whisk, a mixing bowl, and a cookie scoop are all you need to achieve professional results at home.
- Time Efficiency: With a prep time of just 15 minutes and a bake time of 30 minutes, you can have a batch ready in under an hour, perfect for last‑minute holiday gatherings.
- Versatility: The base dough can be swapped with gluten‑free flour, and the filling can be flavored with orange zest or espresso for a grown‑up twist, making it adaptable to many dietary preferences.
- Crowd‑Pleaser Factor: The sweet‑spicy flavor profile appeals to both kids and adults, and the whimsical “whoopie” name adds a playful element that makes the dessert memorable.
🥗 Ingredients Breakdown
The Foundation
All‑purpose flour is the backbone of the dough, providing structure while still allowing the cookies to stay tender. Because we’re aiming for a cake‑like texture rather than a crisp cookie, the flour’s gluten formation needs to be balanced with enough fat and liquid. If you’re looking for a gluten‑free alternative, a blend of rice flour and tapioca starch works beautifully, though you may need to add a tablespoon of xanthan gum for elasticity.
Brown sugar brings moisture and a subtle molasses flavor that deepens the overall sweetness. It also helps the cookies retain softness after cooling. When selecting brown sugar, opt for the darker variety for a richer taste; the lighter kind can be used if you prefer a milder profile.
Molasses is the star of the show, delivering that signature dark color and a robust, slightly bitter note that balances the sugar. It’s what makes gingerbread instantly recognizable. If you’re concerned about the intensity, start with a tablespoon and taste the batter; you can always add more before baking.
Aromatics & Spices
Ground ginger, cinnamon, and cloves form the aromatic trio that defines gingerbread. Freshly ground spices release more essential oils, giving you a brighter, more fragrant result. I keep a small spice grinder in my pantry for this very reason – a quick pulse and the spices are revitalized.
Baking soda is the leavening agent that reacts with the acidity of the buttermilk, creating tiny air pockets that keep the cookies light. Without it, the dough would be dense and heavy. Make sure your soda is fresh; an old container can lose potency and affect rise.
The Secret Weapons
Eggs act as binders and add richness, contributing to the tender crumb. For a richer flavor, you can separate the yolks and whites, beat the whites to soft peaks, and fold them in at the end – a trick I learned from a pastry chef friend that yields an even fluffier texture.
Butter, softened to room temperature, adds richness and helps create that melt‑in‑your‑mouth feel. Using unsalted butter gives you better control over the overall salt level, and the butter’s fat content is essential for a tender crumb.
Buttermilk’s acidity not only reacts with the baking soda but also tenderizes the gluten strands, resulting in a softer bite. If you don’t have buttermilk on hand, you can make a quick substitute by adding one tablespoon of lemon juice or white vinegar to a cup of milk and letting it sit for five minutes.
Vanilla extract rounds out the flavor profile, adding a sweet, aromatic note that harmonizes the spices. I always use pure vanilla extract rather than imitation for a cleaner taste.
Finishing Touches
For the filling, cream cheese provides a tangy base that cuts through the sweetness, while powdered sugar adds a smooth, melt‑in‑your‑mouth sweetness. A splash of vanilla extract in the filling ties everything together, making the contrast between the spiced cookie and the creamy interior unforgettable.
When selecting ingredients, choose high‑quality butter (preferably European style for higher butterfat), fresh spices, and a full‑fat cream cheese for the richest filling. The difference between a grocery‑store brand and a small‑batch artisan product can be the difference between “good” and “wow‑factor.” With your ingredients prepped and ready, let's get cooking. Here's where the fun really begins...
🍳 Step-by-Step Instructions
-
In a large mixing bowl, whisk together the all‑purpose flour, ground ginger, cinnamon, cloves, and baking soda. The spices should coat the flour evenly, creating a fragrant powder that smells like a holiday market stall. This is the moment where the kitchen starts to feel magical, and the anticipation builds. Pro tip: Sift the dry ingredients into the bowl to eliminate lumps and aerate the mixture.
💡 Pro Tip: If you like extra spice, add a pinch of ground nutmeg or allspice at this stage for a deeper flavor profile. -
In a separate saucepan over low heat, melt the butter until it just begins to foam, then stir in the brown sugar and molasses until fully dissolved. The mixture will turn a glossy, dark amber, releasing a caramel scent that fills the room. Let it cool for a couple of minutes – you don’t want the hot mixture to scramble the eggs later. Once cooled, transfer to a stand‑mixing bowl.
-
Add the eggs, one at a time, to the butter‑sugar‑molasses blend, whisking vigorously after each addition. The batter should become light and slightly frothy, a sign that the eggs are incorporating air. Then stir in the vanilla extract and buttermilk, which will thin the batter just enough for a smooth consistency. This step is crucial for the final texture – too thick and the cookies will be dense.
-
Gradually fold the dry ingredient mixture into the wet batter using a rubber spatula. The key here is to incorporate the flour gently, stopping as soon as you no longer see streaks. Over‑mixing will develop gluten and lead to a tougher cookie. Here’s the secret: Let the batter rest for 5 minutes after mixing – this allows the flour to hydrate fully, resulting in a softer crumb.
⚠️ Common Mistake: Skipping the rest period often yields a dry, crumbly cookie that won’t hold the filling well. -
While the batter rests, prepare the cream cheese filling. In a medium bowl, beat the softened cream cheese until smooth, then gradually add powdered sugar and vanilla extract. Continue beating until the mixture is light, fluffy, and free of lumps. This filling should be spreadable but firm enough to hold its shape when piped.
💡 Pro Tip: Chill the filling for 10 minutes before using; it will be easier to pipe and won’t melt into the cookies. -
Preheat your oven to 350°F (175°C) and line two baking sheets with parchment paper. Using a cookie scoop (about 2 tablespoons), drop rounded mounds onto the sheets, spacing them 2 inches apart. The batter will spread slightly, forming a dome that will flatten as it bakes. If you prefer a more uniform size, use a kitchen scale to weigh each portion.
-
Bake for 10‑12 minutes, or until the edges are set and the tops are lightly golden. You’ll notice a faint crack forming on the surface – that’s the perfect sign that the interior is still soft and ready to pair with the creamy filling. Rotate the sheets halfway through baking for even browning.
-
Allow the cookies to cool on the baking sheet for 5 minutes, then transfer them to a wire rack to cool completely. This cooling step is essential; trying to fill them while warm will cause the filling to melt and slide off.
-
Once cooled, pair the cookies – the larger, flatter ones become the “tops” and the slightly thicker ones become the “bottoms.” Pipe or spread a generous dollop of the cream cheese filling onto the flat side, then gently press the other cookie on top, creating a sandwich. The result should be a pillowy, spiced cake with a sweet, tangy center.
-
Finally, dust the assembled whoopie pies with a light sprinkling of powdered sugar or a dusting of ground cinnamon for an elegant finish. Store them in an airtight container at room temperature for up to three days, or refrigerate for longer freshness. And there you have it! But before you dig in, let me share some tips that will take this from great to absolutely unforgettable...
🔐 Expert Tips for Perfect Results
The Taste Test Trick
Before you bake the entire batch, scoop out a single cookie and bake it as a test. This tiny experiment lets you gauge the balance of spices and sweetness, and you can adjust by adding a pinch more ginger or a splash of vanilla if needed. I once discovered my oven runs a few degrees hot by doing this, and it saved an entire batch from turning too dark.
Why Resting Time Matters More Than You Think
Allowing the batter to rest for 5‑10 minutes after mixing lets the flour fully hydrate, which translates to a softer crumb and a more cohesive cookie that holds the filling without crumbling. Skipping this step is a common mistake that results in a dry, crumbly texture that can’t support the generous filling.
The Seasoning Secret Pros Won’t Tell You
Professional bakers often add a pinch of sea salt to the dough, even in sweet recipes, to enhance the flavors and counterbalance the sweetness. The salt acts like a flavor amplifier, making the ginger and cinnamon pop. Trust me on this one – a tiny pinch makes a world of difference.
Filling Consistency Control
If your cream cheese filling feels too runny, whisk in a tablespoon of cornstarch or sifted powdered sugar until it reaches a pipe‑able consistency. Conversely, if it’s too stiff, a splash of heavy cream will loosen it without making it watery. I once added too much sugar, and the filling became grainy – a quick fix with a bit of cream saved the day.
The Cool‑Down Curve
Never rush the cooling process. Let the cookies sit on the baking sheet for a few minutes before moving them to a rack; this allows the steam to escape gently, preventing sogginess. The result is a perfectly set cookie that doesn’t stick to parchment and holds its shape when you sandwich it.
🌈 Delicious Variations to Try
One of my favorite things about this recipe is how versatile it is. Here are some twists I've tried and loved:
Maple‑Brown Butter Whoopie
Swap half of the butter for browned butter and add a tablespoon of pure maple syrup to the batter. The nutty browned butter deepens the flavor, while the maple adds a subtle caramel note that pairs beautifully with the ginger.
Orange‑Zest Ginger Snap
Add the zest of one orange to the dough and a teaspoon of orange extract to the filling. The citrus brightens the spice profile, creating a festive, holiday‑ready twist that reminds you of a glass of mulled orange juice.
Espresso‑Infused Whoopie
Dissolve a tablespoon of instant espresso powder in the buttermilk before adding it to the batter. The coffee undertones complement the chocolatey notes of the molasses, making it a perfect after‑dinner treat for coffee lovers.
Cranberry‑Walnut Surprise
Fold in a half‑cup of dried cranberries and chopped toasted walnuts into the batter. The tartness of the cranberries and the crunch of the walnuts add texture contrast and a burst of flavor that elevates the classic recipe.
White Chocolate Drizzle
Melt white chocolate and drizzle it over the assembled whoopie pies just before serving. The sweet, creamy chocolate adds a luxurious finish that makes the dessert look as impressive as it tastes.
📦 Storage & Reheating Tips
Refrigerator Storage
Place the whoopie pies in an airtight container, separating layers with parchment paper to prevent sticking. They’ll stay fresh for up to three days in the fridge, and the filling will actually firm up a little, giving a more pronounced contrast between the soft cookie and the creamy center.
Freezing Instructions
For longer storage, freeze the assembled pies on a baking sheet for an hour, then transfer them to a zip‑top freezer bag. They’ll keep for up to two months. When you’re ready to enjoy them, let them thaw in the refrigerator overnight and bring them to room temperature for the best texture.
Reheating Methods
To revive a refrigerated whoopie pie, warm it gently in a 300°F (150°C) oven for 5‑7 minutes, or microwave for 10‑12 seconds. The trick to reheating without drying it out? Place a small ramekin of water in the oven alongside the pies; the steam keeps the cookies moist while the filling becomes perfectly gooey.