Dreamy Fruit Pizza: A Colorful and Delicious Dessert Recipe
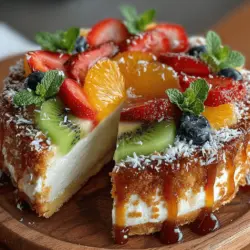
When it comes to delightful desserts that burst with flavor and visual appeal, fruit pizza stands out as a refreshing option. This vibrant dish combines the sweetness of seasonal fruits with a rich, creamy base, all atop a flaky crust, creating a harmonious blend that’s perfect for any occasion. Whether you’re hosting a summer barbecue, celebrating a birthday, or simply indulging in a sweet treat, fruit pizza offers a unique twist on traditional dessert fare.
Fruit pizza’s allure lies not just in its taste but also in its stunning presentation. The colorful array of fruits, from strawberries and kiwis to blueberries and peaches, creates an eye-catching display that can brighten up any table. Its versatility makes it an ideal choice for gatherings, as you can easily customize the toppings to suit your guests’ preferences or the fruits available in your area. Plus, the ease of preparation means you can whip up this enchanting dessert without spending hours in the kitchen.
Understanding the Components of Dreamy Fruit Pizza
To create the perfect dreamy fruit pizza, it’s essential to understand the key components that contribute to its deliciousness: the crust, the cream cheese spread, the fruit topping, and the glaze. Each element plays a vital role in achieving the ideal balance of flavors and textures.
1. The Crust: The foundation of any pizza, fruit pizza crust is typically a sweet, buttery base that offers a sturdy platform for the toppings. It provides structure and a delightful crunch that contrasts beautifully with the creamy spread and juicy fruits.
2. The Cream Cheese Spread: This luscious layer serves as the glue that holds the pizza together. Its rich, creamy texture complements the sweetness of the fruit while adding a tangy depth of flavor.
3. The Fruit Topping: The star of the show, the fruit topping, showcases a variety of fresh, seasonal fruits. Not only do they add natural sweetness, but their vibrant colors make the dessert visually appealing.
4. The Glaze: A light glaze often finishes off the fruit pizza, adding a shiny sheen and helping to keep the fruits fresh and in place. It enhances the overall presentation while offering an additional layer of sweetness.
Understanding these components will help you appreciate the intricate balance of flavors and textures that make dreamy fruit pizza a beloved dessert choice.
Crafting the Perfect Crust
Creating the perfect crust for your dreamy fruit pizza is a crucial first step in the recipe. The crust is what provides the base for all the delicious toppings, so it’s important to get it just right. Here’s a closer look at the ingredients and their roles:
– All-Purpose Flour: The backbone of the crust, all-purpose flour provides the necessary structure and stability. It allows the crust to hold up under the weight of the toppings while maintaining a tender texture.
– Powdered Sugar: Unlike granulated sugar, powdered sugar adds a delicate sweetness and contributes to a tender crust. Its fine texture helps create a smooth dough that bakes up beautifully.
– Unsalted Butter: Essential for flavor, unsalted butter also contributes to the flaky texture of the crust. Using unsalted butter allows you to control the saltiness of your dessert, ensuring that the sweetness of the fruit and cream cheese spread shines through.
– Egg Yolk: The egg yolk acts as a binding agent, helping to hold the crust together. It adds richness and moisture, resulting in a more flavorful and tender crust.
– Ice Water: Keeping the dough cool is key to achieving a flaky crust. Ice water helps ensure that the butter remains cold, preventing it from melting too quickly during mixing and baking.
Step-by-Step Instructions for Making the Crust
1. Prepare Your Ingredients: Start by gathering your ingredients: 1 ½ cups of all-purpose flour, ½ cup of powdered sugar, ½ cup of unsalted butter (softened), 1 egg yolk, and 2-4 tablespoons of ice water.
2. Mix the Dry Ingredients: In a mixing bowl, combine the all-purpose flour and powdered sugar. Whisk them together to eliminate any lumps and ensure they are evenly distributed.
3. Incorporate the Butter: Cut the softened unsalted butter into small pieces and add it to the dry ingredients. Using a pastry cutter or your fingers, work the butter into the flour mixture until it resembles coarse crumbs.
4. Add the Egg Yolk: Add the egg yolk to the mixture and stir until it’s incorporated. The dough will start to come together, but it may still be crumbly.
5. Add Ice Water: Gradually add ice water, one tablespoon at a time, mixing gently until the dough starts to hold together. You want it to be moist but not overly sticky. If the dough feels too dry, add an additional tablespoon of ice water.
6. Chill the Dough: Once the dough is formed, shape it into a disc, wrap it in plastic wrap, and refrigerate for at least 30 minutes. Chilling the dough will help it relax and make it easier to roll out.
7. Roll Out the Dough: After chilling, preheat your oven to 350°F (175°C). On a lightly floured surface, roll out the dough into a large circle, about ¼ inch thick. Aim for a size that will fit your pizza pan or baking sheet.
8. Transfer to the Pan: Carefully transfer the rolled-out dough to your prepared pizza pan. Gently press it into the pan, ensuring an even thickness. Trim any excess dough from the edges.
9. Bake to Perfection: Place the crust in the preheated oven and bake for 12-15 minutes or until it turns golden brown. Keep an eye on it, as baking times can vary depending on your oven.
10. Cool Completely: Once baked, remove the crust from the oven and let it cool completely on a wire rack before adding the cream cheese spread and toppings.
By following these steps, you’ll craft a deliciously flaky and sweet crust that serves as the perfect base for your dreamy fruit pizza.
Creating the Cream Cheese Spread
The cream cheese spread is what elevates your fruit pizza from good to extraordinary. This delightful layer adds richness and a creamy texture that complements the fresh fruits beautifully. Here’s what you’ll need for the cream cheese spread:
– Cream Cheese: The star ingredient, cream cheese provides a smooth, creamy base that binds the flavors together. Its tangy flavor balances the sweetness of the fruit and glaze.
– Granulated Sugar: To sweeten the spread, granulated sugar is added. It enhances the flavor without overpowering the cream cheese.
– Vanilla Extract: A splash of vanilla extract enhances the overall flavor profile, adding warmth and depth to the spread.
– Lemon Juice: A touch of lemon juice brightens up the cream cheese mixture, adding a refreshing zing that complements the fruits and balances the richness.
Instructions for Preparing the Cream Cheese Spread
1. Soften the Cream Cheese: Start by making sure your cream cheese is at room temperature. This will ensure a smooth and creamy texture. If you forget to take it out of the fridge ahead of time, you can soften it in the microwave for about 10-15 seconds, but be careful not to melt it.
2. Mix the Ingredients: In a medium mixing bowl, combine 8 ounces of softened cream cheese, ¼ cup of granulated sugar, 1 teaspoon of vanilla extract, and 1 tablespoon of lemon juice.
3. Blend Until Smooth: Using a hand mixer or a whisk, blend the ingredients together until the mixture is smooth and creamy. Be sure to scrape down the sides of the bowl to incorporate all the ingredients fully.
4. Taste and Adjust: Give the mixture a taste and adjust the sweetness or acidity if needed. If you prefer a sweeter spread, add more sugar, or if you want a bit more brightness, a dash more lemon juice can do the trick.
5. Chill Before Use: For best results, chill the cream cheese spread in the refrigerator for about 15-20 minutes before spreading it on the cooled crust. This will help it firm up slightly and make it easier to spread evenly.
With your crust baked to perfection and your cream cheese spread ready, you’re well on your way to assembling a stunning and delicious fruit pizza that will impress everyone at your gathering. Stay tuned for the next section, where we will explore the exciting part of adding the fruit toppings and the finishing glaze!
Choosing and Preparing the Fruit Topping
The heart of the Dreamy Fruit Pizza lies in its vibrant fruit toppings. Not only do they provide an explosion of flavor, but they are also packed with essential nutrients that contribute to a healthy diet. In this recipe, we will focus on strawberries, kiwi, blueberries, mandarin oranges, and pineapple, each bringing its unique taste and nutritional profile to the table.
Nutritional Profiles and Flavor Contributions
– Strawberries: These ruby-red gems are low in calories and rich in vitamin C, manganese, folate, and antioxidants. Their sweet-tart flavor pairs wonderfully with the creamy base of the pizza, adding a refreshing burst.
– Kiwi: With a unique sweet and tangy taste, kiwi is an excellent source of vitamin C, vitamin K, and dietary fiber. Its bright green color adds a vibrant contrast to the pizza, making it visually appealing.
– Blueberries: Known for their antioxidant properties, blueberries are low in calories yet high in nutrients, including vitamin C, vitamin K, and fiber. Their sweet flavor and juicy texture enhance the overall taste of the pizza.
– Mandarin Oranges: Offering a juicy sweetness, mandarin oranges are rich in vitamin C and provide a refreshing citrus flavor. They also add a pop of color to your dessert.
– Pineapple: This tropical fruit contributes sweetness and a hint of acidity, making it a perfect companion to the other fruits. Pineapple is high in vitamin C and bromelain, an enzyme known for its digestive benefits.
Tips for Selecting Ripe Fruits
When it comes to preparing your fruit topping, selecting ripe and fresh fruits is crucial. Here are some tips to ensure you choose the best:
– Strawberries: Look for bright red strawberries with green, fresh leaves. Avoid any with bruises or soft spots.
– Kiwi: Choose kiwis that yield slightly to gentle pressure, indicating ripeness. Avoid overly soft or shriveled kiwis.
– Blueberries: Opt for plump, firm blueberries that are deep blue in color. Check for any signs of mold or squished berries.
– Mandarin Oranges: Choose mandarins that are firm and heavy for their size, with smooth, unblemished skin.
– Pineapple: A ripe pineapple should have a sweet aroma at the base and a slight give when pressed. Look for a golden hue on the bottom and green, healthy leaves.
Preparing Your Fruits
Once you’ve selected your fruits, it’s time to prepare them for the pizza. Here’s how:
1. Strawberries: Rinse, hull, and slice them into thin pieces.
2. Kiwi: Peel and slice into thin rounds or half-moons.
3. Blueberries: Rinse and pat dry. They can be used whole.
4. Mandarin Oranges: Peel and separate into segments, removing any seeds.
5. Pineapple: Peel, core, and cut into small chunks or wedges.
Alternative Fruits and Seasonal Variations
Feel free to get creative with your fruit selection! Depending on the season, you can substitute or add fruits like raspberries, blackberries, peaches, or even apples. Each fruit will bring its distinct flavor and nutritional benefits, allowing you to customize your Dreamy Fruit Pizza to your liking.
Making the Glaze for a Perfect Finish
To elevate the visual appeal and taste of your Dreamy Fruit Pizza, a fruity glaze is essential. The glaze not only adds shine but also enhances the flavors of the fruits, making your dish even more enticing.
Ingredients for the Glaze
– Apricot Preserves: This ingredient provides a sweet and fruity shine that complements the natural sweetness of the fruits.
– Water: Used to adjust the consistency of the glaze, making it easier to spread over the fruits.
Preparing the Glaze
1. Combine Ingredients: In a small saucepan, combine 1/4 cup of apricot preserves with 1 tablespoon of water.
2. Heat: Warm the mixture over low heat, stirring continuously until the preserves dissolve completely and the mixture is smooth.
3. Adjust Texture: If the glaze is too thick, add a little more water until you achieve the desired consistency.
4. Cool: Allow the glaze to cool slightly before using it on the fruit pizza.
Application Tips
Using a pastry brush, gently apply the glaze over the arranged fruit. This will not only enhance the visual appeal but also create a protective layer to keep the fruits fresh.
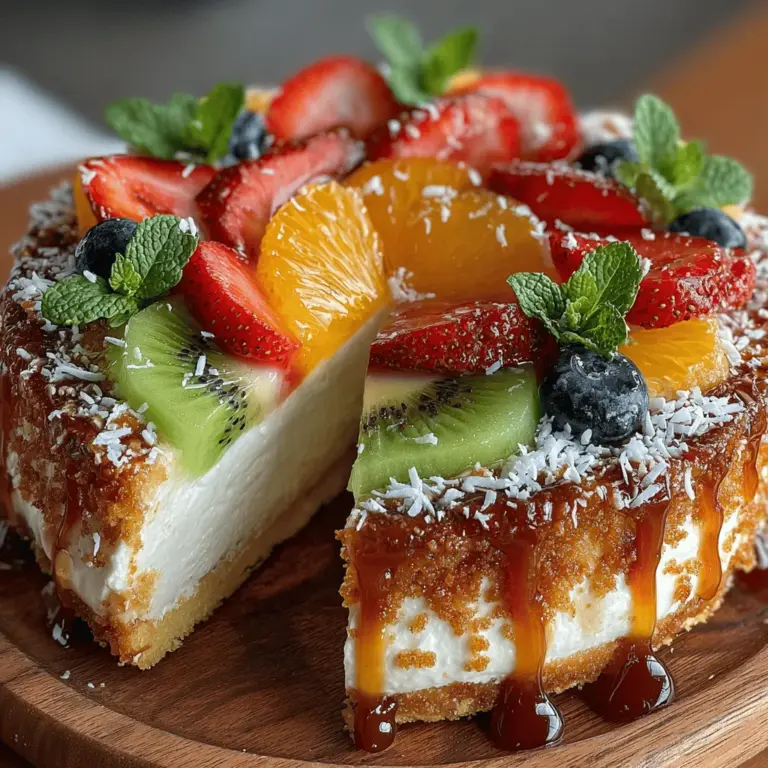
Assembling the Dreamy Fruit Pizza
Once you have prepared all the components, it’s time to assemble your Dreamy Fruit Pizza. Follow these easy steps to create a stunning dessert.
Step-by-Step Assembly
1. Prepare the Base: Start by spreading the cream cheese mixture evenly over the cooled cookie crust, ensuring it reaches the edges.
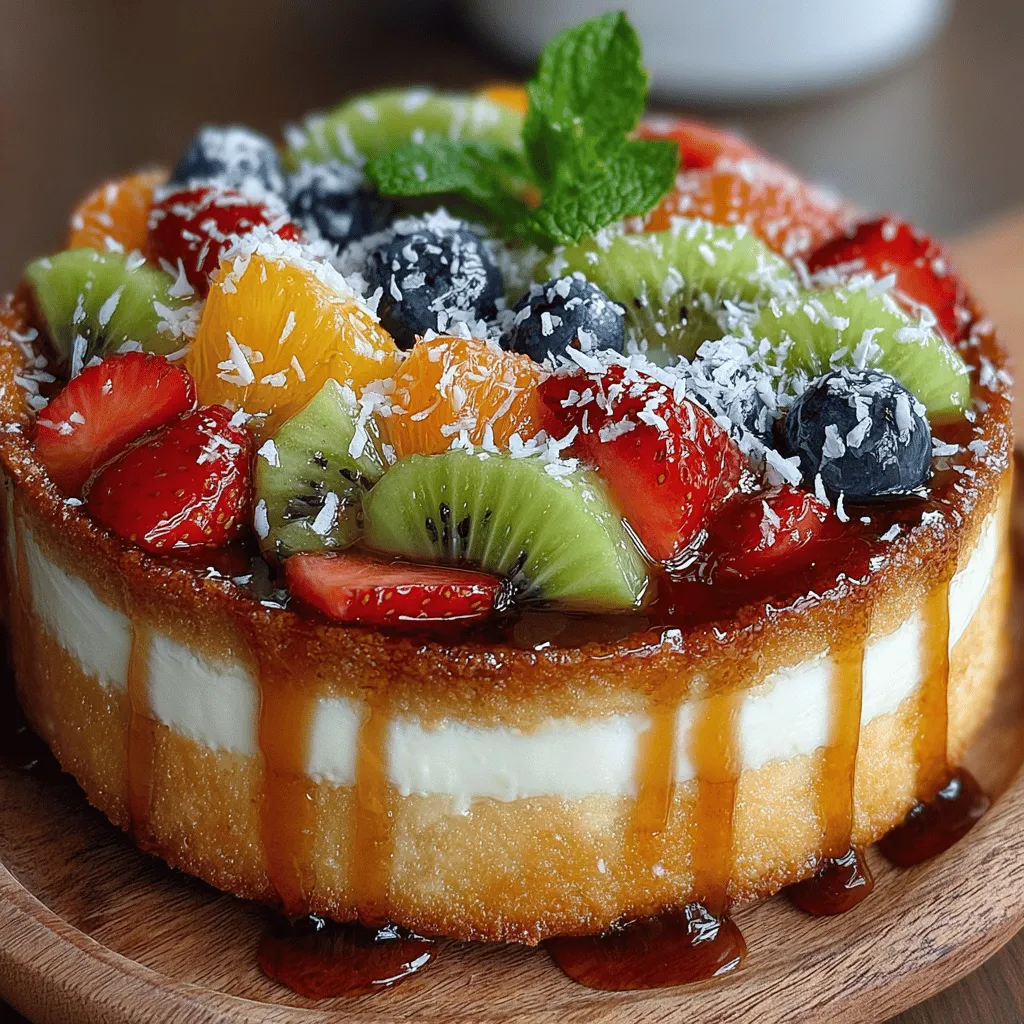
2. Arranging the Fruit: Begin by placing the largest fruit pieces, such as mandarin oranges or pineapple, in a circular pattern around the outer edge of the pizza.
3. Layering: Fill in the gaps with strawberries, kiwi, and blueberries, arranging them in a visually appealing manner. Feel free to create a rainbow effect or a pattern that showcases the variety of colors.
4. Finishing Touch: Once all the fruit is arranged, brush the glaze evenly over the entire surface. This will add a beautiful sheen and keep the fruits glistening.
Garnishing
To elevate your presentation further, consider adding fresh mint leaves as a garnish. Not only do they add a pop of green, but they also bring a refreshing flavor that pairs beautifully with the sweetness of the fruits.
Serving Suggestions and Storage Tips
The Dreamy Fruit Pizza is a versatile dessert that shines in various settings. Here are some recommendations for serving and storing:
Ideal Occasions for Serving
– Parties: This dessert is perfect for birthday parties, potlucks, or gatherings where you want to impress your guests with a colorful and delicious treat.
– Brunches: Serve it as a delightful addition to a brunch spread, alongside other sweet and savory dishes.
– Summer Gatherings: Its refreshing taste makes it an ideal choice for summer picnics or barbecues.
Storage Tips
To maintain the freshness and texture of your Dreamy Fruit Pizza, follow these storage tips:
1. Refrigeration: Store any leftovers in an airtight container in the refrigerator. This will help preserve the crust’s texture and prevent the fruits from becoming mushy.
2. Best Served Fresh: While it can be stored for a day or two, the pizza is best enjoyed within the first 24 hours of assembly for optimal freshness and flavor.
Nutritional Information
The Dreamy Fruit Pizza offers a delightful balance of flavors and textures, making it a guilt-free indulgence. Here’s a brief overview of its nutritional benefits:
– Fruits: Packed with vitamins, minerals, and antioxidants, the fruits used in this recipe contribute to overall health and well-being.
– Cream Cheese: Provides a source of calcium and protein, while balancing the sweetness of the fruits.
– Cookie Crust: While it adds a sweet base, you can opt for whole grain or gluten-free varieties for a healthier alternative.
This dessert not only satisfies sweet cravings but also helps you incorporate more fruits into your diet, making it a nutritious choice for dessert lovers.
Conclusion
Creating and serving a Dreamy Fruit Pizza is not just about satisfying your sweet tooth; it’s also about presenting a dish that bursts with vibrant colors and flavors. This delightful dessert is perfect for any occasion, from family gatherings to special celebrations.
Encourage your friends and family to indulge in the process of making this beautiful dish, experimenting with their favorite fruits and flavors. The joy of assembling this pizza lies in its versatility, allowing everyone to personalize it to their taste. So gather your ingredients, get creative, and enjoy the refreshing taste of a homemade Dreamy Fruit Pizza that will surely impress!